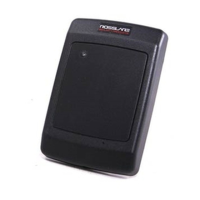
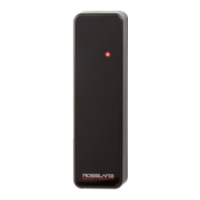
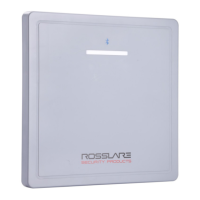
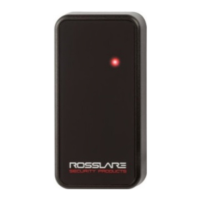
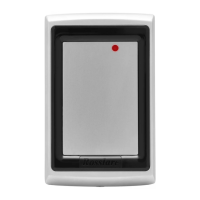
Installation
12 AY-Q6x50 Family Installation and Programming Manual
3. Use the provided drilling template to accurately locate and drill
the required holes in the wall or panel.
4. Use the hardware provided to mount the back plate on the wall
or on a gang box. Be sure to route the wiring via the large center
hole in the back plate. Check for level.
5. Wire the unit as explained in Section 3.2.
6. Once wired, replace the unit’s back onto its back plate and secure
using the tamper-proof screw and the special tool supplied with
the hardware.
3.2 Wiring Instructions
The AY-Q6x50 is supplied with a 46-cm (18”) pigtail, comprising six
wires.
1. Prepare the unit's cable by cutting the cable jacket back 3.2 cm
(1¼”) and stripping the wire 1.3 cm (½”).
2. Prepare the controller cable by cutting the cable jacket back 3.2
cm (1¼”) and stripping the wire 1.3 cm (½”).
3. Splice the reader’s pigtail wires to the corresponding controller
wires (as listed in Table 1 and shown in Figure 2) and cover each
joint with insulating tape.
Table 1: Wiring Colors
Color Function
Red +DC input
Black Ground
White Data 1/Clock
Green Data 0/Data
Brown LED/buzzer control
Purple Tamper
 Loading...