3. Installation
RuggedCom® RuggedBackbone™ 14 RX5000 Installation Guide Rev 107
3. Installation
3.1. Mounting
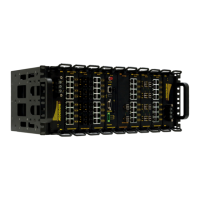
The RuggedBackbone™ RX5000 has been designed to provide the greatest possible flexibility in
display configuration and mounting. Hardware is provided to adapt the chassis for mounting to a panel
or to a standard 19" rack.
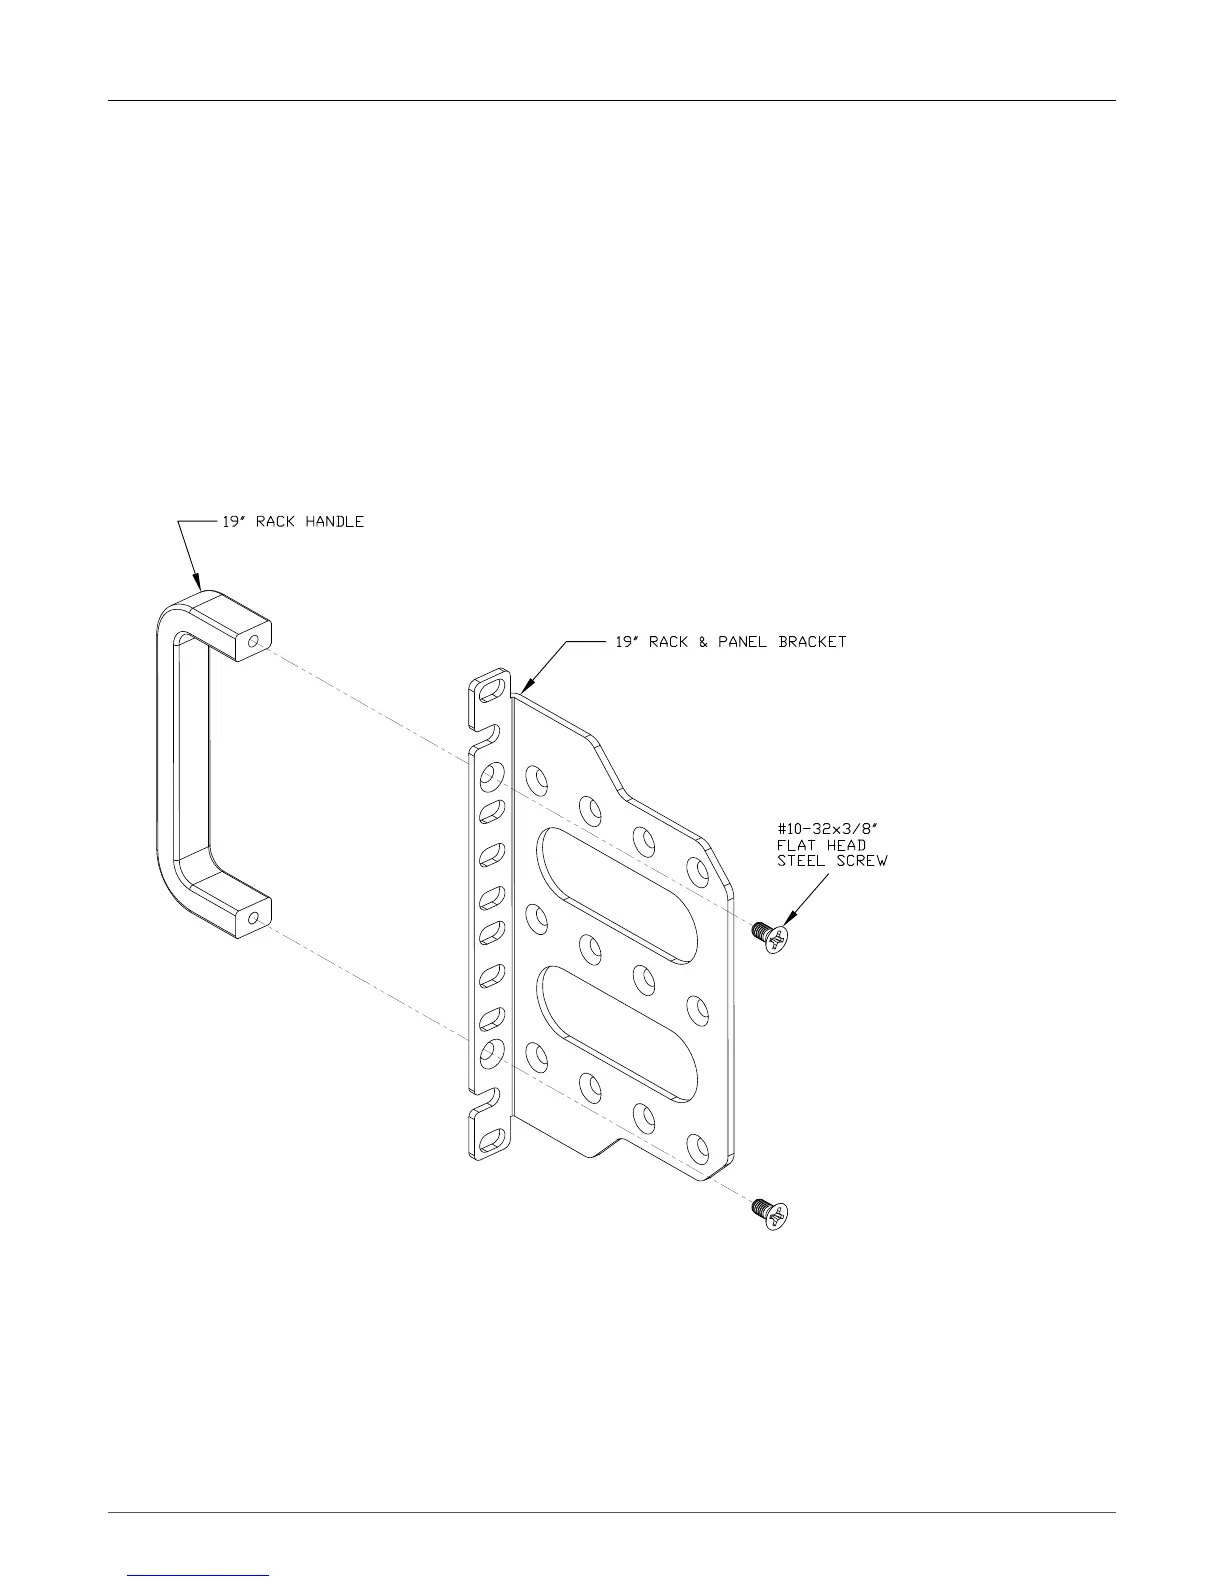
3.1.1. Rack Mounting
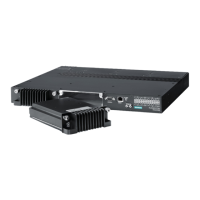
The first step in mounting the RX5000 to a 19" rack is to assemble the handle and rack mount bracket
using two (2) #10-32 × 3/8" flat head steel screws (supplied) as shown. Screws are to be torqued
to 18±1 in-lb.
Figure 3.1. Rack Mount Assembly Step 1