CARE OF THE INSTRUMENT
7.6 Revised 10/02/2012
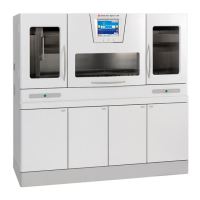
5. Using the shipping materials retained after the
previous paraffin replacement, line the cardboard
shipping carton with the plastic bags. Place the lined
cartons under the drain port for the Retort #3 paraffin
oven (Figure 7-H).
6. Rotate the left drain control knob for Retort #3 paraffin
oven back, until the knob is vertical (Figure 7-I), open-
ing the drain valve. Melted paraffin will begin to drain
from the paraffin oven
Figure 7-H
Figure 7-I
7. After the melted paraffin has drained completely from
the paraffin oven, rotate the drain control knob to close
the drain valve.
8. Repeat steps 5 and 6 for Retort #4 paraffin oven
(right drain control knob).
9. Seal the plastic bags securely. Allow the used paraffin
to harden, then seal the containers. Discard the used
paraffin in accordance with local regulations for
biohazardous waste.
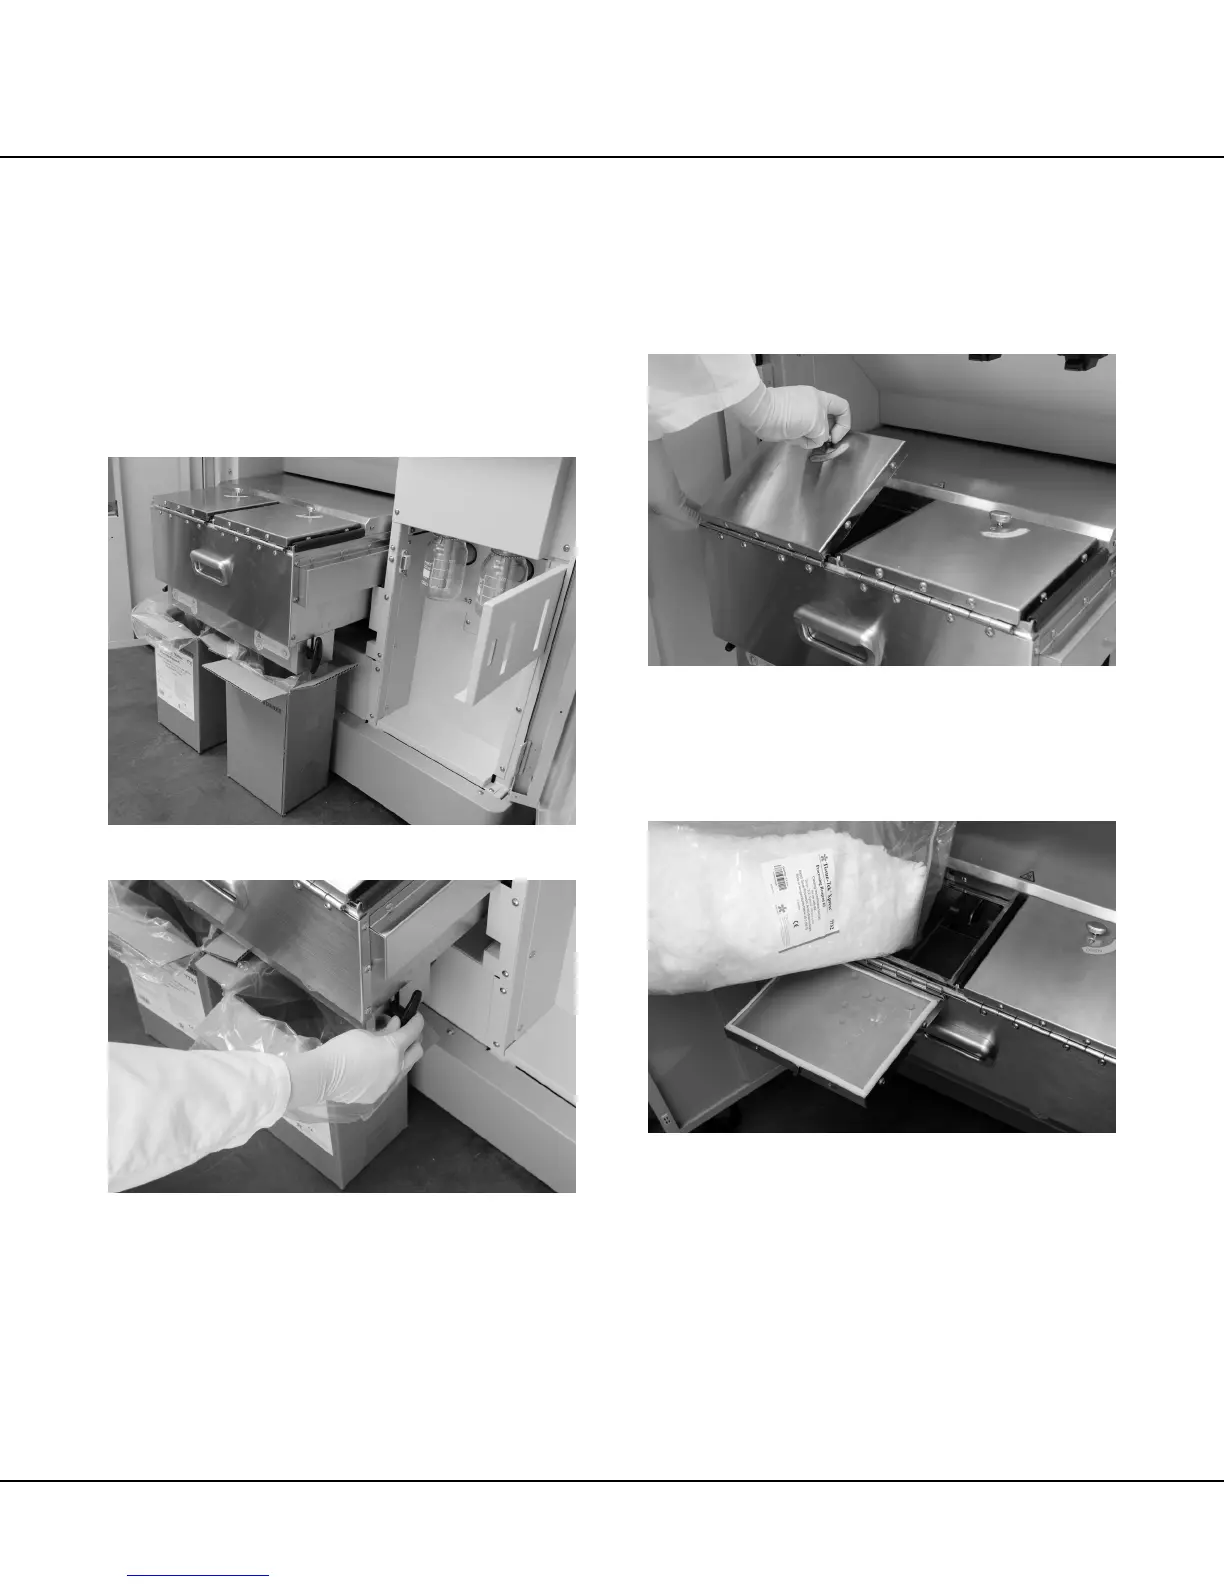
10. Turn the locking knob on the lid of the Retort #3
paraffin oven clockwise, then lift the lid to open (Figure
7-J).
Figure 7-J
11. Open the plastic shipping bag, and dispense the
entire contents into the paraffin oven (Figure 7-K),
then close the oven lid.
Figure 7-K
12. Repeat steps 9 through 11 for Retort #4 paraffin oven.
NOTE: Be sure to retain the paraffin shipping cartons and
plastic bags for use during the next paraffin replacement.
13. Slowly push the paraffin oven back into the cabinet
until the oven latches into place.
14. Close the Paraffin Oven Access Door.
NOTE: Following paraffin replacement, the instrument
may require up to four hours to melt the paraffin and exit
the WARMING UP SYSTEM cycle.
 Loading...