3 Installation and Operation
3-2 SAM4S ER-380M/F SERIES
3-2 Installation
3-2-1 Paper Roll Installation
1. Open the Cover Printer.
2. Push the Blue Cap Lever towards the rear of the printer and lift up to open the Pinter Cover.
3. Ensure that the paper is being fed from the bottom of the roll. Place the roll into the concave bottom of the Printer. And
put the leading edge of the paper over the Printer.
4. Close the Printer cover slowly until it locks firmly.
5. Tear off the excess paper.
3-2-2 Take-Up Spool Installation
1. Before using the Printer. Install the Take-Up Spool to it in order described like below.
2. Push the Blue Cap Lever towards the rear of the Printer and lift up to open the Printer Cover.
3. Unroll the paper about 400mm.
4. Ensure that the paper is being fed from the bottom of the roll.
5. Place the roll into the concave bottom of the Printer.
6. Put the leading edge of the paper over the Printer.
7. Close the Printer Cover.
8. Fold the end of the thermal paper about 20mm in length. Slide the leading end of the paper into the groove on the
spindle of the Take-Up Spool and wind it onto the Spool two or three turns.
9. Place the Take-Up Spool into the Case-Lower behind the Printer above the roll paper.
10. If the paper is loose, rewind the Take-Up Spool to tighten the paper.
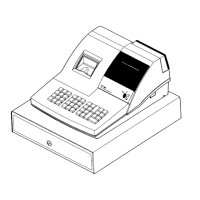
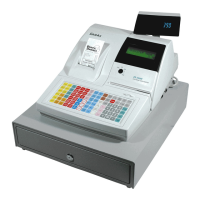
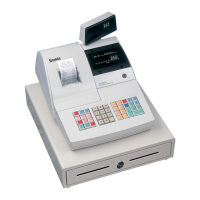
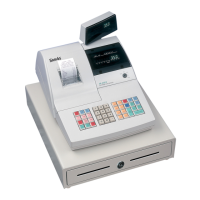
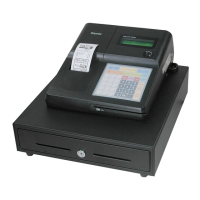
Figure 3-2 Paper & Spool Installation
ER-380M
ELECTRON
I CASH R
EGISTER
②
ER
-3
80M
E
L
E
C
T
R
O
N
I
C
A
S
H
R
E
G
I
S
T
E
R