8-8
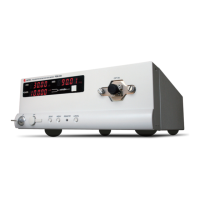
PEM-340
Operation Manual
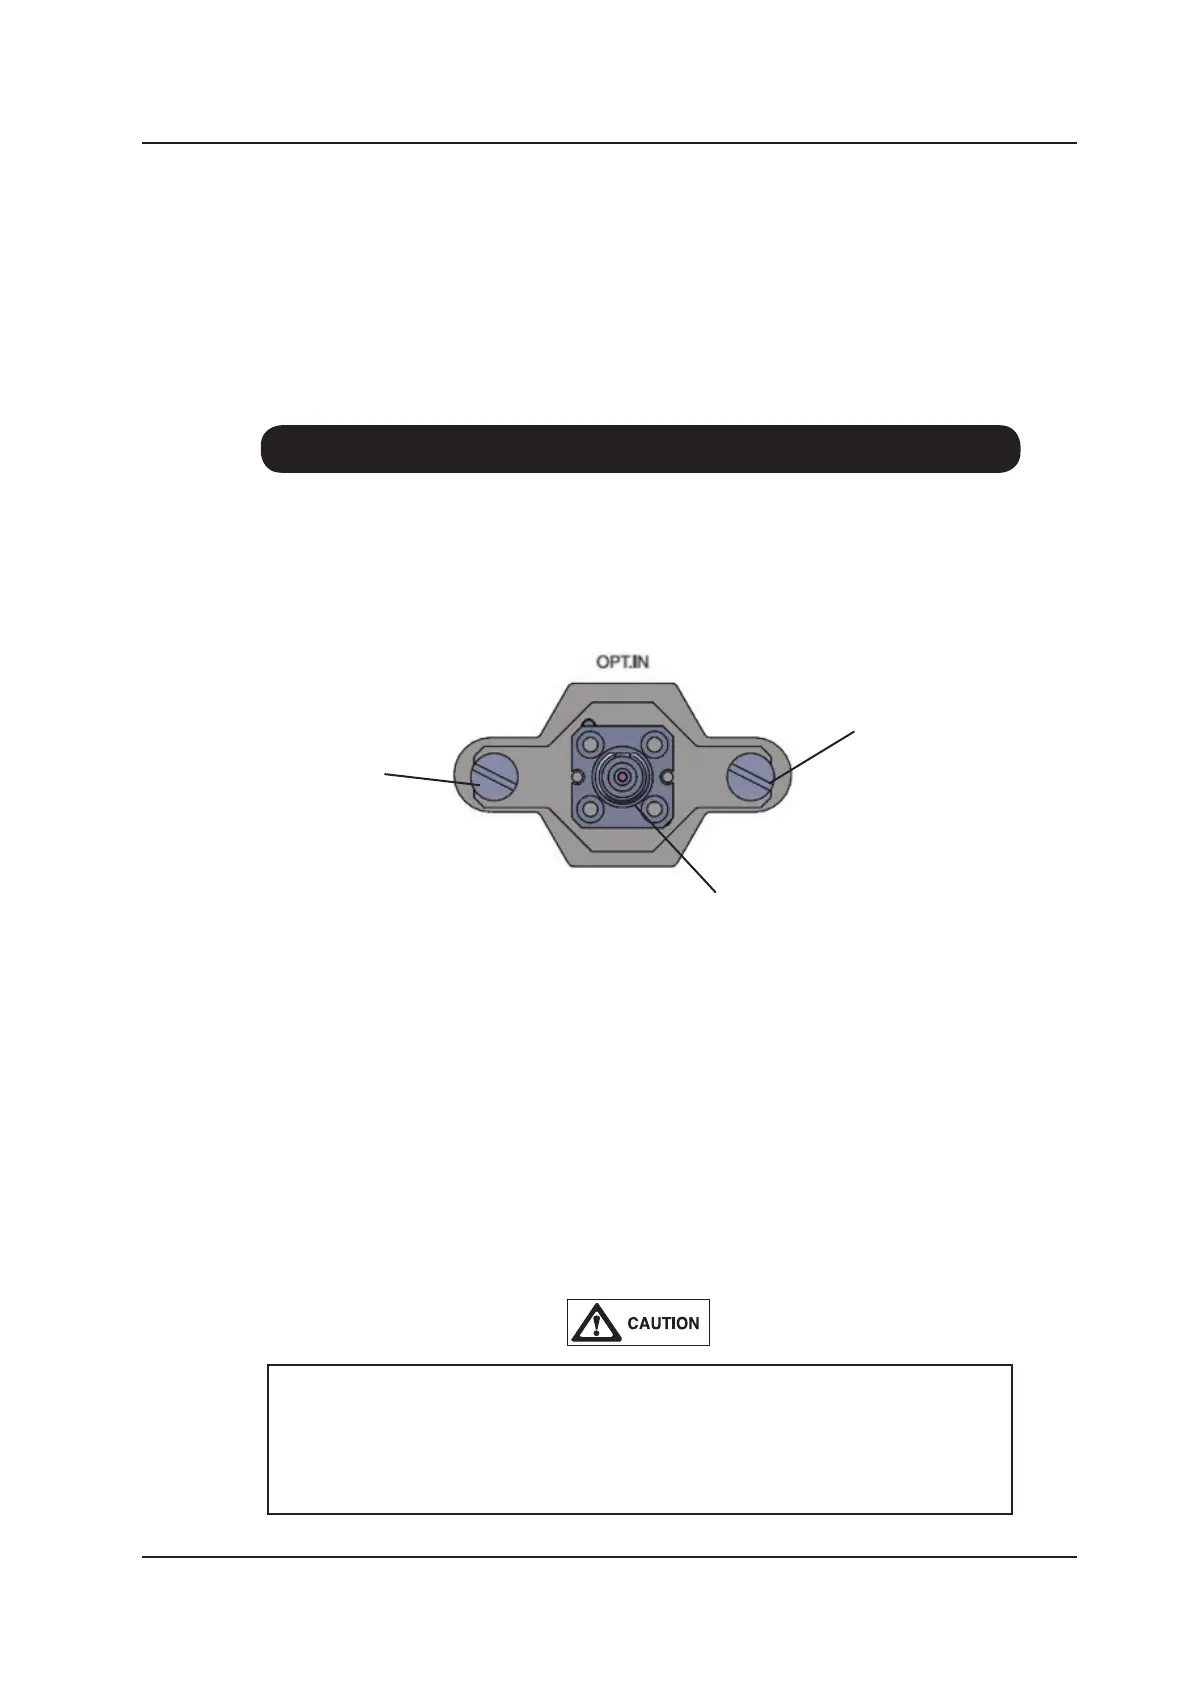
8-9. Changing the Optical Connector
The PEM-340 is designed to enable the optical connector socket to be easily changed from
FC type to SC type without affecting the optical alignment and hence the accuracy of the
measurement. The procedure is described below.
When replacing the connector socket ensure that it is correctly seated against the
PEM-340 unit. If the connector socket is not at to the face of the PEM-340 when
the fixing screws are tightened, the optical connector may become damaged or
misaligned.
1. Unscrew the two xing screws on either side of the optical connector socket.
2. Pull the connector socket forward away from the PEM-340 unit.
3. Ensure that there is no dirt or dust on the replacement connector socket. Ensure that
the alignment notch in the connector socket is facing upwards and carefully push the
connector socket over the alignment ferrule.
4. Ensure the connector socket is correctly seated and at with the face of the PEM-340
unit. Replace the two xing screws and tighten nger tight. Do not overtighten the
screws as this may cause damage to the unit.
Fixing Screw
Connector Socket
Fixing Screw