Español
-23-
!1 Botón SCREEN (PANTALLA)
Selecciona los tamaños de pantalla.
!2 Botones INPUT 1 - 3 (ENTRADA 1 - 3)
Selecciona la fuente de entrada (INPUT 1 - INPUT 3).
!0 Botón AUTO PC (PC AUTOMÁTICO)
Maneja el ajuste de PC automático.
q Botón MENU (MENÚ)
Abre o cierra el menú en la pantalla.
w Botón FREEZE (CONGELAMIENTO)
Congela la imagen proyectada.
!4 Interruptor REMOTE RESET/ON/ALL-OFF
(REPOSICIÓN/ENCENDIDO/TODO APAGADO)
Cuando esté usando el control remoto, ajuste este
interruptor a “ON”. Ajuste a “ALL OFF” para
ahorrar energía cuando no se use. Deslice este
interruptor hasta “RESET” manteniendo
presionados los botones CH e ID al mismo tiempo
para inicializar ID y CH del control remoto.
u Botón P-TIMER
Activa la función P-Timer.
MENU
q
e
!0
!1
t
y
o
!3
i
r
u
!4
w
!2
Los botones e y r no se pueden usar.
t Botón CH (CANAL)
Cambia el canal del control remoto (CH).
y Botón ID (IDENTIFICACIÓN)
Cambia la identificación del control remoto.
i Botón CANCEL (CANCELAR)
Cancela la selección y vuelve al menú anterior.
o Botón INFO
Exhibe la información del proyector.
!3 Botones INPUT 4 - 5 (ENTRADA 4 - 5)
Selecciona la fuente de entrada (INPUT 4 - INPUT 5).
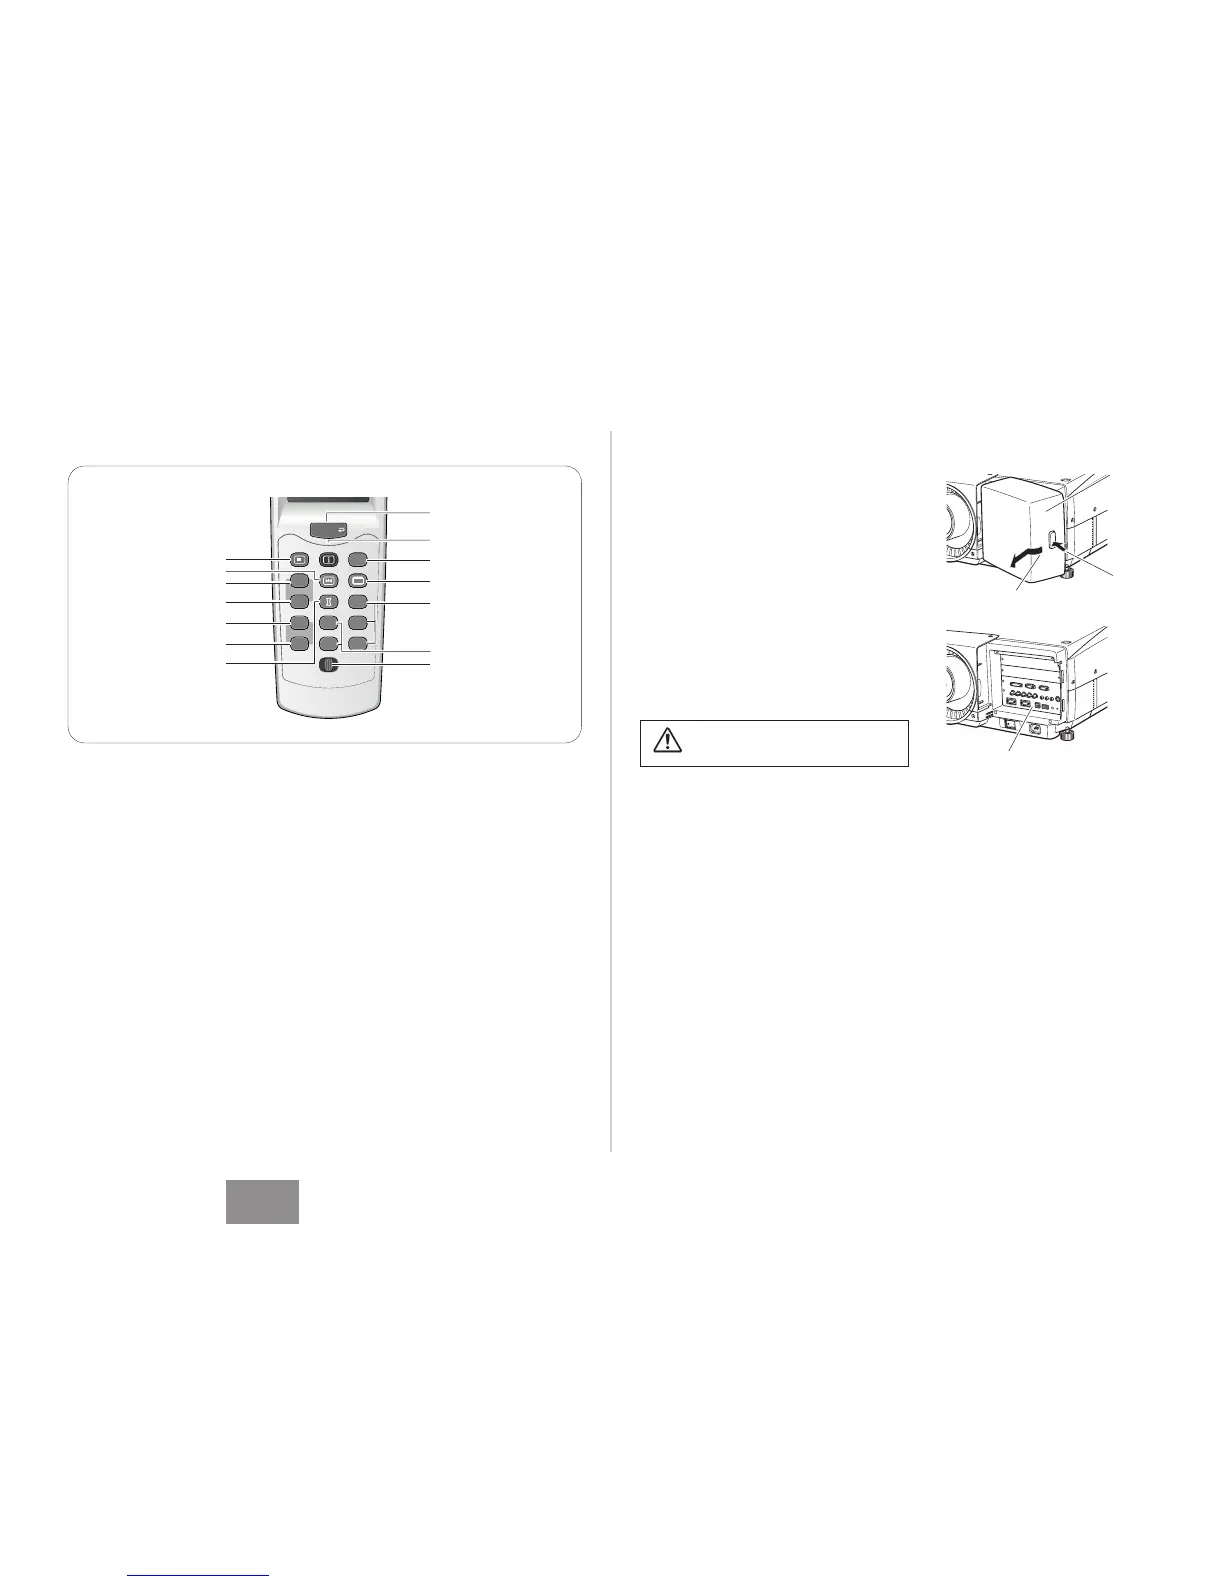
A fin de permitir una instalación fácil, se han colocado los
terminales para conectar el cable de alimentación de CA y
otros equipos en la parte delantera del proyector. El área
de terminales se cubre con la cubierta delantera para
protegerla del polvo y otros elementos, y ocultar
conexiones de cables desprolijas.
Retire y vuelva a colocar la cubierta delantera siguiendo el
procedimiento indicado a continuación:
Presionando el botón A del lado derecho de la cubierta
delantera, tire de la parte hacia adelante para retirar la
cubierta delantera.
Para volver a colocar la cubierta delantera en el proyector,
inserte de nuevo la parte izquierda de la cubierta en el
proyector y luego empuje la cubierta entera de nuevo en
el proyector. Asegúrese de que la cubierta delantera
quede bloqueada con el botón A y encájela en el
proyector.
Tire de esta parte hacia adelante
presionando el botón A.
A
Precaución
No empuje demasiado ni golpee fuerte la
cubierta. Podría causar daños a la misma.
Terminales
Cubierta
delantera
Te r minales de conexión

 Loading...


