-18-
Optical Adjustments
[Before Adjustment]
- Input a 100% of black raster signal.
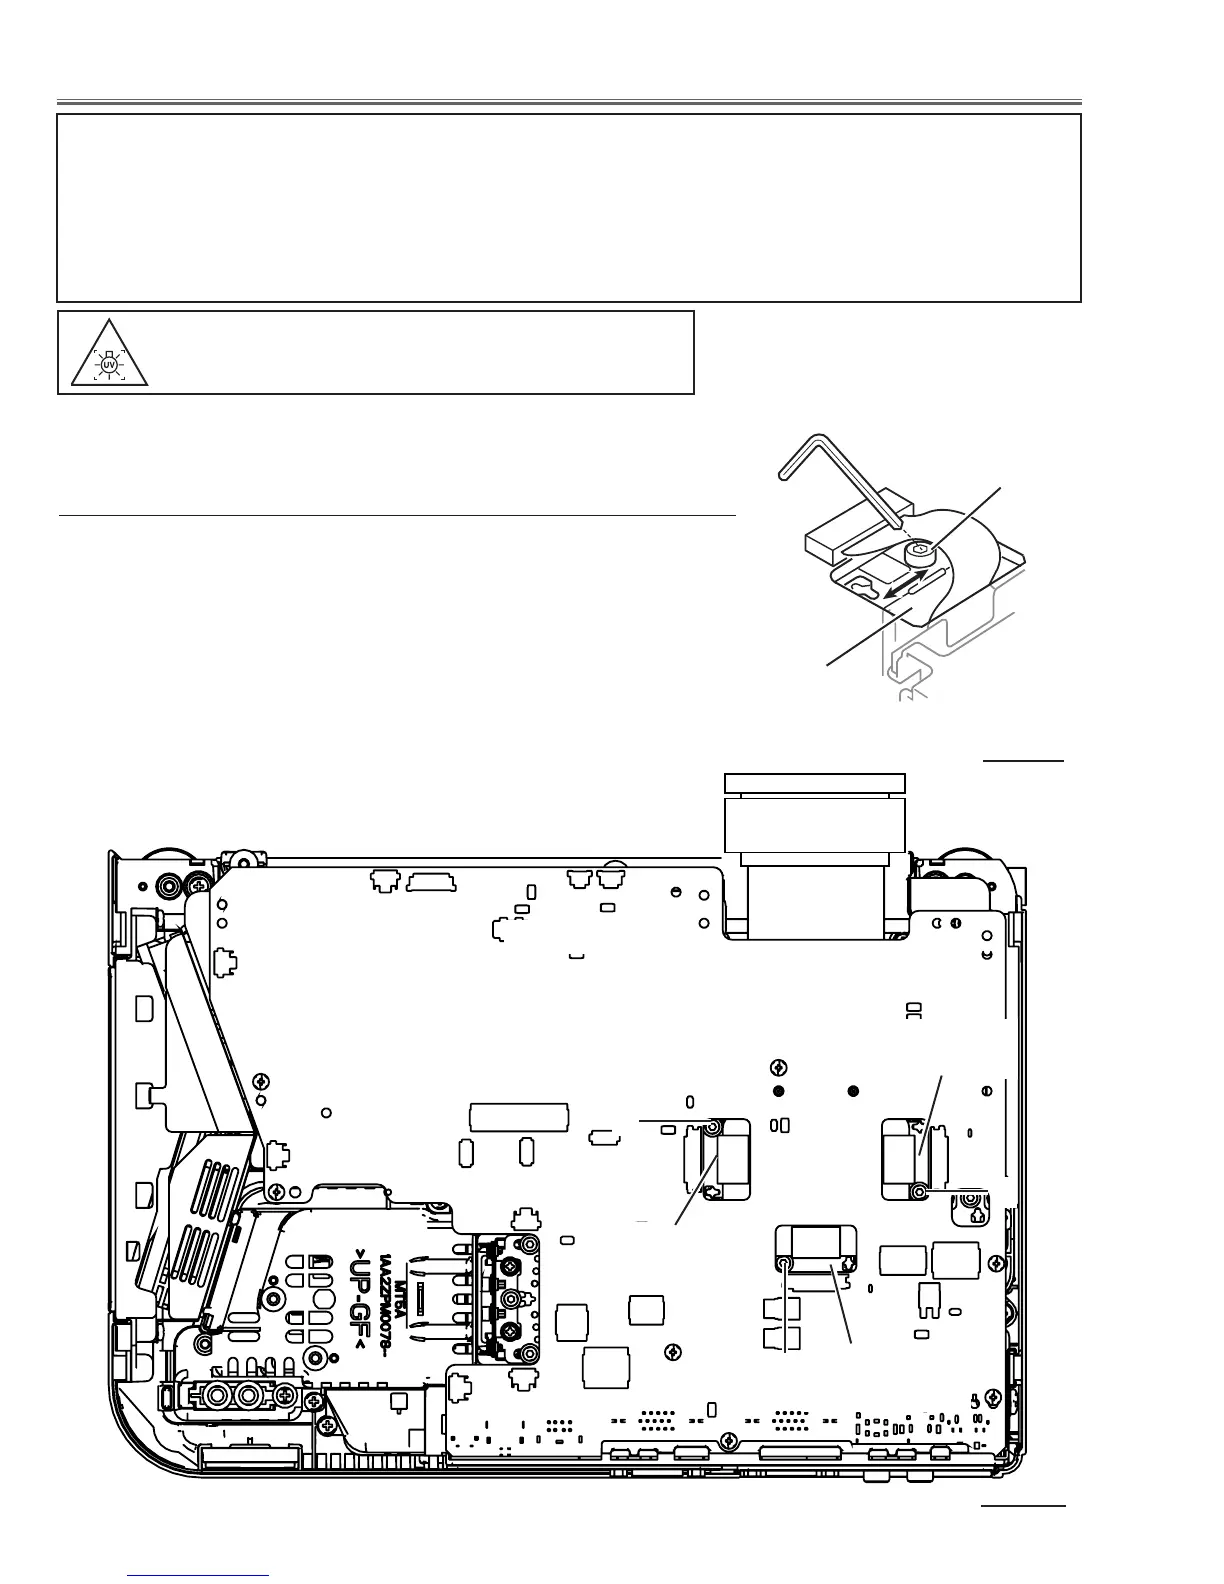
1 Loosen a screw A (Fig.1-1/1-2) on the polarized glass mounting
base which you intend to adjust.
2 Turn the polarized glass mounting base as shown in Fig.1-1 to
obtain the darkest brightness on the screen.
3 Tighten the screw A to fix the polarized glass mounting base.
Repeat steps 1 to 3 for remaining polarized glasses.
B-Polarized Glass
Mounting Base
R-Polarized Glass
Mounting Base
G-Polarized Glass
Mounting Base
A
A
A
Fig.1-2
Fig.1-1
Polarized glass
mounting base
Main Board
A
Contrast adjustment
Before taking optical adjustments below, remove the Cabinet Top following to the “Mechanical Disassembly”.
Adjustments require a 2.0mm hex wrench and a slot screwdriver. When you adjust Integrator lens or Relay lens
adjustment, you need to disconnect FPC cables of LCD panels on the main board.
Optical adjustment requires a 2.0mm hex wrench and a slot screwdriver.
Note: Do not disconnect connectors on the main board, because the projector cannot turn on due to operate the
power failure protection.
WARNING : USE UV RADIATION EYE AND SKIN
PROTECTION DURING SERVICING
CAUTION: To prevent suffer of UV radiation, those adjustments
must be completed within 25 minutes.

 Loading...