Do you have a question about the Sanyo PLC XU115 - XGA LCD Projector and is the answer not in the manual?
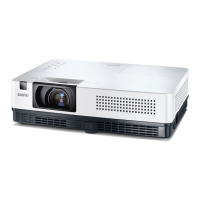
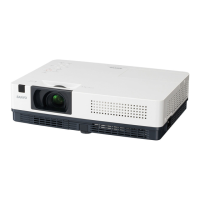
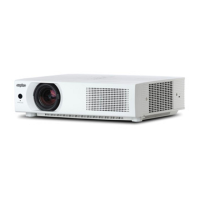
Projector's compact size and weight make it easy to carry and install anywhere.
Projector supports 360-degree projection with some restrictions.
Multi-scan system conforms to most computer signals, accepting up to UXGA.
Includes digital zoom and blackboard mode for presentations.
Reduces power consumption and maintains lamp life.
Allows selection of projection lamp brightness levels.
Allows immediate unplugging of AC power cord after shutdown.
Customizes screen logo with captured images for startup or presentations.
Operation menu available in 16 languages for user convenience.
Key lock and PIN code lock prevent unauthorized use.
Functions for monitoring and maintaining lamp and filter status.
Supports Wired and Wireless LAN for network connectivity.
Projects images or data from SD card without a computer.
Automatically detects and selects incoming input signals.
Ensures proper ventilation to prevent overheating and maintain operation.
Guidelines for safely moving the projector, including using the carrying case.
Specifies correct positioning to avoid reduced lamp life or hazards.
Details on avoiding incorrect projector placement like rolling or tilting.
FCC/CE compliance notices and AC power cord requirements.
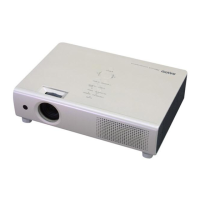
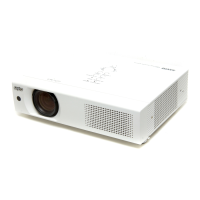
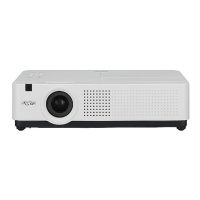
Identifies components and indicators on the projector's front panel.
Identifies components and ports on the projector's back panel.
Identifies components on the projector's bottom panel.
Details the various input/output terminals on the rear of the projector.
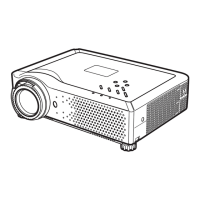
Describes the buttons and indicators on the projector's top panel.
Explains the functions of each button on the remote control.
Details the use of the laser pointer feature for presentations.
Explains how to use the spotlight or pointer with the remote.
How to use the remote as a wireless mouse for a computer.
Explains how to change remote control codes to avoid interference.
Instructions for installing batteries in the remote control.
Specifies the maximum operating distance and angle for the remote.
Describes how to adjust the projector's feet for proper angle and tilt.
Guidelines for projector placement relative to the screen for optimal image projection.
Instructions on how to connect the projector to a power outlet.
Details on connecting a computer to the projector via various cables.
Instructions for connecting video sources like VCRs or DVD players.
How to connect component video sources using specific cables.
Step-by-step guide for powering on the projector, including PIN code entry.
Explanation of PIN code and procedure for entering it.
Instructions on how to properly shut down the projector.
Guide on navigating and using the projector's on-screen menu system.
Overview of the different menu options available for computer and video sources.
How to adjust the image size and clarity using the zoom lever and focus ring.
Automatic correction of keystone distortion and display parameters.
Manual adjustment of keystone distortion to correct trapezoidal images.
How to control volume, mute sound, and use menu-based sound settings.
Explains common operations using the remote control buttons.
How to temporarily black out the projected image.
Details the use of the presentation timer function.
How to select different image modes for optimal picture quality via remote.
Guide to selecting computer input sources (Analog/Digital).
Selecting digital computer input sources and HDCP compatibility.
Automatic and manual selection of computer system types.
Step-by-step process for manual computer system selection.
Automatic adjustment of computer image parameters for optimal display.
Fine-tuning computer image parameters manually.
Choosing preset image modes like Dynamic, Standard, or custom settings.
Adjusting contrast, brightness, color, and white balance for computer input.
Resizing the projected image to fit the screen, including Normal, Wide modes.
Manually adjusting screen scale and position for custom display.
Using digital zoom to magnify or reduce the projected image.
Selecting video input sources like composite video or S-video.
Selecting component video and RGB Scart inputs.
Choosing the correct video system (PAL, SECAM, NTSC) or component format.
Selecting video image modes like Cinema or Blackboard.
Adjusting color, tint, and other image parameters for video input.
Customizing the video image size for different aspect ratios.
Selecting the display language for the on-screen menu.
Enabling auto keystone correction and auto PC adjustment.
Managing keystone correction, blue back, and display options.
Customizing startup display and selecting logo options.
Setting PIN codes to protect logo changes and access.
Configuring image inversion for ceiling or rear projection.
Managing input signal detection and network standby mode.
Features for power saving and controlling lamp brightness.
Settings for auto power-on and presentation pointer customization.
Setting matching codes for projector and remote control.
Functions to prevent unauthorized operation using key or PIN codes.
Controlling cooling fan speed and recording operational warnings.
Tracking lamp usage and filter cleaning intervals.
Resets all settings to their original factory defaults.
Explains projector status based on WARNING indicator lights and blinking.
Step-by-step guide for cleaning the projector's air filters.
Resets the filter cleaning timer after cleaning the filters.
Instructions for securely attaching the lens cap for protection.
Proper methods for cleaning the projector lens to maintain image clarity.
Guidelines for cleaning the projector's exterior body.
Detailed procedure for replacing the projection lamp, including safety warnings.
Resets the lamp usage counter after a lamp replacement.
Common problems and solutions for projector operation.
Hierarchical view of all projector menu options and functions.
Guide to understanding projector status via indicators and conditions.
List of supported computer resolutions and frequencies.
Detailed technical data, dimensions, power, and environmental specs.
Lists of included and separately available items.
Information regarding PJLink compatibility and usage.
Pin-out diagrams for all projector connectors.
Space to record PIN codes for security features.
Physical dimensions and ceiling mount hole information.