SARK
SARKSARK
SARK-
--
-110
110110
110
User’s Manual
Rev 1.2.6 October 3
rd
, 2015 - 11 - © Melchor Varela – EA4FRB 2011-2015
4.7 Using Markers
The SARK-110 has two markers that can either be manually positioned by the user or set to
operate in automatic tracking mode. The markers indicate the horizontal and vertical position of
the point on which they are positioned. The horizontal position of a marker is shown by a dotted
vertical line which extends from the top to the bottom of the measurement diagram. The markers
information window, in blue background, shows the frequency (or distance in cable test mode)
and the two values that correspond to the plotted values at each of the markers.
Use Navigator A to highlight either «Marker1» or «Marker2» in the main menu.
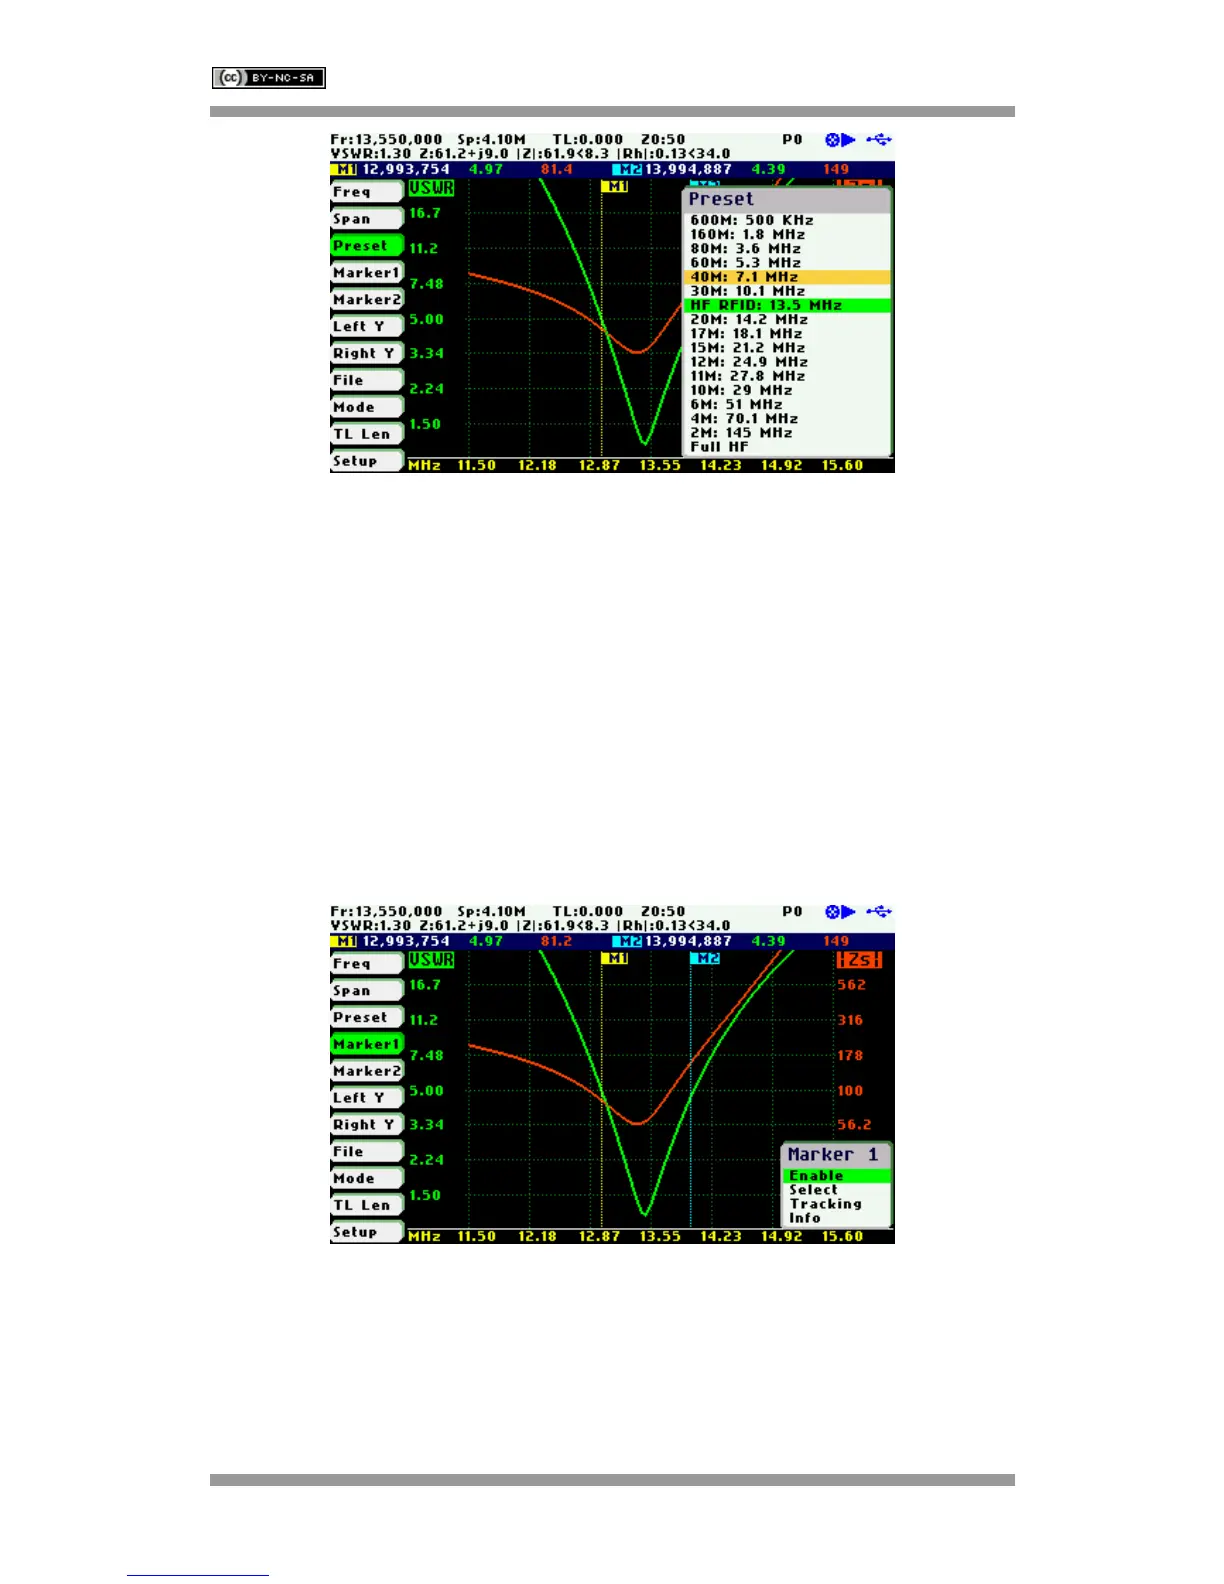
Press the Select [■] button to activate the Marker popup submenu. Available options are:
«Enable» for activating or deactivating the marker, «Select» for selecting or deselecting the
marker, and «Tracking» for selecting the tracking mode; see screenshot below:
The «Select» option activates or deactivates the display of detailed parameters at the marker
position. The screenshot below shows Marker1 in the selected state: