Leveling the Weighing Platform (Verified Models Only)
Purpose:
– To compensate for uneven areas at the place of installation
– To ensure that the equipment is placed in a perfectly horizontal position
for consistently reproducible weighing results
Always level the weighing platform again any time after it has been moved
to a different location.
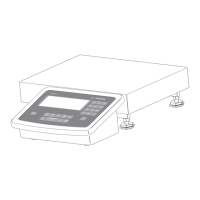
§ Level the weighing platform using the four leveling feet.
Turn the feet until the air bubble is centered in the level indicator.
§ Check to ensure that all leveling feet rest securely on the work surface.
> Each of the leveling feet must support an equal load.
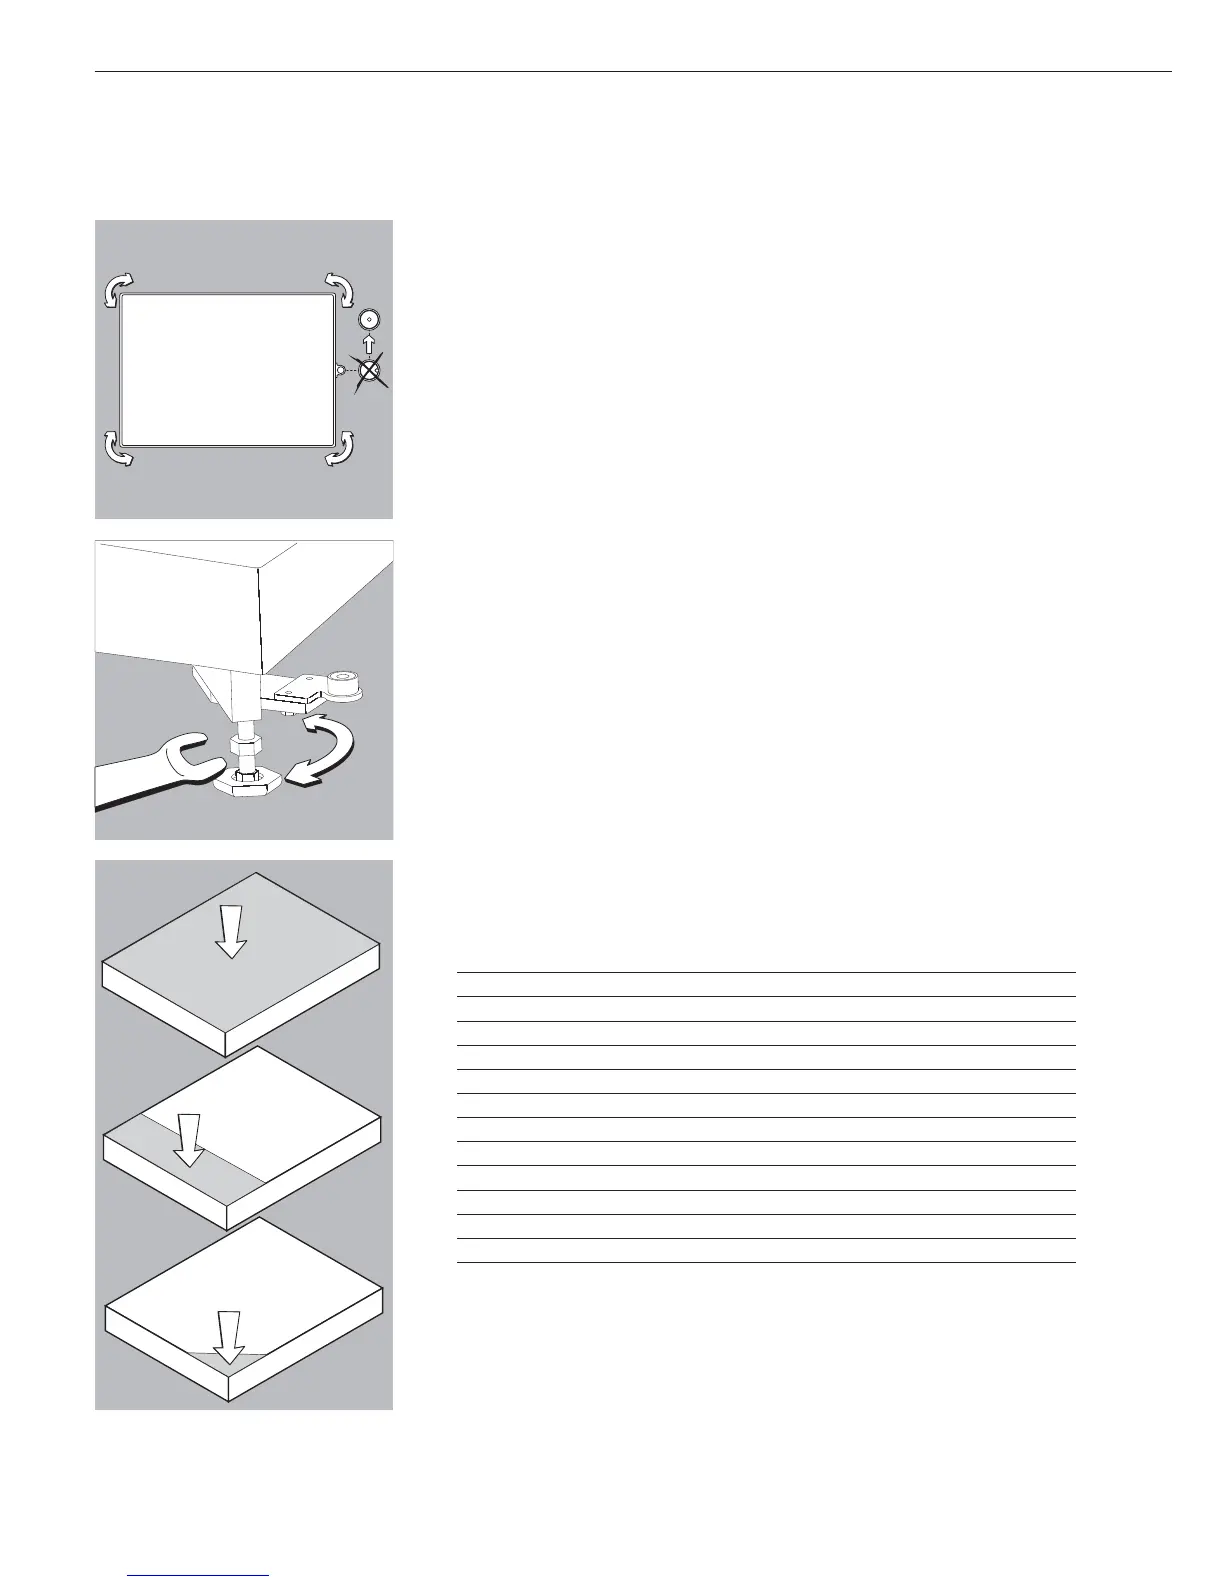
§ Loosen the locknuts on the leveling feet using an open-end wrench (spanner).
> Adjusting the leveling feet:
To raise the weighing platform, extend the leveling feet (turn counterclockwise).
To lower the weighing platform, retract the leveling feet (turn clockwise).
§ After leveling the weighing platform, tighten the lock nuts as follows:
Small platforms (1 load cell): tighten the locknuts against the platform frame
Large platforms (4 load cells): tighten the locknuts against the platform foot
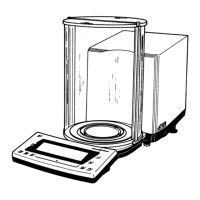
Operating Limits
Never exceed the maximum capacity of the weighing platform.
The maximum loading capacities of the weighing platforms in this series are listed in
the table below, and depend on the position of the load on the platform:
Model Width (mm) Length (mm) Center* Side Corner
DC 240 320 50 35 20
ED 300 400 130 85 45
FE 400 500 300 200 100
GF 500 650 600 400 200
IG 600 800 450 300 150
II 800 800 1200 800 400
LI 800 1000 900 600 300
LL 1000 1000 4500 3000 1500
NL 1000 1250 4500 3000 1500
NN 1250 1250 4500 3000 1500
RN 1250 1500 4500 3000 1500
RR 1500 1500 4500 3000 1500
WR 1500 2000 4500 3000 1500
* overload capacity of the platform
Getting Started
6