SATEL VERSA 23
3. Step 2. Selecting parameters to be programmed. Press in turn the suitable keys to
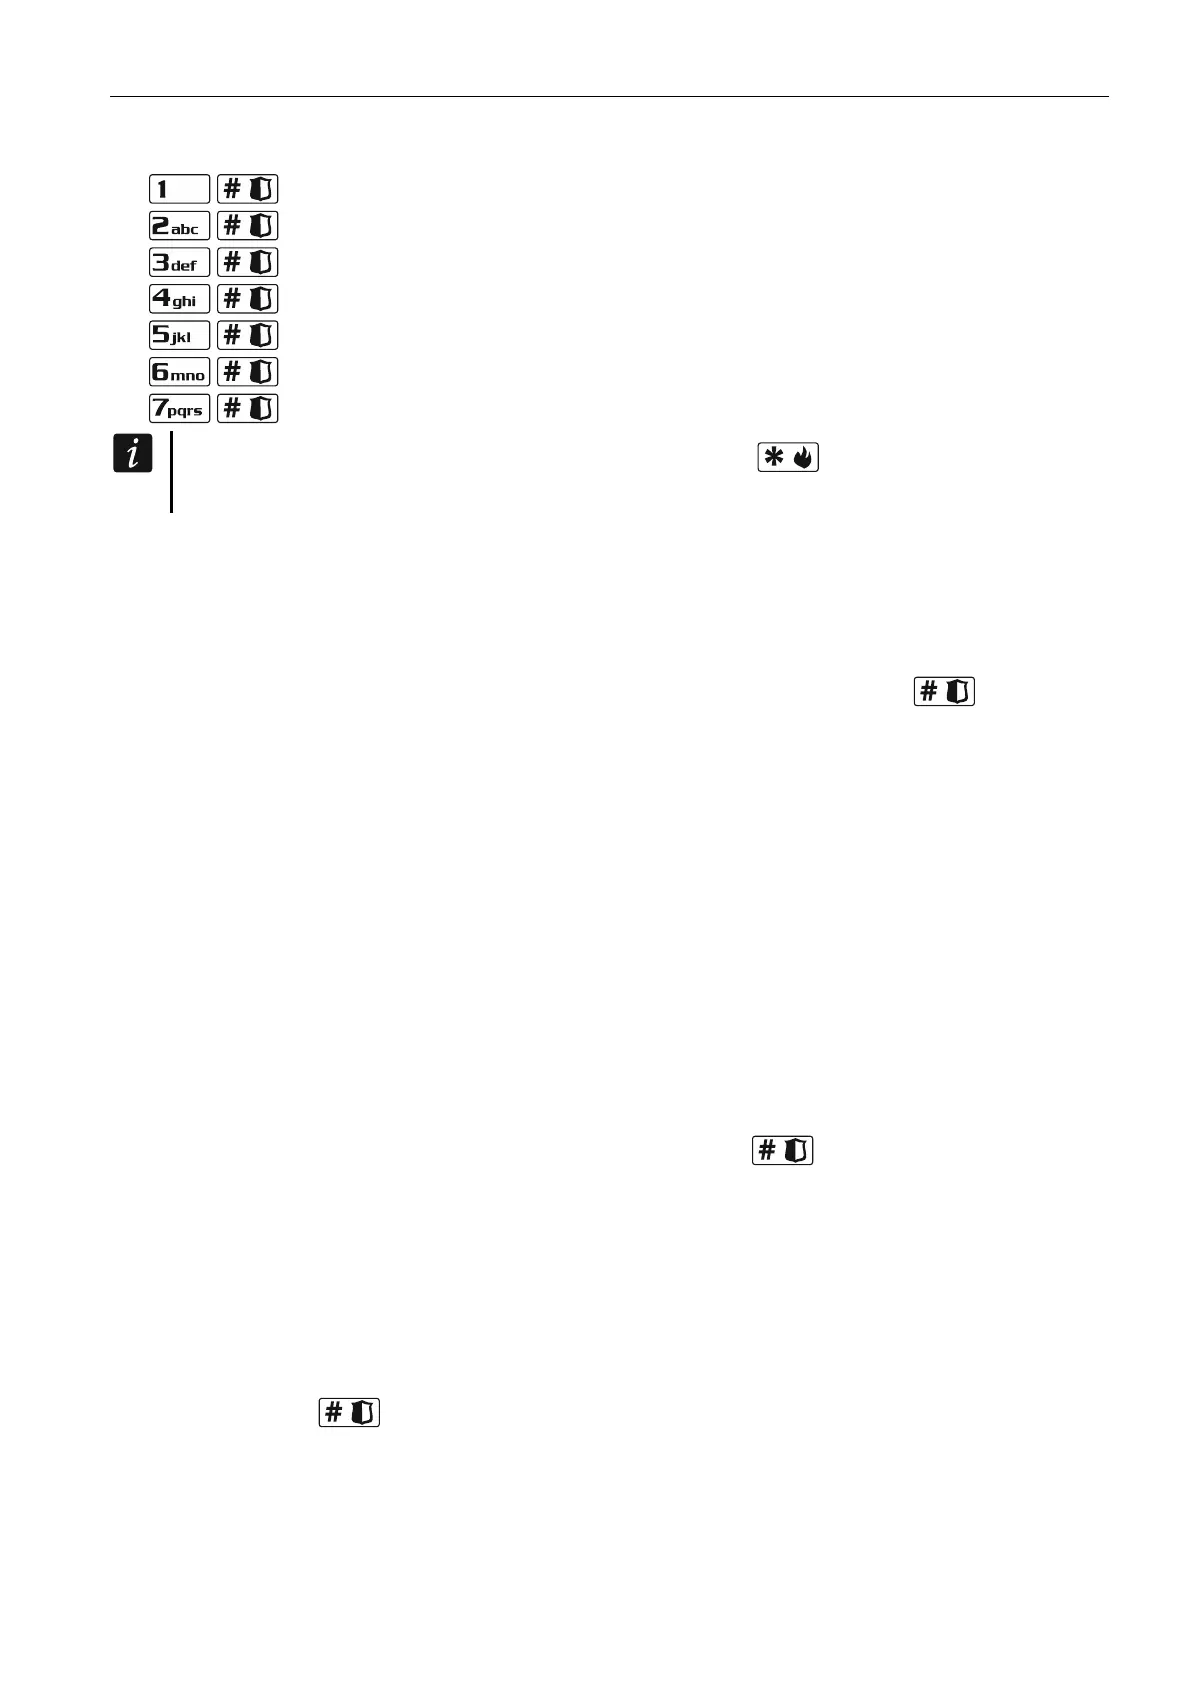
select a parameter:
- weekly schedule,
- exception 1,
- exception 2,
- exception 3,
- exception 4,
- partition 1 arming mode,
- partition 2 arming mode.
Irrespective of the selected parameter, pressing the
key in a subsequent step
will take you back to Step 2.
3.14.1 Programming the weekly schedule
1. Step 3. Programming timer activation/deactivation time on Monday. The parameters
will be presented on LEDs (see page 11 Table 1), but only 6 out of 8 digits that can be
entered. Enter the time of timer activation (hour:minutes) and/or deactivation
(hour:minutes). If you want, you can only program the activation or deactivation time.
Instead of the other parameter, enter the sequence 9999 then. Press to go on to
the next step.
2. Step 4. Programming timer activation/deactivation time on Tuesday. Proceed in the
same way as in Step 3.
3. Step 5. Programming timer activation/deactivation time on Wednesday. Proceed in
the same way as in Step 3.
4. Step 6. Programming timer activation/deactivation time on Thursday. Proceed in the
same way as in Step 3.
5. Step 7. Programming timer activation/deactivation time on Friday. Proceed in the
same way as in Step 3.
6. Step 8. Programming timer activation/deactivation time on Saturday. Proceed in the
same way as in Step 3.
7. Step 9. Programming timer activation/deactivation time on Sunday. Proceed in the
same way as in Step 3.
8. Step 10. Programming timer activation/deactivation time on every day of the week.
Proceed in the same way as in Step 3. After pressing , you will be taken back to
Step 2.
3.14.2 Programming an exception
The exception is a period when the timer will be activated/deactivated at a different time than
provided for by the weekly schedule. The programming is carried out in the same way for
each of the four exceptions.
1. Step 3. Programming the date from which the exception will be valid. Enter the year
(only the two last digits), month and day. The date is presented on LEDs (see page 11
Table 1). Press to confirm the data and go on to the next step.
2. Step 4. Programming the date to which the exception will be valid. Proceed in the
same way as in Step 3.
3. Step 5. Programming the timer activation/deactivation time when the exception is
valid. Enter the data in the same way as for programming the timer
 Loading...