24 VERSA SATEL
activation/deactivation in the weekly schedule. After pressing , you will be taken
back to Step 2.
3.14.3 Selecting the arming mode
1. Define whether and what arming mode is to be activated by the timer (press one of the
keys: - full arming; - night arming; - day arming; - timer does not
arm the partition). The LEDs indicate what selection you have made (LED 1 blinking – full
arming; LED 2 blinking – night arming; LED 3 blinking – day arming; neither LED is
blinking – timer does not arm the partition).
2. Press . You will be taken back to Step 2.
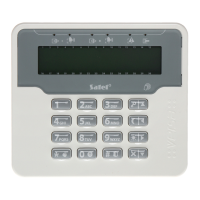
3.15 Programming the telephone numbers to be notified
Programming the phone numbers from LED keypad is not recommended (only up to 6
characters are presented by means of LEDs; some characters are not presented at all
– Table 1, page 11, contains the characters that are presented).
1. Enter the user menu and press in turn .
2. Press in turn the suitable keys to select the telephone number to be edited (the phone
numbers to which voice messaging is not enabled are only available to the installer):
- telephone 1,
- telephone 2,
- telephone 3,
- telephone 4,
- telephone 5,
- telephone 6,
- telephone 7,
- telephone 8.
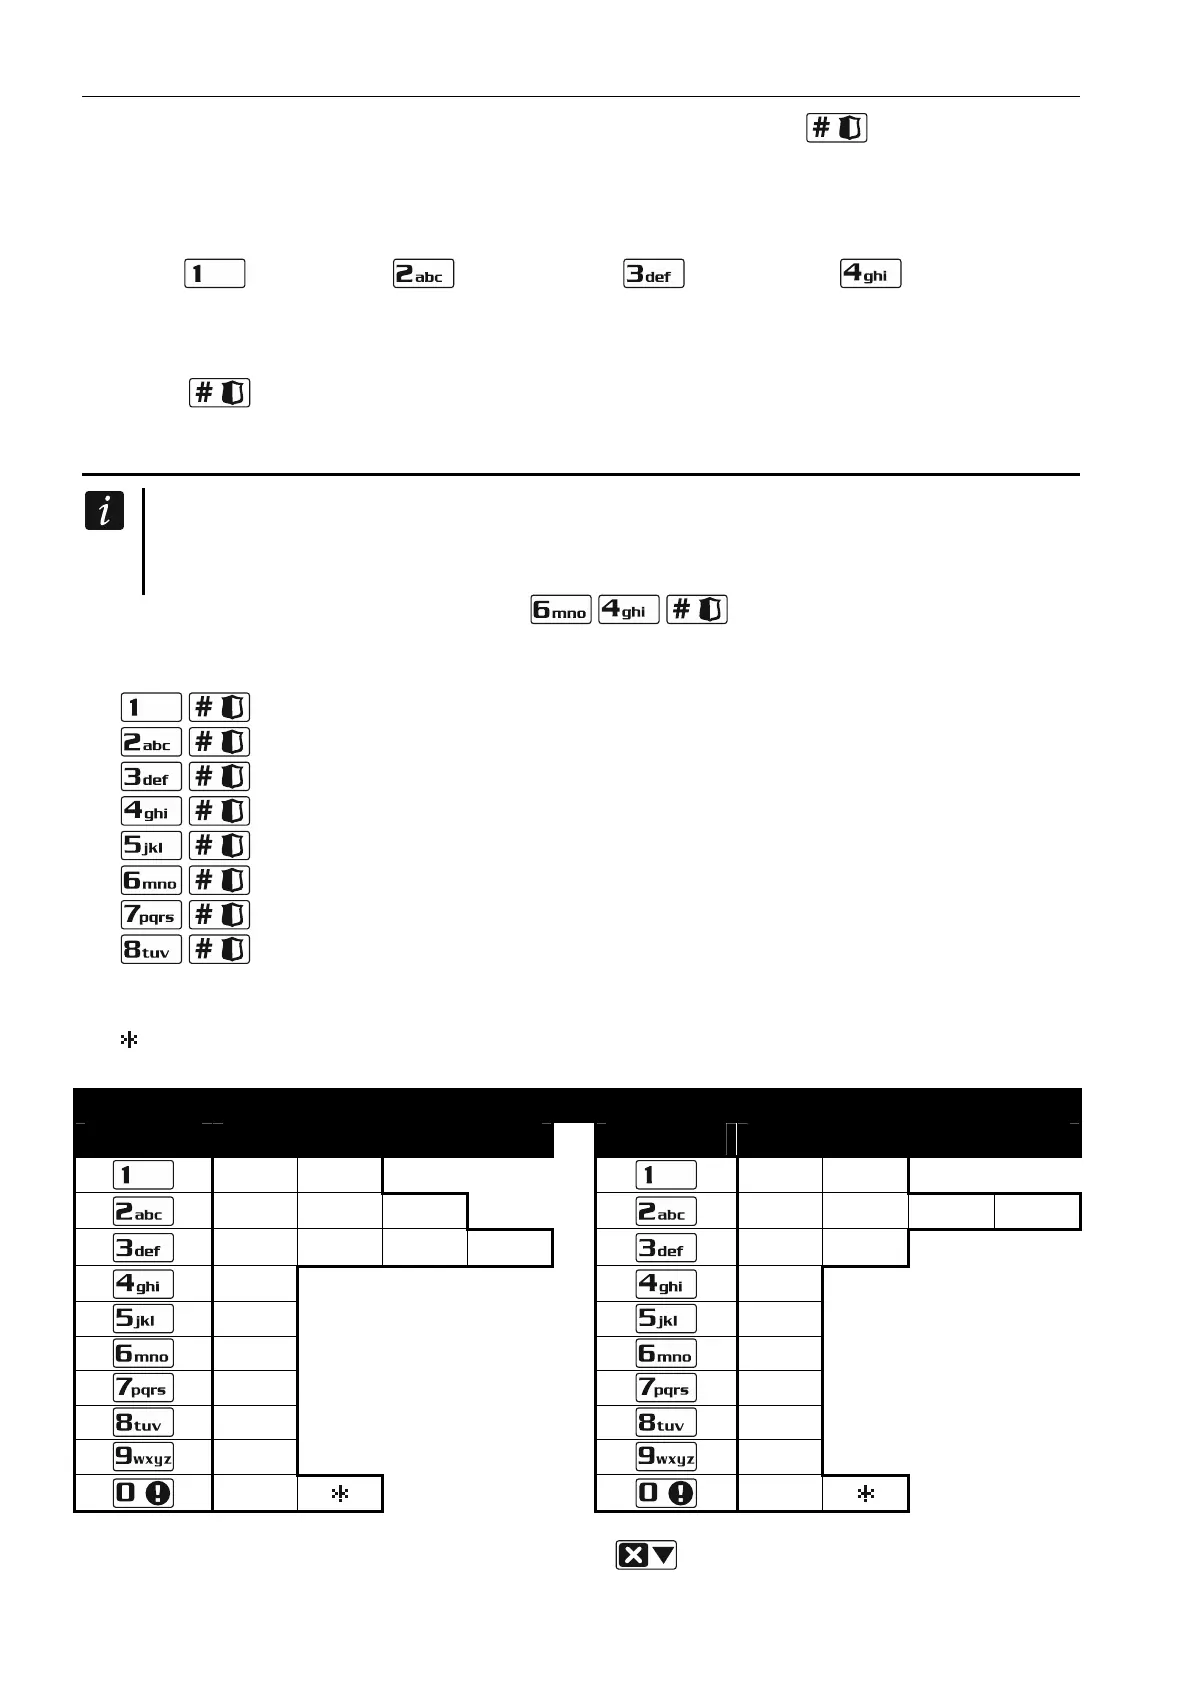
3. Enter the telephone number (the available characters are presented in Table 3). You can
enter up to 16 charact
ers. Some of the characters occupy two positions (a, b, c, d, # and
). If they are used, you can enter less characters than 16.
Characters available after next keystroke
key mode [ABC]
key mode [abc]
1 #
1 #
2 B C
2 a b c
3 D E F
3 d
4
4
5
5
6
6
7
7
8
8
9
9
0
0
Table 3. Characters available in the keypad when entering telephone numbers (to change the
letter case, press
key).