Cooling system
OPM 250 en-GB 54
© Scania CV AB 2022, Sweden
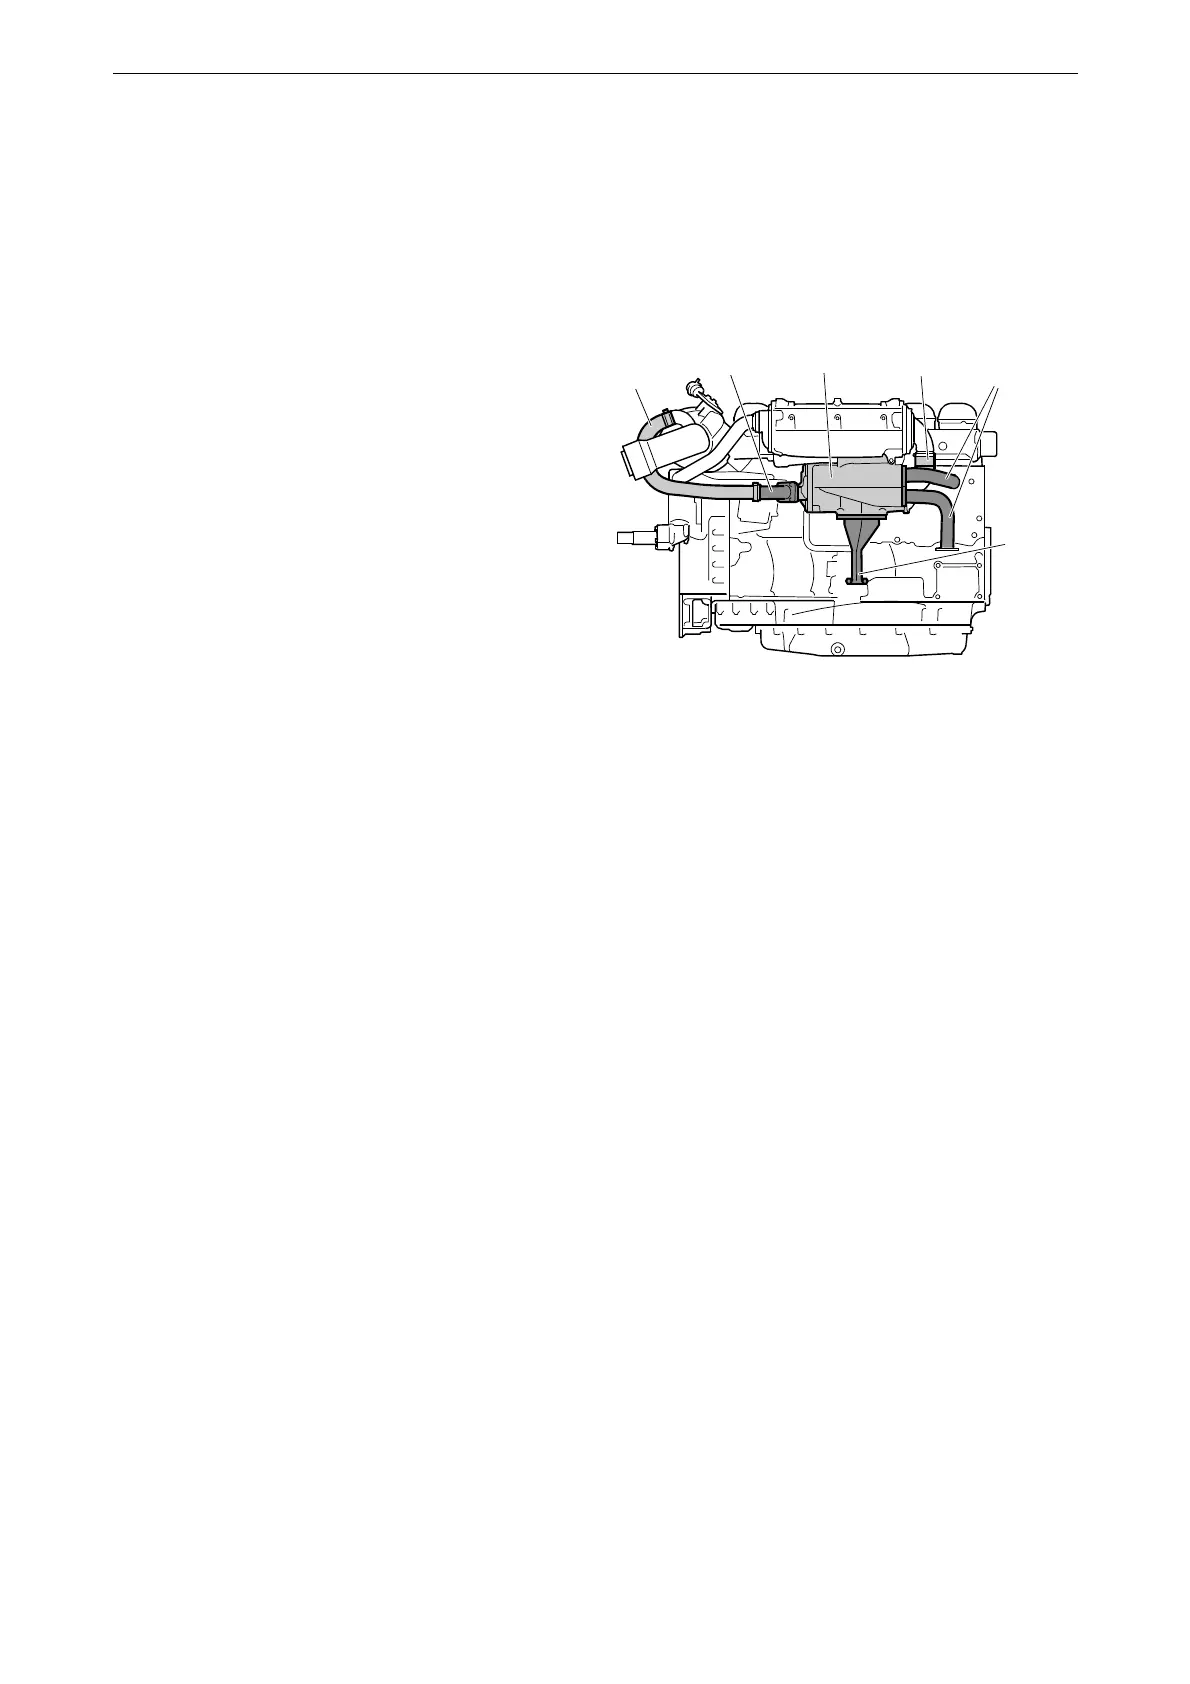
Removing the heat exchanger
When the cooler core of the heat exchanger
needs cleaning, the heat exchanger must be re-
moved.
Before starting work: Make sure that the cooling
system is empty as described earlier.
1. Undo the V-clamp for the hose (1) between
the heat exchanger and the water-cooled ex-
haust pipe bend, if the engine has one. Bend
the hose to one side.
2. Remove the inlet and outlet coolant pipes
and the sea water pipe (2) from the heat ex-
changer.
3. Release the hose clamp and remove the sea
water hose (3) between the charge air cooler
and the heat exchanger.
4. Remove the screws holding the heat ex-
changer (4) in the 2 brackets.
5. Slacken the screws holding the heat ex-
changer bracket (5) in the cylinder block suf-
ficiently to allow the heat exchanger to be
removed.
6. Remove the heat exchanger.