28
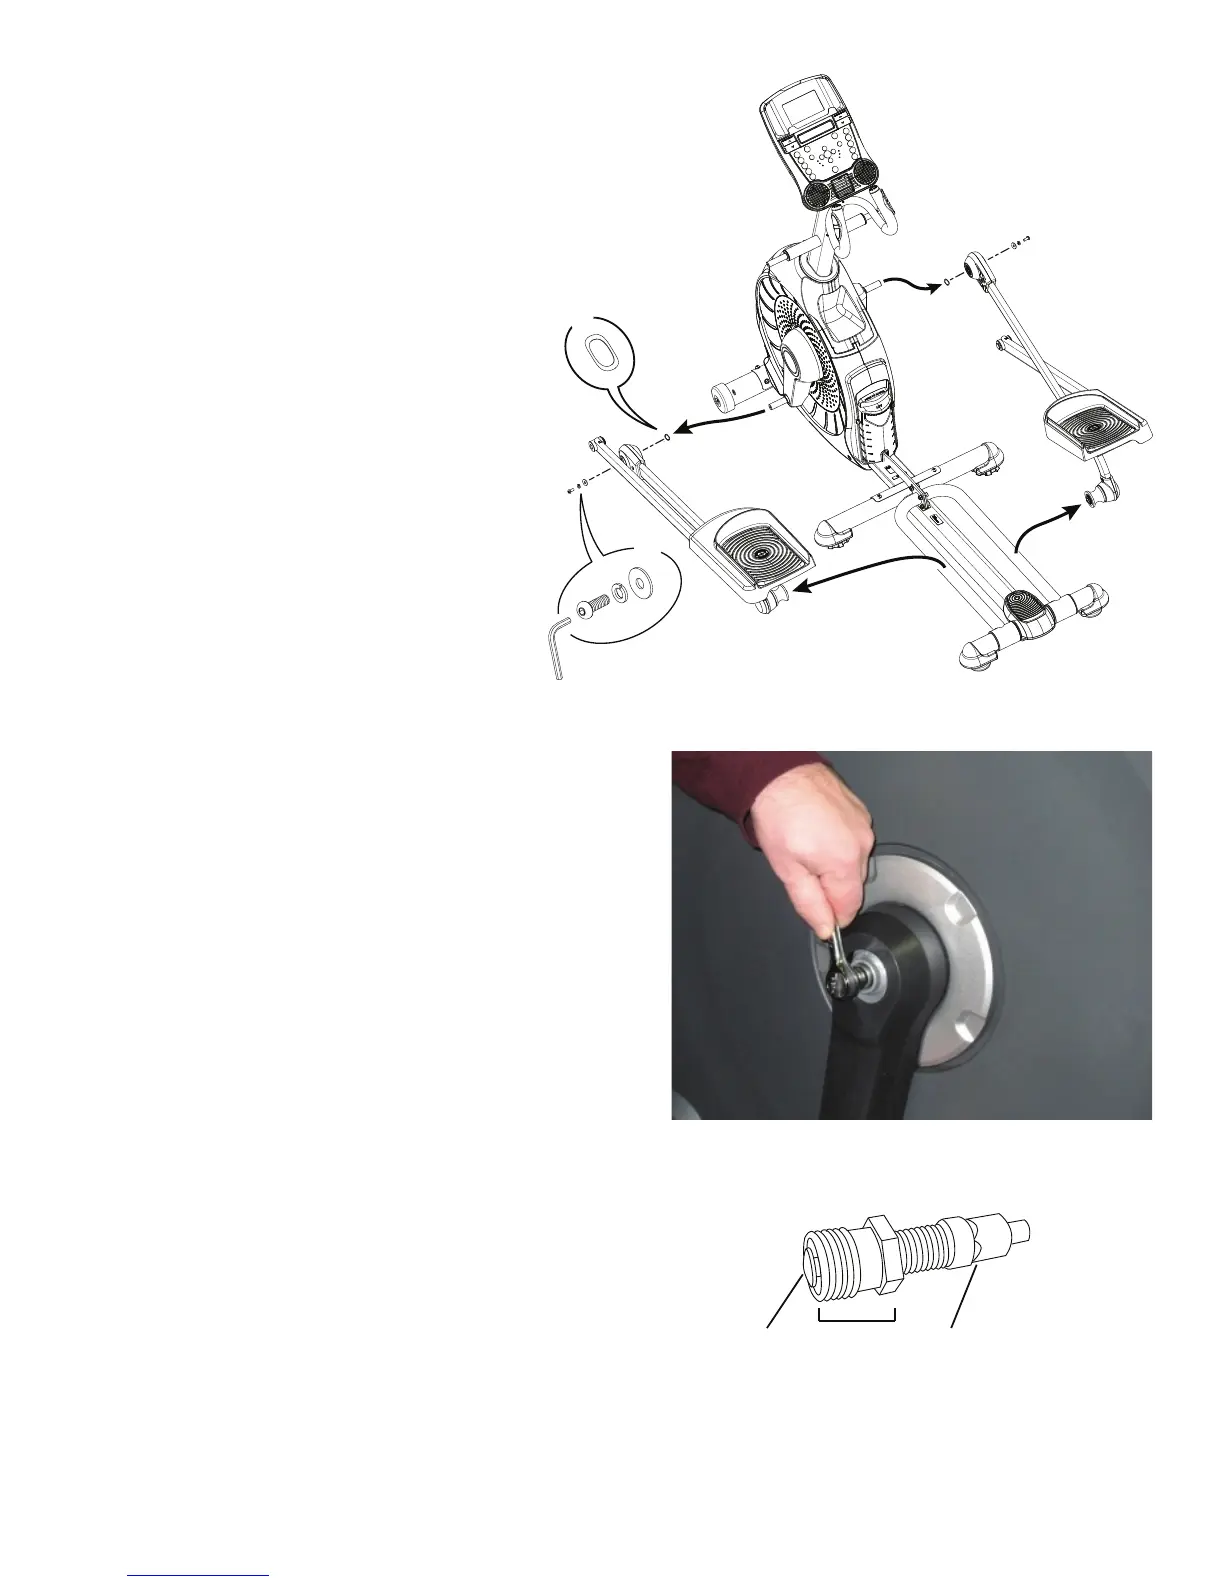
4. Using a 6mm hex wrench, loosen and remove the indicated hardware
from the Legs, and set it safely aside for reassembly. On each side of the
machine, remove the Leg and Pedal together from the Rail Assembly and
set them safely aside for reassembly.
NOTICE: This step may require two people.
5. Using a 14mm socket and ratchet, remove the Lock Nut from
the Crank Arm with Plastics.
6. Thread the Crank Puller into the Crank Arm with Plastics.
When the Crank Puller is in the correct position, only 1-2 threads on
the outer portion (CP2) of the Crank Puller should show.
Note: Be sure the end of the Bolt (CP1) of the Crank Puller is
flush with the Nut (CP2) as shown, before use.
X2
X2
6mm
CP1 CP2 CP3
Image does not match your machine. For illustrative purposes only.