REDUCER/CYLINDER VALVE RCV-2
3.
Carefully fit replacement piston seat (25), chamfered end first, into end of piston
(22). Place seat on a clean, hard surface and ensuring that seat remains square
to piston, push down on piston firmly until seat fully enters piston. Inspect seat
to ensure that it is clean, undamaged and correctly inserted.
4.
Lightly lubricate replacement O-Rings (23 & 24) with Krytox Grease (K).
5.
Fit O-Rings (23 & 24) to piston (22), taking care to ensure that O-Rings lie
squarely in grooves and are not twisted.
4.3
REPLACING THE HIGH-PRESSURE BURST DISC (IF FITTED)
Note:
Bracketed numbers in this Section e.g: (4) refer to components depicted in Assembly
Diagram and Parts List 5.2.
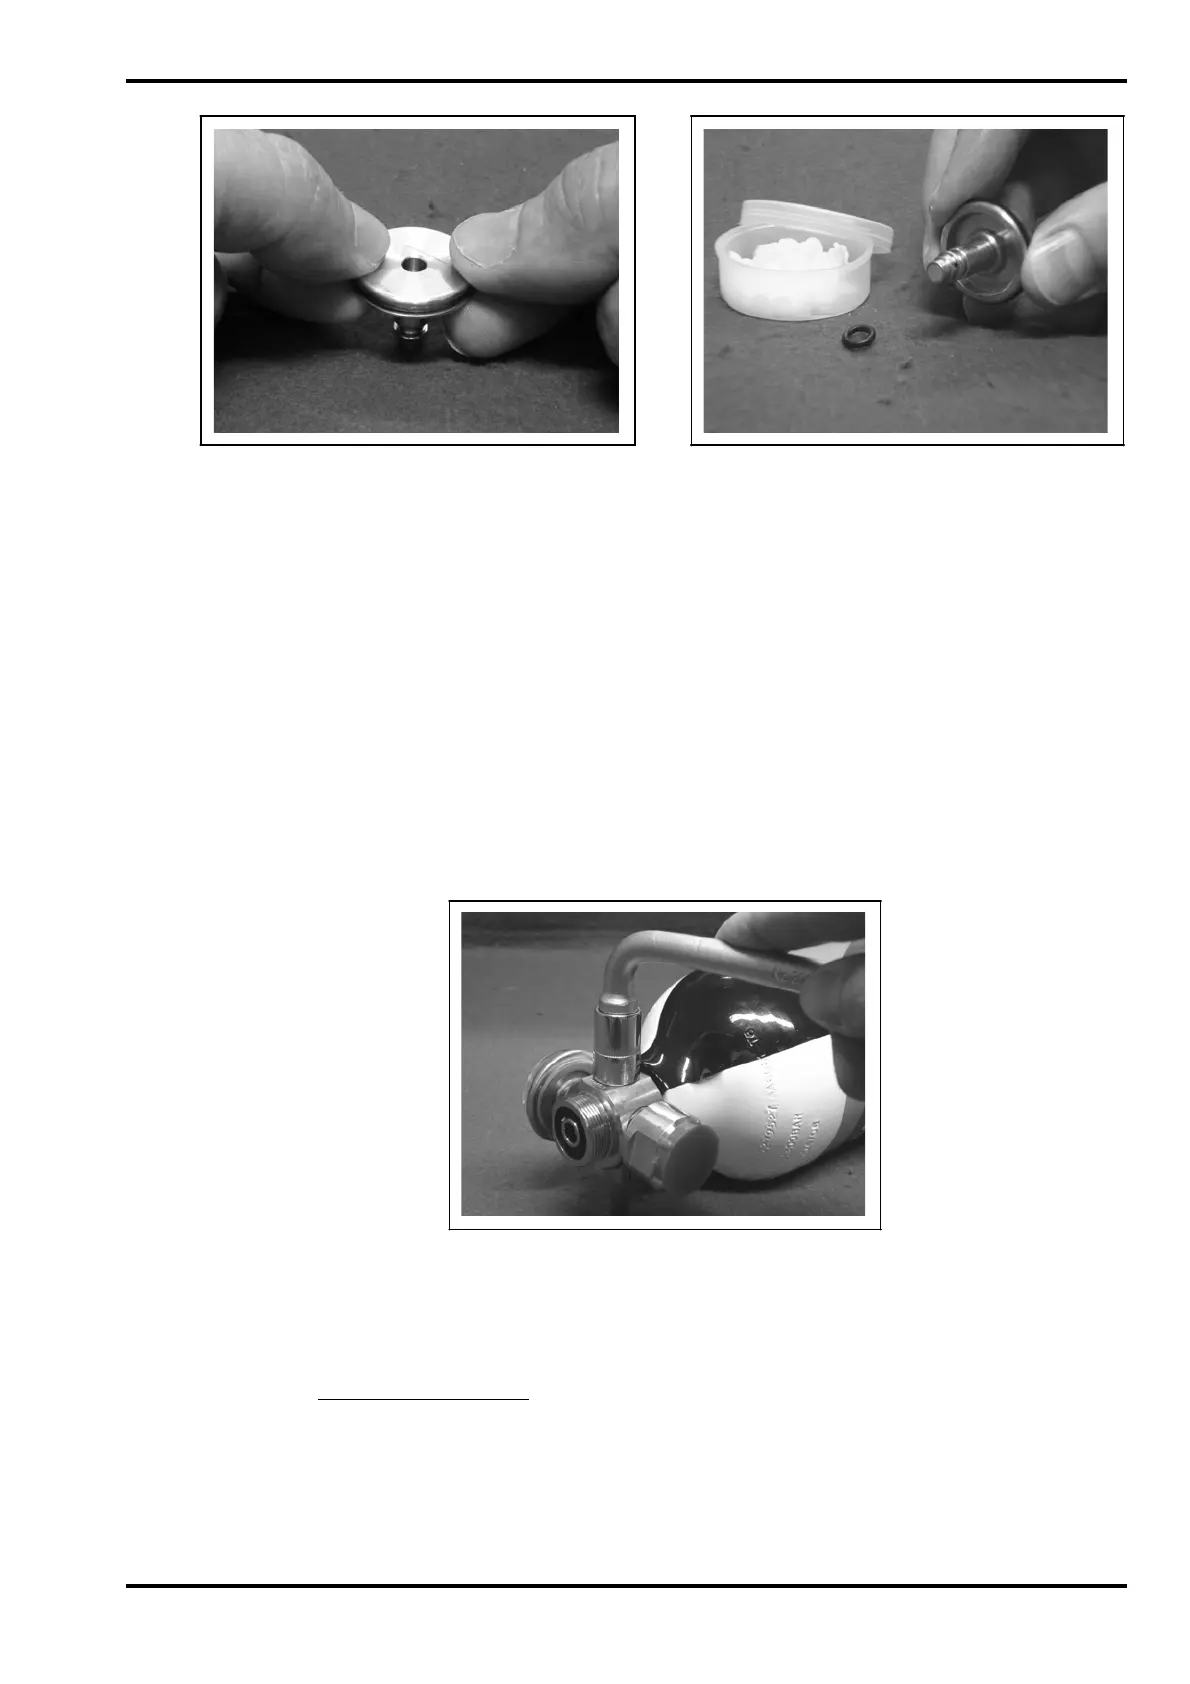
1.
Use 3/8” A/F Socket (D) with Socket Handle (B) to remove burst disc body (42).
2.
Withdraw and discard burst disc and washer (43).
3.
Lightly lubricate replacement burst disc and washer (43) with Krytox Grease (K)
and insert burst disc first, followed by washer into reducer body (27).
4.
Apply ONE drop of Loctite 222 (M) to thread of burst disc body (42). Screw into
reducer body (27) and tighten to a torque of 10 Nm using 3/8” A/F Socket (D)
and Torque Wrench (A).
Issue D 10. 2009
RCV-2
(Page 7)
 Loading...