Wall mounting your display unit
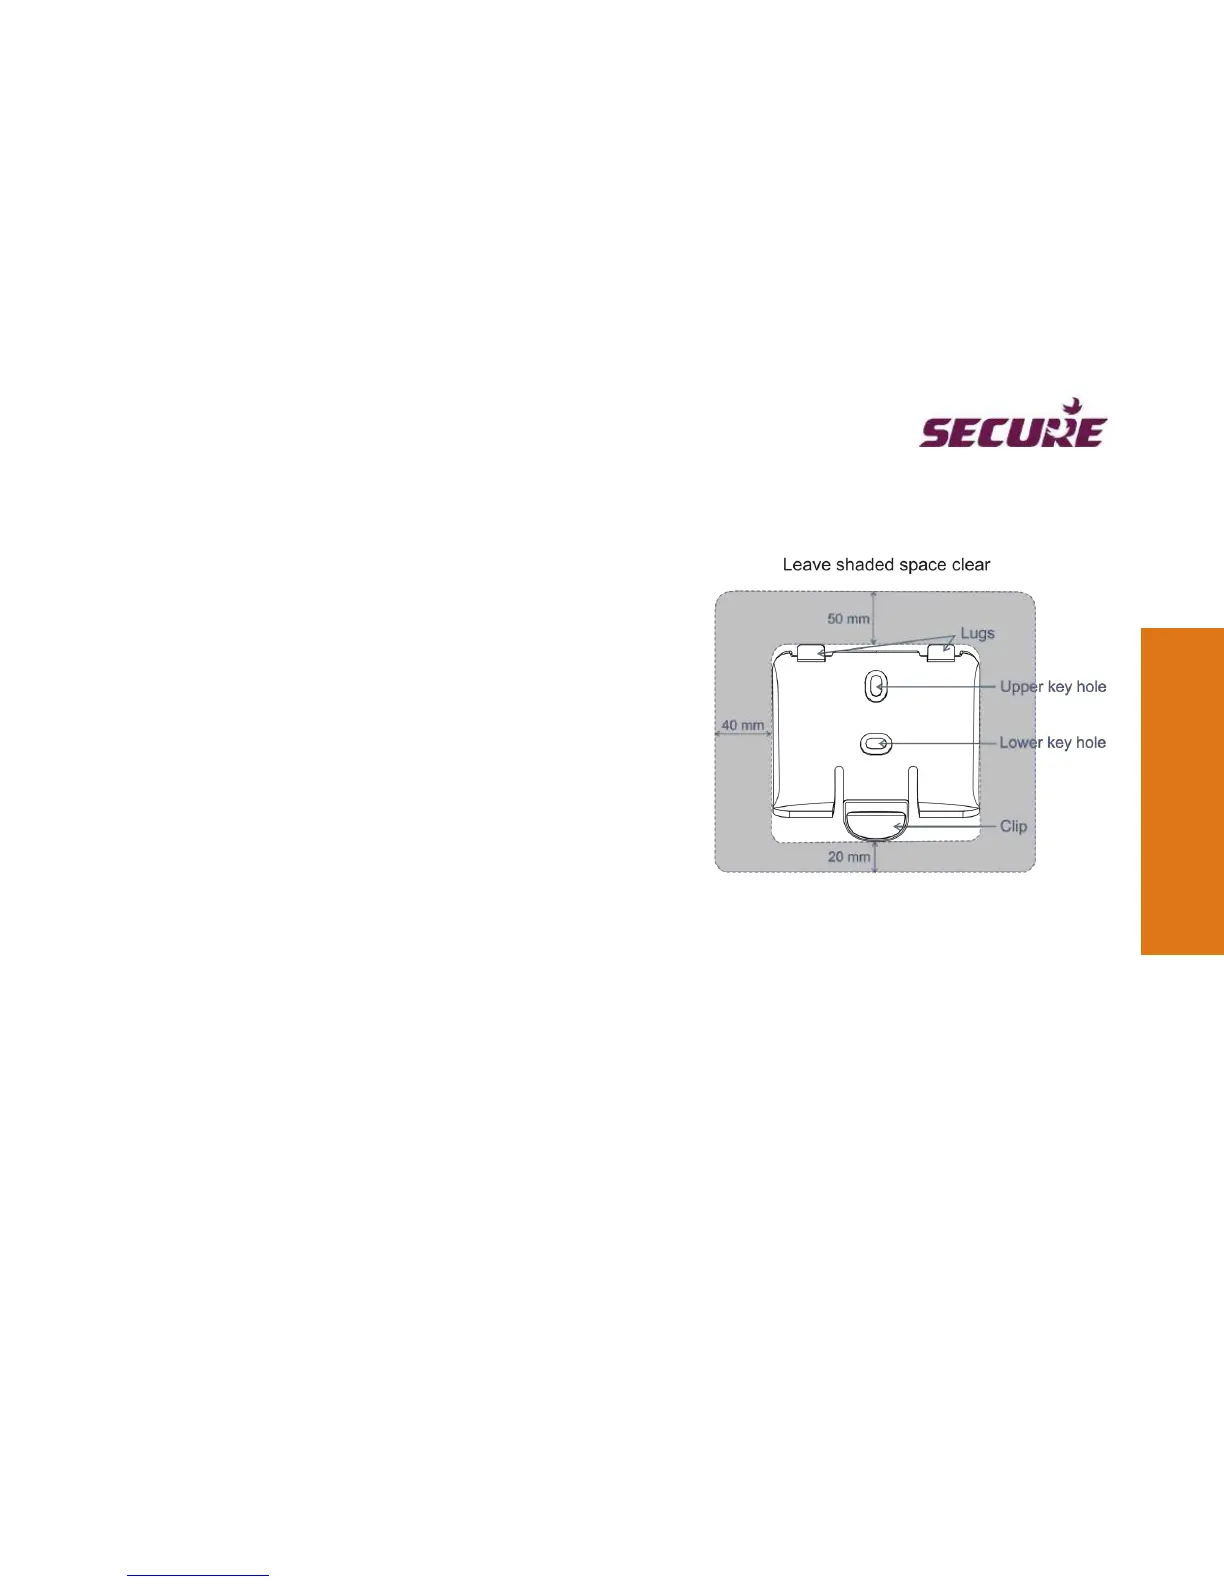
Select a suitable position on the wall where you wish to mount
your Pipit. Hold the Pipit’s mounting bracket upright against the
wall, leaving at least 50 mm space above, 20 mm space below
and 40 mm space on either side so that the unit can be fitted on
to the bracket as shown here.
Mark the positions of the two key holes of the bracket on the
wall, and then remove the bracket. Drill a hole through each of
the marks made on the wall. Hold the bracket against the wall so
that the two key holes align with the holes. Insert a suitable wall-
fixing in each of the holes and then fix the bracket in place using
M3 screws.
Now prepare the battery cover for fitting Pipit on to the bracket. To do this, remove the battery cover from the rear
of Pipit by sliding the cover downward and then break the section along the dotted line as shown here in step 1.
Then put the battery cover back on to Pipit by sliding the grooves on to the two lugs of the bracket as shown in
step 2. Align Pipit's top two grooves with the top two lugs of the wall bracket and then slide it gently with a
downward push as shown in step 3 until you hear a click sound.
 Loading...
