1
2
3
Installation Instructions TM50/TM80 - MO911/1V0
Page 6
Conditions for Installation
Installation
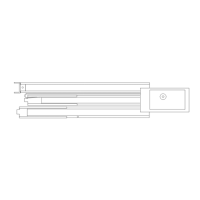
Pre-Mounting
Be aware not to twist the chain - rather slide the rail parts on the
oor than lift them�
The overall rail consists of three parts at 1m and two junction parts
which will keep the rails together�
1� The empty piece of rail must be joined to the rail which is xed
to the motor head� Run the junction-part over the joint till stop�
2� The junction-part in front shall prolude for approx� 1cm
3� Slide the last piece of rail, which carries the pulley in front, from
above into the proluding junction-part and press it down (the
chain will be tensioned)� Slide the junction-part over rail till stop�
4� Turn around the operator and tighten the grub-screws in the
junction-parts in order to keep them in place�
The operator is now fully pre-mounted for installation�
The chain is factory pre-tensioned� Do not change the chain
tension.
ATTENTION: Before using the operator the limit-blocks must
be set up and the operator must be put in programming
mode. Otherwise the operator will produce an error mes-
sage!
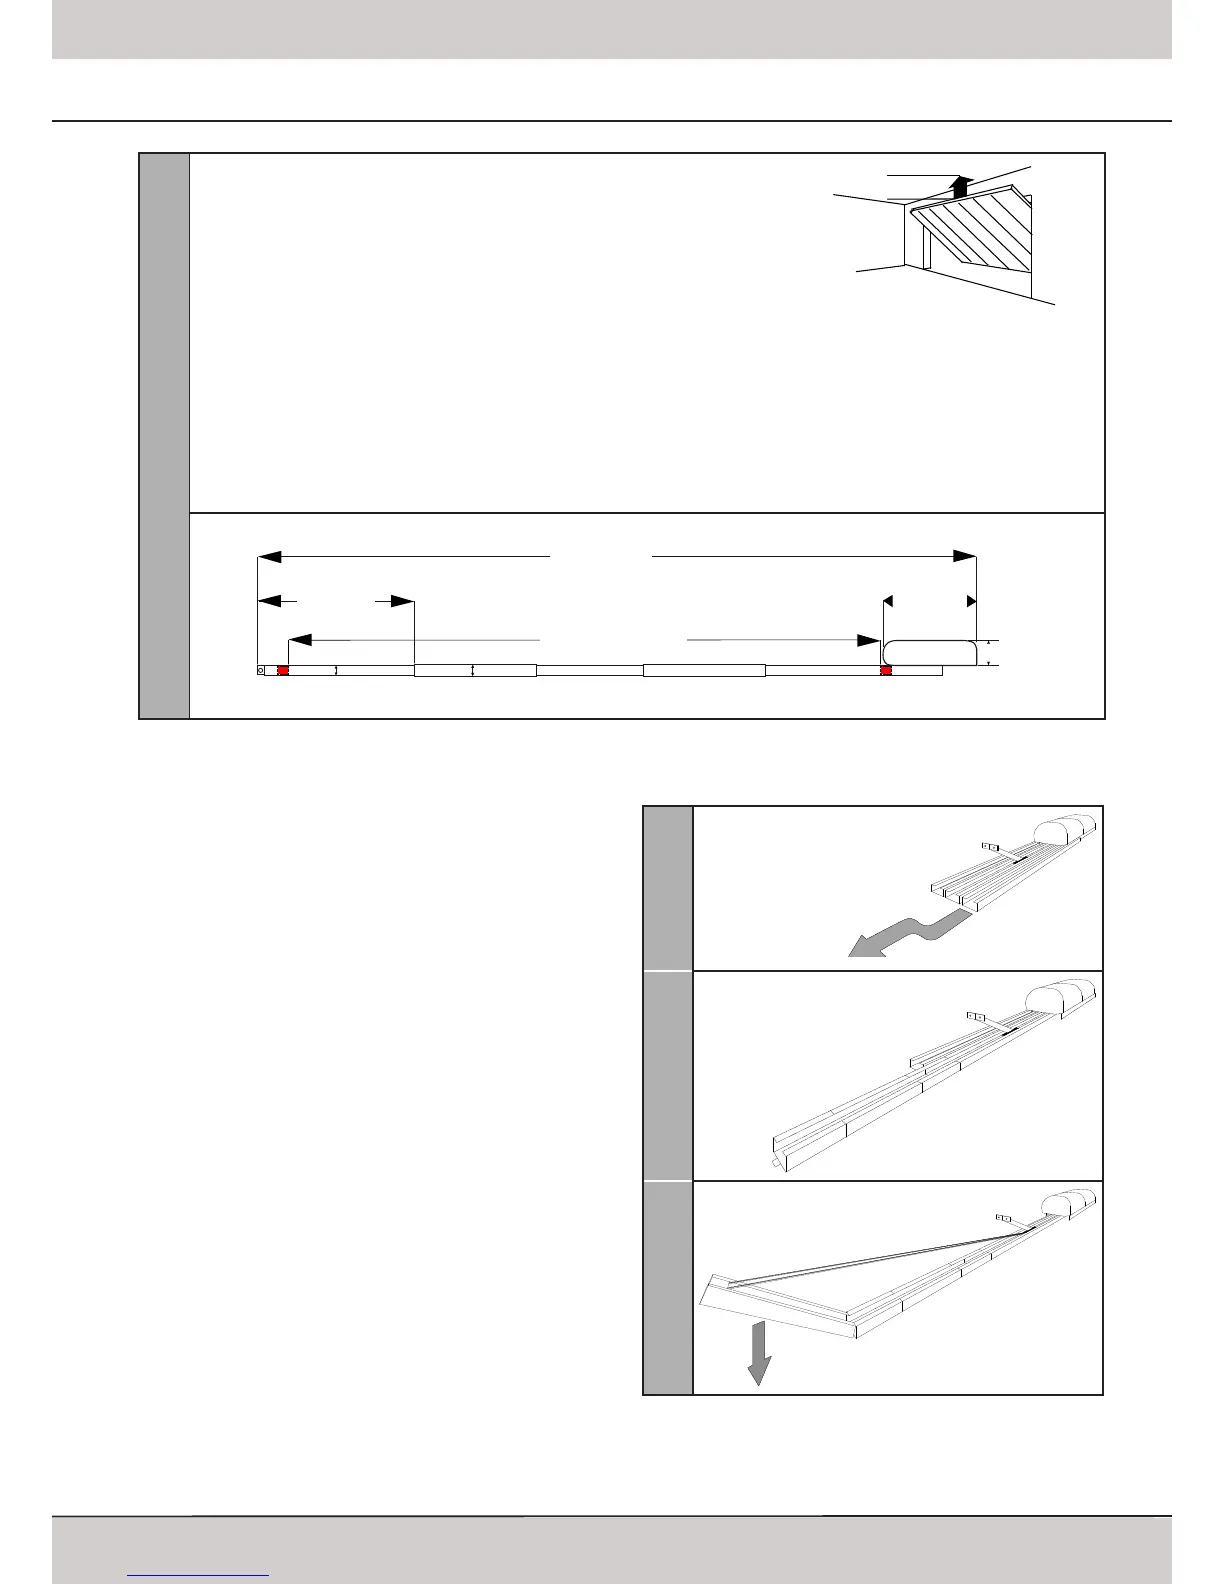
Minimum Headroom
A minimum distance of 35mm between the garage door and the ceiling is re-
quired�
Door Hight
No optionals are required for doors up to 2,250mm hight�
Between 2,250mm und 2,500mm: a lintel-sided extension for the rail might be
required� The operator will be set back by approx� 300mm in order to use the full
running length up to the front pulley (2,500mm max�)
Higher than 2,500mm: The C-rail must be extended� Extensions are available at
500mm and 1,000mm; the operator can be extended by 1,500mm in total� The
maximum door hight is 4,000mm
>35mm
Door Arm Extension
Should the minimum space between the garage door and the ceiling be smaller than 35mm then a door arm extension is
needed� For an extension you can use a metal beam from any DIY-market� The beam should not be shorter than the door‘s
height�
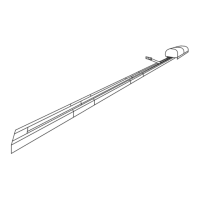
Dimensions
3.150 mm
800 mm
30 mm
35 mm