Section 2 Installation Instructions
Part Number 020005256 5/15 2-21
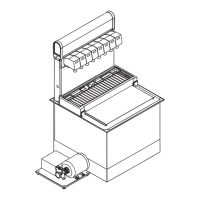
STARTING SYSTEM & DISPENSER
Upon completion of the beverage dispenser and / or
system installation, all tubing, dispenser, and system
components must be cleaned and sanitized prior to use.
NOTE: At installation equipment, dispensers, and tubing
get moved through many environments, dirt, dust,
chases, insulation, drywall, etc. It is an important
procedure and best practice to address cleaning to
deliver the best quality drink to your customer.
Clean and sanitize the water and syrup circuits
according to instructions provided in this manual. Clean
and sanitize the dispenser components according to
instructions provided in this manual. Consult and use
local health codes if a discrepancy occurs between this
manual and your local health codes.
Test Draw Temperature
Draw temperature test is only to be done after the
coldplate has completely chilled.
1. Operate one valve for about 15 seconds.
2. Take a temperature reading of the beverage on the
next 15 second draw. If the sample drawn is 40°F or
lower, go to the next step. If the beverage is higher
than 40°F, wait 10 minutes longer for the beverage
to attain the proper temperatures. Then repeat this
step.
3. When the beverage achieves the proper
temperature the valves syrup to water ratio (brix)
can be set.
4. Install flavor labels on the dispensing valve covers
then proceed to brix the valves.
Adjust Syrup to Water Ratio (Brix)
These are general brix instructions for beverage valves
using an S-tube syrup separator and high yield brix cup,
process may vary depending on valve manufacturer.
Refer to valve manufacturer for specific brix instructions.
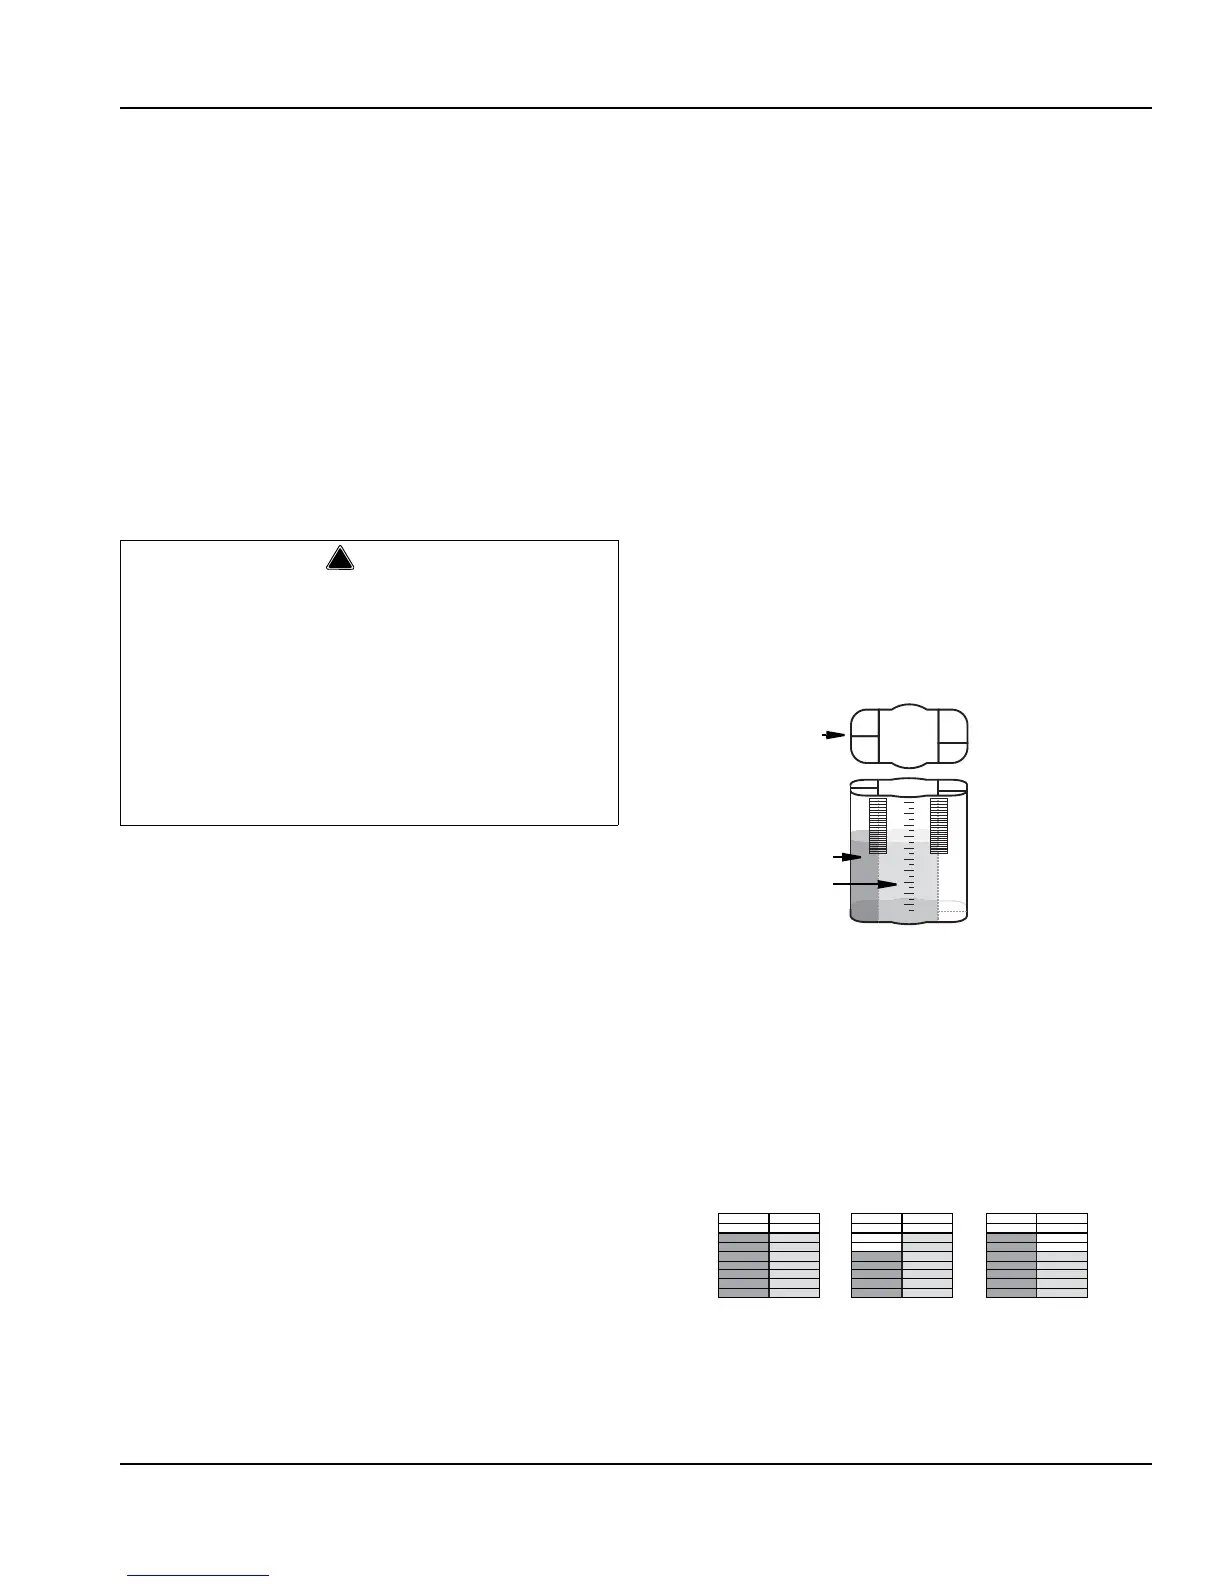
1. Remove nozzle and syrup diffuser from valve.
2. Use an S-tube syrup separator to separate the syrup
dispense from the water by installing the rubber tip
snuggly over the diffuser.
3. Re-attach nozzle and diffuser with S Tube in place.
4. After nozzle has been re-attached, dispense a small
amount of product to fill up the S-tube.
NOTE: This is necessary to ensure an accurate reading.
5. Position the large middle opening of the brix cup
under the valve. At the same time insert the free end
of the S tube into the proper syrup ratio chamber.
Verify what ratio is recommended for the product.
The diagram below illustrates a typical high yield
brix cup.
6. Dispense product until product reaches the grid on
the Brix cup.
NOTE: The water should be clear. If the water is not
clear, the S-tube has not been attached correctly to the
syrup diffuser, correct and repeat previous step.
7. Remove filled brix cup from dispenser and tap on
counter 3 times. Place on flat surface.
8. Look a the grid lines. The water and syrup levels
should be + / - 2 bars of each other.
9. Adjust dispensing valves for water-to-syrup ratio
(brix) as recommended by the syrup distributor.
10. Repeat these steps for each product that will be
dispensed.
Carbon Dioxide (CO
2
) displaces oxygen. Exposure to a
high concentration of CO
2
gas causes tremors, which are
followed rapidly by loss of consciousness and suffocation.
If a CO
2
gas leak is suspected, particularly in a small
area, immediately ventilate the area before repairing the
leak. CO
2
lines and pumps should not be installed in an
enclosed space. An enclosed space can be a cooler or
small room or closet. This may include convenience
stores with glass door self serve coolers. If you suspect
CO
2
may build up in an area, venting of the B-I-B pumps
and / or CO
2
monitors should be utilized.
6:1
5.5:1
8.5:1
5:1
WATER
5.5
to 1
8.5
to 1
10
OZ.
SYRUP
WATER
SYRUP
RATIOS
High Yield Brix Cup
SYRUP
WATER
SYRUP
WATER
SYRUP
WATER