Section 4 Maintenance
Part Number 020003997 4/12 4-5
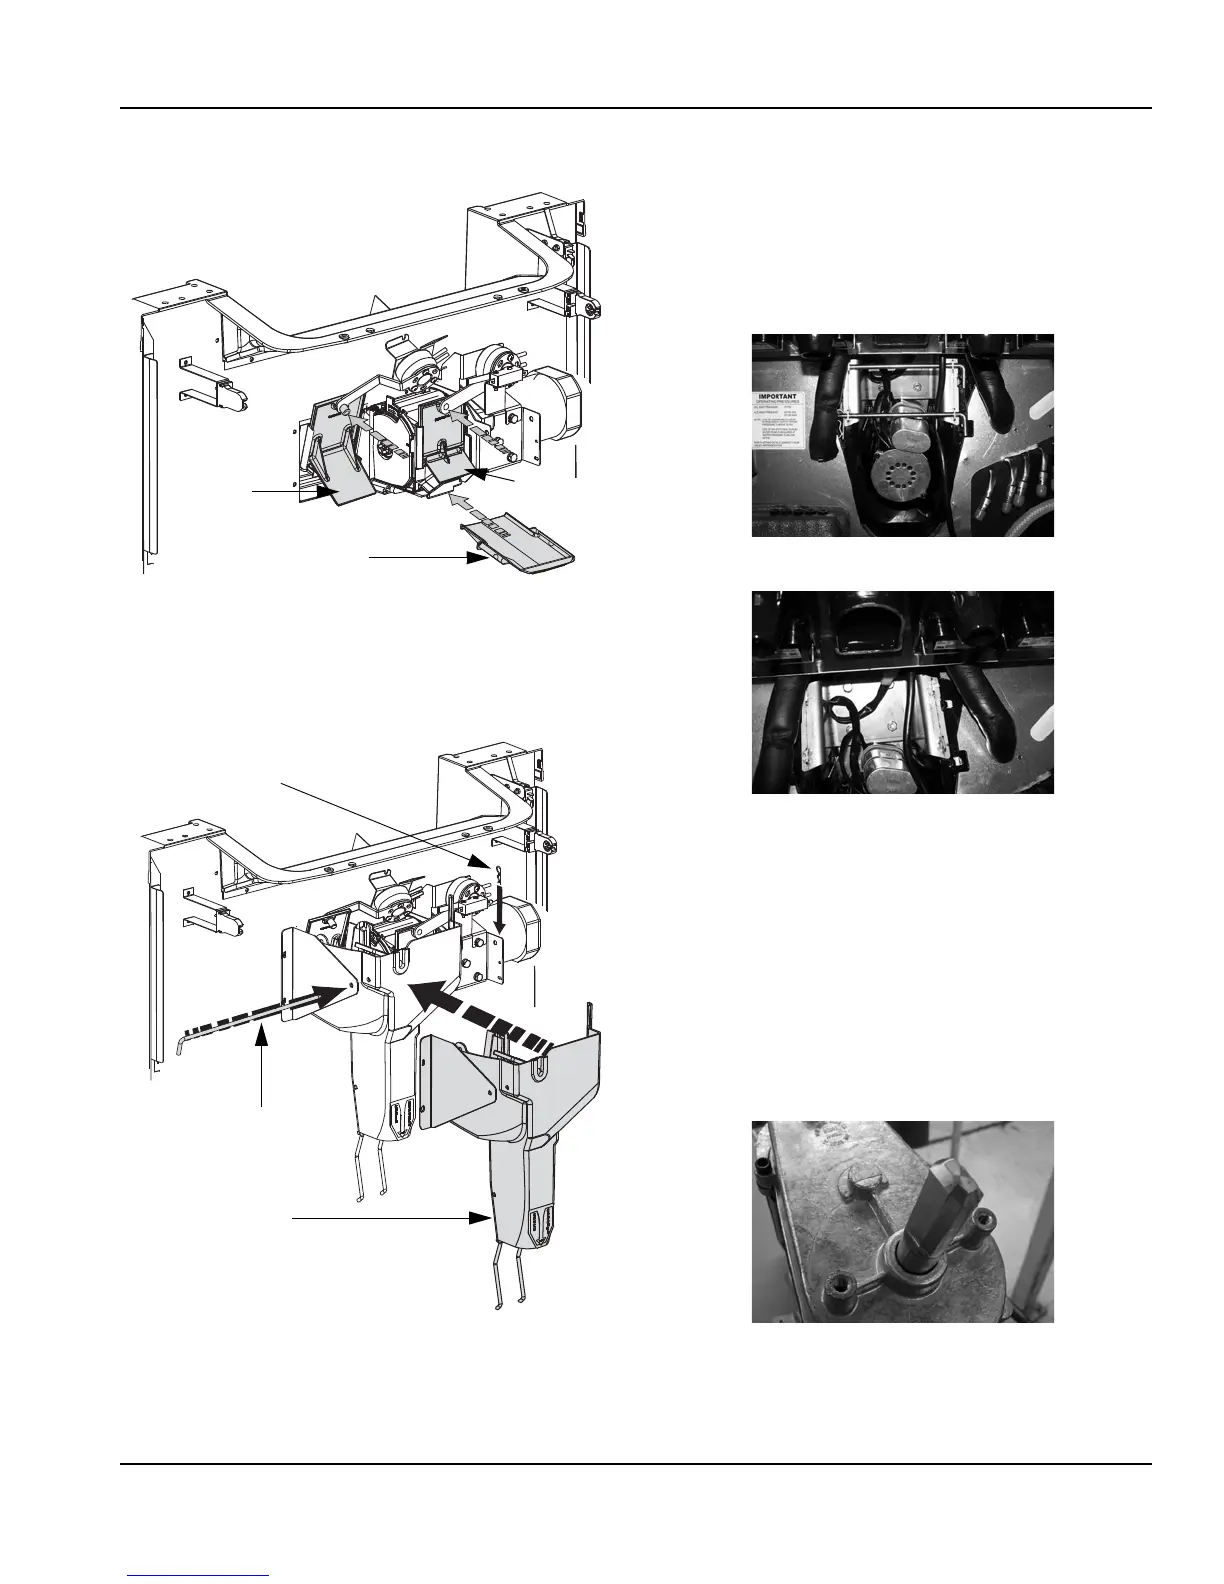
5. Replace the ice door, crushed ice door, and crusher drip
pan, slide until it snaps into place.
6. Reattach the decorative ice chute by inserting the chute
rod through the chute, housing mount, and motor mount.
secure the chute rod by inserting the cotter pin through the
rod on the right side of the housing mount. Make sure arm
of microswitch is in front of vertical protrusions on top of
decorative chute.
7. Reinstall the merchandiser, and secure with the two (2)
screws that were removed during disassembly.
8. 110V power may be reapplied when unit is
completely reassembled.
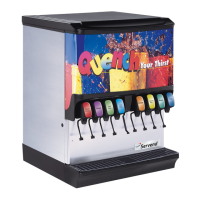
FRONT SERVICEABLE GEAR MOTOR REMOVAL
These instructions are provided as a guide for the removal of
the gear motor. Depending on the model number of your
dispenser, these instructions may vary slightly.
1. Unplug the dispenser.
2. Unplug the motor.
3. Remove motor mount pins.
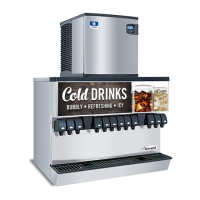
4. Slide motor towards you, notice alignment of the
chamfered edge of drive shaft.
5. New motor must have the same alignment (within
15 degrees).
6. To get correct alignment you can do one of two
things:
a. Turn drive shaft with an adjustable wrench,
being careful not to damage the drive shaft.
b. Plug in the unit, plug in the motor and use the
ice dispense switch to move the drive shaft into
correct alignment.
7. If you plugged in the unit to help with alignment of
drive shaft now unplug the unit.
8. Slide motor up into housing, making sure that the
tabs fit on the bracket.
9. Install motor mount pins.
10. Plug in motor.
11. Test unit.
Ice Door
Drip Pan
Crushed Ice
Door
Cotter Pin
Chute Rod
Decorative Chute