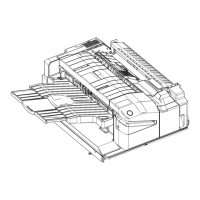
MX-FN27, MX-PN14 DISASSEMBLY AND ASSEMBLY 5 – 6
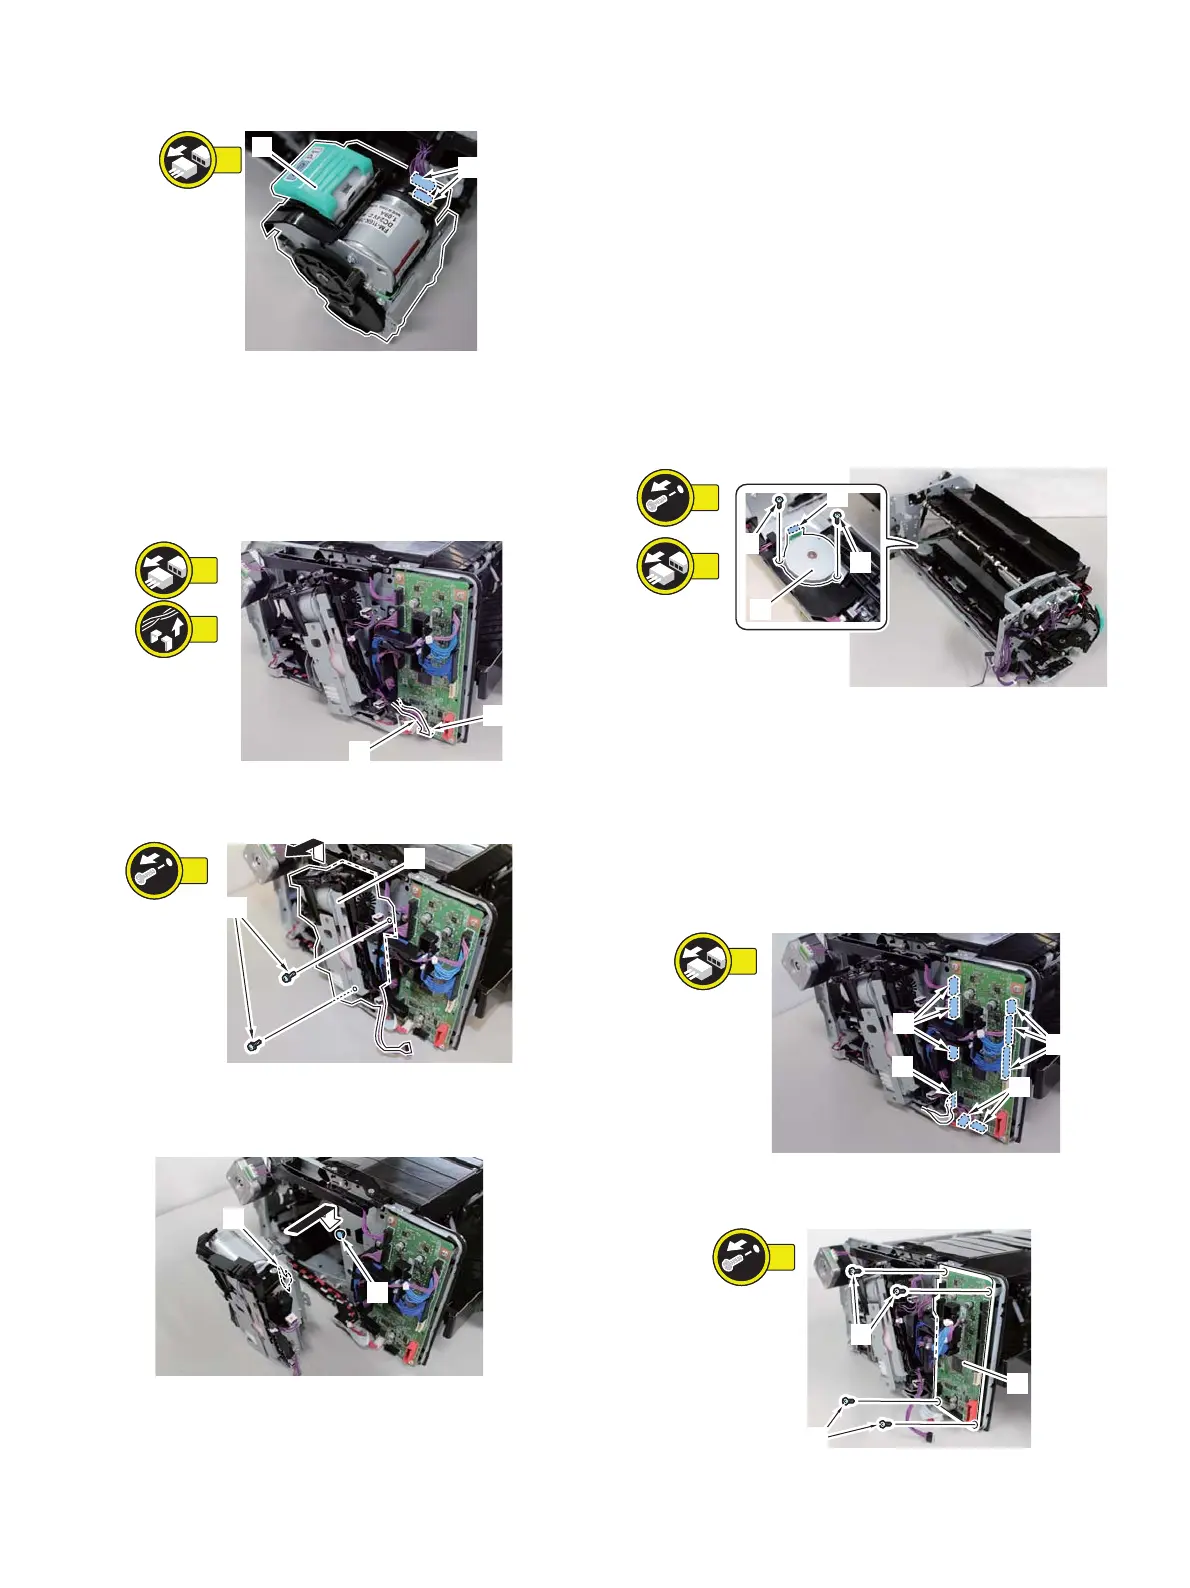
4) Remove the Stapler Unit [1].
– 2 Connectors [2]
(4) Staple-free Staple Unit
a. Preparation
1) Remove the machine from the host machine.
2) Remove the Rear Cover.
b. Procedure
1) Remove the Connector [1] and the Cable [2].
2) Remove the Staple-free Staple Unit [1].
– 2 Screw [2]
NOTE: How to assemble the Staple-free Staple Unit
When assembling, be sure to align the groove [1] of the Staple-
free Staple Unit with the Stepped Screw [2].
c. Handling after replacement
1) If the limited function message of the staple-free stapling is shown
on the host machine's LUI, clear the message on the service
mode. After removing the Staple-free Staple Unit, perform the fin-
isher load movement check in the Simulation to have the stable
fixation. It takes one minute to finish this simulation.
2. Motors
A. Stapler Shift Motor
(1) Preparation
1) Remove the machine from the host machine.
2) Remove the Front Cover Unit.
3) Remove the Rear Cover.
4) Remove the Delivery Tray.
5) Remove the Upper Feed Guide Unit.
6) Remove the Staple-free Staple Unit.
7) Remove the Tray Guide Cover.
8) Remove the Processing Tray Unit.
(2) Procedure
1) Remove the Stapler Shift Motor [1].
– 2 Screws [2]
– 1 Connector [3]
3. PWBs
A. Finisher Controller PWB
(1) Preparation
1) Remove this machine from the host machine.
2) Remove the Rear Cover.
(2) Procedure
1) Remove the 8 Connectors [1] and 1 Flexible cable [2].
2) Remove the Finisher Controller PWB [1].
– 4 screws [2]
NOTE: Note: When removing the finisher controller PWB, hold the
PWB with your hands to prevent dropping it.