EasyManuals Logo

Sharp MX-M363 Installation Manual

Sharp MX-M363
117 pages
To Next Page IconTo Next Page
To Previous Page IconTo Previous Page
Page #17 background imageLoading...
Page #17 background image
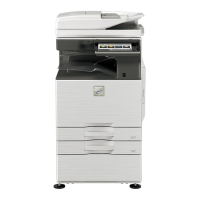
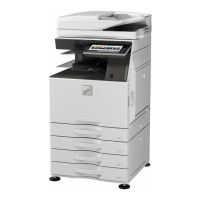
MX-M503N MX-DEX8/DEX9 2 – 3
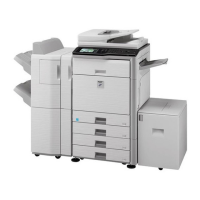
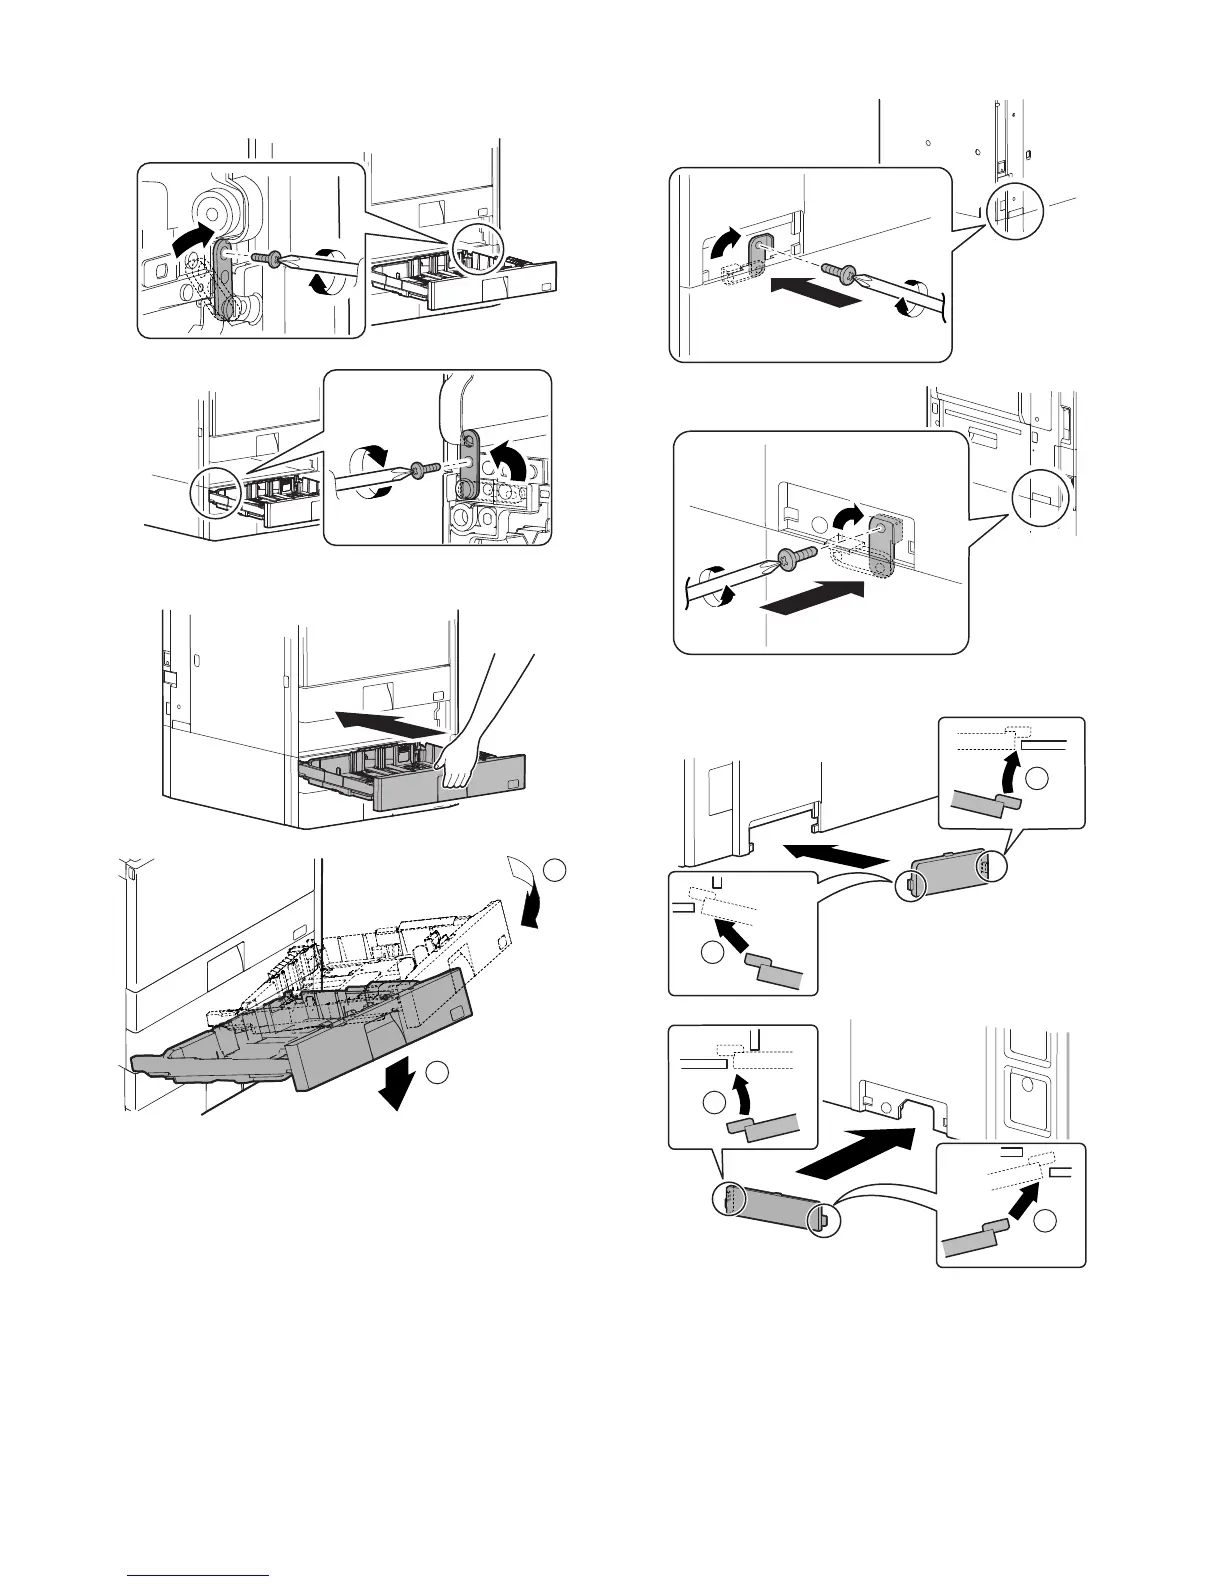
5) Lift the connection plates on the right and left of the main unit
front side, and fix them with the fixing screws (package part
No. 2).
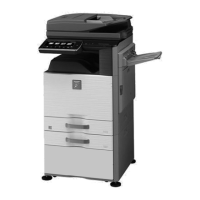
6) Replace the No. 3 and No. 2 trays to the original positions.
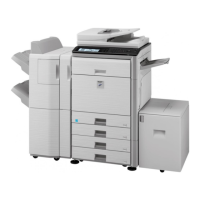
7) Lift the connection plates, and fix them with the fixing screws.
8) Install the connection plate covers.
1
2
2
1
2
1

Other manuals for Sharp MX-M363

Questions and Answers:

Question and Answer IconNeed help?

Do you have a question about the Sharp MX-M363 and is the answer not in the manual?

Sharp MX-M363 Specifications

General IconGeneral
BrandSharp
ModelMX-M363
CategoryAll in One Printer
LanguageEnglish

Related product manuals