MX-M503N MX-LCX1 3 – 6
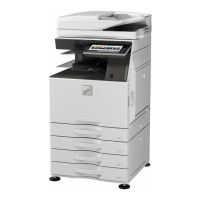
3) Slightly push the tray, restore the stopper to the original posi-
tion, and fix the fixing screw.
At that time, check to insure that the stopper pawl is engaged
with the stopper reception of the large capacity tray unit.
4) Slowly insert the tray to the original position.
(2) Paper size switch from A4 to B5
Since the factory setting of the paper size is A4, if paper size switch
is required, perform the following procedures.
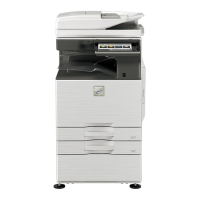
1) Slowly pull out the tray until it stops.
2) Loosen the stopper fixing screw (1 pc) on the right lower side
of the tray so that the stopper does not function.
3) Pull out the tray again until it stops.
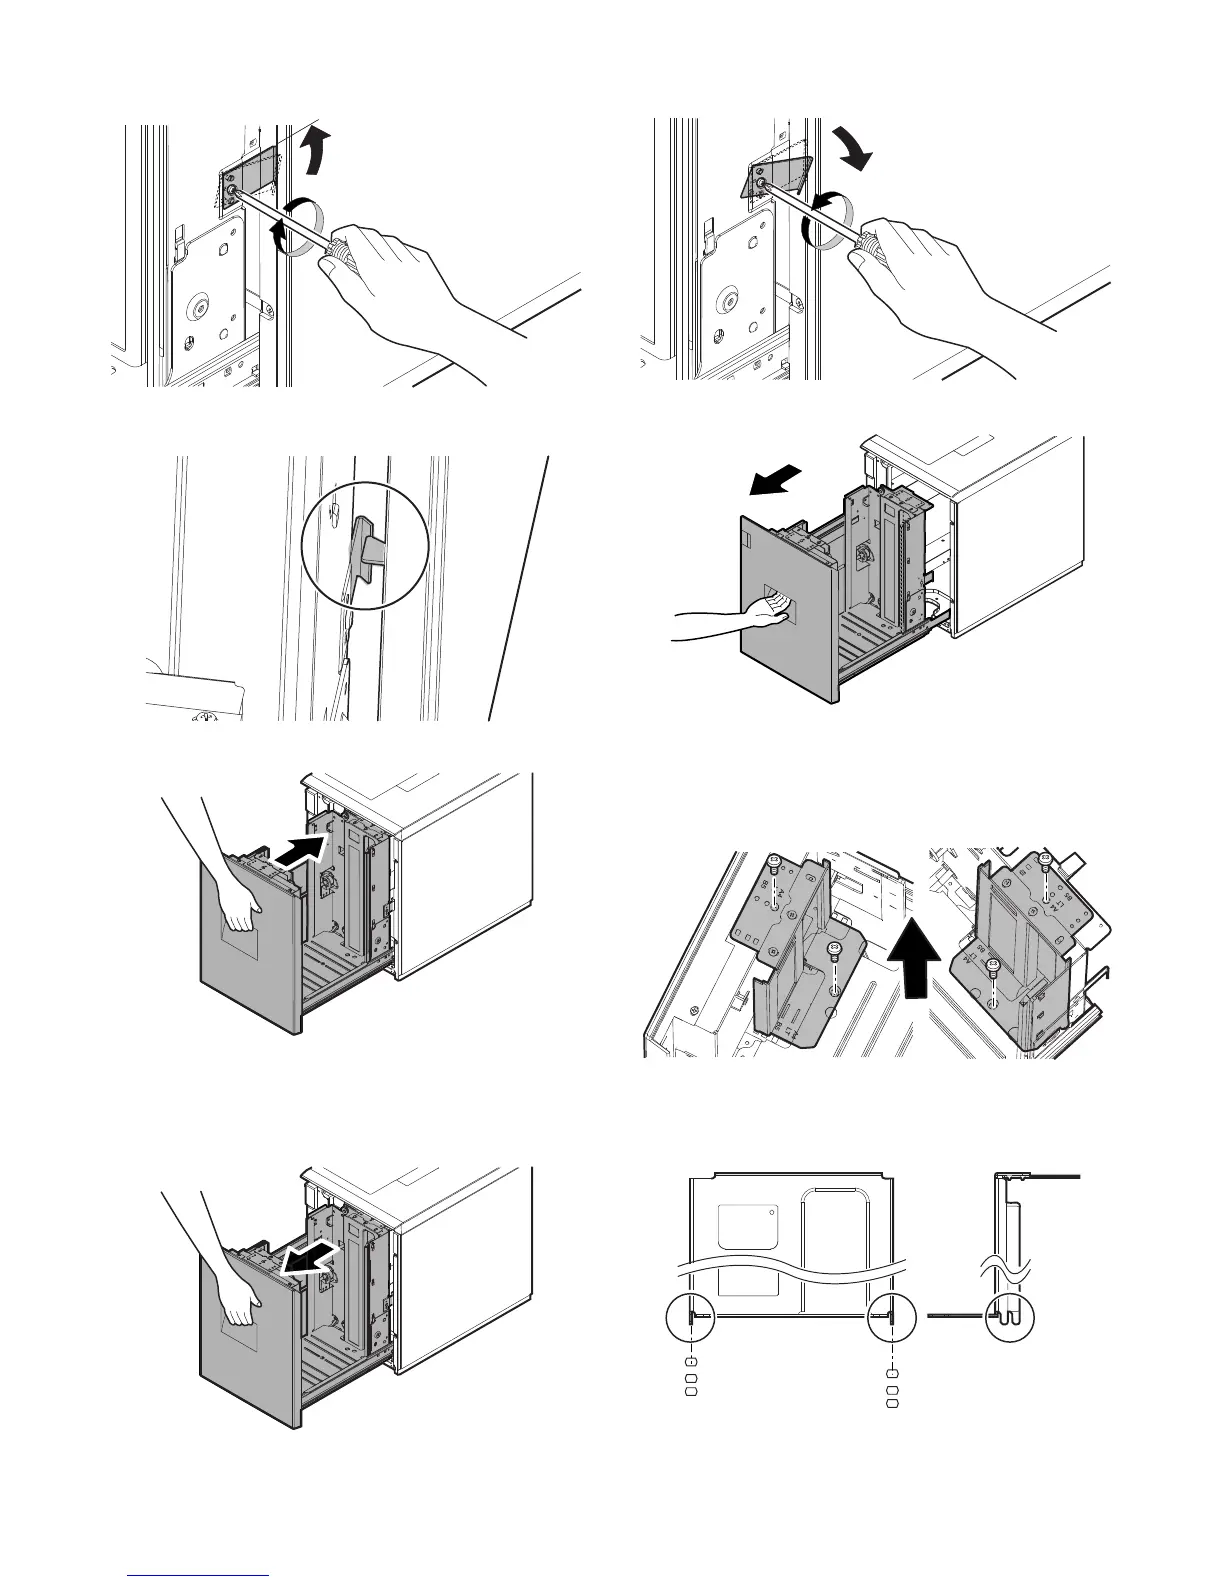
a. Side plate size switch
1) Remove four fixing screws (blue screws) which are fixing the
upper and the lower sections of the side plate F and the side
plate R.
2) Adjust the mark position of the tray and the side plates in the
lower section of the side plates F/R according to the desired
size. Also adjust the upper section according to the desired
size, and fix with the four fixing screws (blue screws).
 Loading...