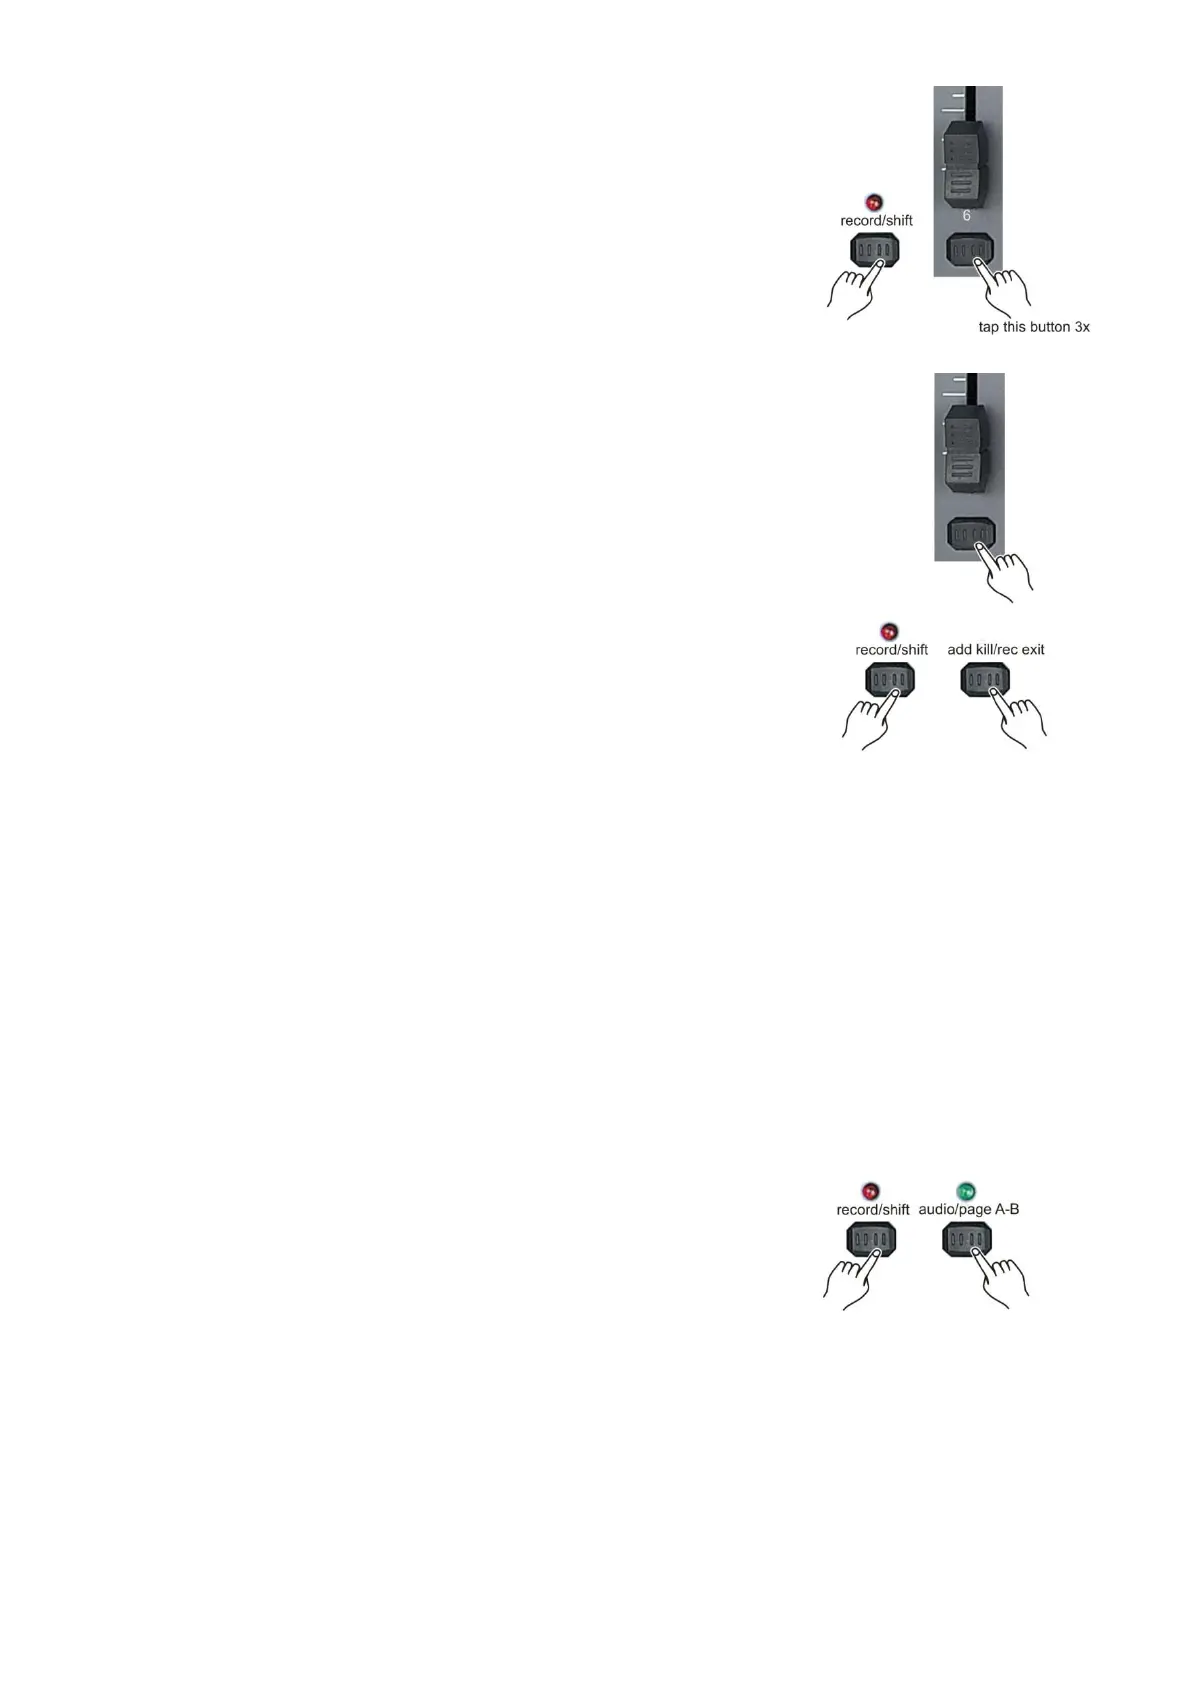
6. While holding the record/shift (14) button tap flash button #6
three times.
7. Push and hold the record/shift (14) while tapping the flash (3)
button of the fader, you wish to assign the DMX channel to.
Page A selected: Fader 1-24.
Page B selected: Fader 25-48.
8. Repeat steps 2 -7 as often as necessary.
6. Push and hold the record/shift (14) button while you push the
add kill/rec (12) button to exit fader assignment mode.
Example: You wish to assign DMX channel #1 to fader #5.
1. Hold the record button & tap flash button #6 three times.
2. Press flash button #1.
3. While holding the record/shift (14) button, press flash button #5.
4. Push and hold the record/shift (14) button while you tap the add kill/rec (12) button to exit fader
assignment mode.
Notes:
All physical faders can be re-assigned to output on a different DMX channel. Faders are given a
channel number and are labeled on the surface of the controller as such.
You can check to see what the assignment is by pressing the fader button of the corresponding
channel while in this mode.
Here is no limit to the amount of channels that can be assigned to single fades. One can assign
up to all 48 channels of DMX output to a single fader.
CHNO corresponds to the channel number, while SLDNO corresponds to the physical fader
number.
Switching between page A and page B (channels 1-24 and 25-48)
Push and hold the record/exit () button and tap the audio/page A B (16)
button to toggle between page A and page B.
Notes:
When the fixture turns on, it will revert to the previously used page.
Page A is used to control channels 1-24, while Page B is used to control channels 25-48.
The screen will display which page is active.
There is an additional set of 4 pages of playback controls on Page B.