Shure Incorporated
30/56
1.
2.
3.
•
•
1.
2.
3.
1.
2.
3.
1.
2.
•
•
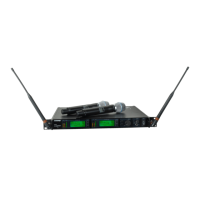
Monitoring multiple transmitters:
Once multiple portable systems have been set up in Multi-Mic Mode, any of the SLXD5 portable receivers can monitor all
transmitters in your system.
Select Multi-Mic > Enter mode/list.
Use the arrow buttons to select the frequency to monitor.
Listen to the audio through the SLXD5 headphone jack.
Adding SLX-D to Other Shure Wireless Systems
Use Shure’s Wireless Workbench frequency coordination tool to find compatible frequencies across different Shure wireless
systems. To get started, download the software from http://www.shure.com/wwb. For additional assistance, please visit http://
www.shure.com/contact.
Radio Frequency (RF) Settings
Setting the Transmitter RF Power
The transmitter offers two RF power settings which determine the transmitter range.
Low = 1 mW
High = 10 mW
Use the Low setting when the transmitter and receiver are in close proximity.
Navigate to the transmitter RF power menu.
Use the menu button to select High or Low.
Press enter to save.
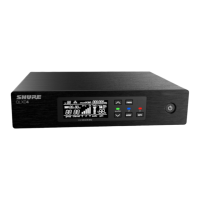
Networking
The receiver uses an Ethernet connection to network with other components and includes an internal DHCP client for automat
ic network configuration when connected to a DHCP enabled router.
Connecting to a Network
Insert an Ethernet cable in the Ethernet port on the rear of the receiver.
Connect the cable to a computer or router.
The port LEDs on the receiver will illuminate to indicate network connectivity and network traffic.
Automatic IP Addressing
Enable a DHCP service on the server or use a DHCP enabled router.
When the receiver is powered on, the DHCP server will automatically assign an IP address to the receiver.
Configuration Tips
Use shielded Cat 5 or better Ethernet cables to ensure reliable network performance
The LEDs on the Ethernet port illuminate indicating a network connection is active