5 Mounting
5.1 Mounting instructions
•
Observe the technical data.
•
To prevent condensation, avoid exposing the device to rapid changes in tempera‐
ture.
•
The mounting site has to be designed for the weight of the device.
•
Mount the product in a shock and vibration insulated manner.
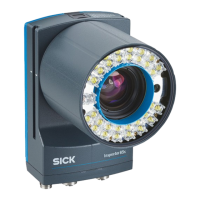
5.2 Mounting the lens and illumination unit
Overview
This mounting step is only required for the Inspector85x Flex product variant (basic
device).
Figure 5: Mounting the lens and illumination unit
1
Spacer, left with electrical connection
2
4 tapped blind holes, M2.5, 5.5 mm deep, for mounting the spacer
3
4 long screws
4
Electrical connection for the integrated illumination unit
5
4 short screws
6
Integrated illumination unit
7
Spacer, right
8
Light inlet with threaded connection for the lens
MOUNTING 5
8028305//2023-05 | SICK O P E R A T I N G I N S T R U C T I O N S | Inspector85x
23
Subject to change without notice