NOTICE
Possible data loss!
If the memory card is removed or the supply voltage switched off when saving the para‐
meter set in SOPAS ET, data may be lost.
b
Do not remove the memory card or switch off the supply voltage while the parame‐
ter set is being permanently changed by saving it with the Permanent option in
SOPAS ET.
b
To safely remove the memory card during operation, select the Remove SD card
option under Analysis/SD card in SOPAS ET. Then wait for the feedback from
SOPAS ET.
Inserting the memory card in the device:
DANGER
Risk of injury due to hot device surface.
The surface of the device can become hot during operation.
•
Before performing work on the device (e.g. mounting, cleaning, disassembly),
switch off the device and allow it to cool down.
•
Ensure good lost heat transfer from the device.
NOTICE
Risk of damage to the memory card!
b
To avoid damaging the microSD memory card, make sure the device is de-ener‐
gized when you insert or remove the card. For this purpose, disconnect the device
from the supply voltage.
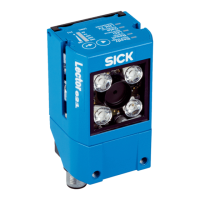
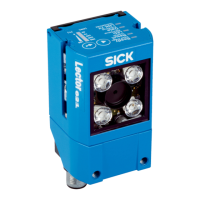
Access to the card slot
The card slot for the memory card is located under the hinged cover on the rear side of
the device, see "Device view", page 15.
1. 3.
LNK TX
Userdefined
100
70
40
0
[mm]
[%]
LNK TX
Userdefined
100
70
40
0
[mm]
[%]
2.
1. Switch off the supply voltage to the device.
2. Undo the screws (Torx TX6, captive) on the hinged cover (Figure: step 1) and open
the cover as follows:
°
Carefully pull the upper edge of the cover away from the housing a little at the
level of the hinges on the side (Figure: step 2). Use both of the recesses on
the inside of the cover to do this.
°
Fold the cover upwards starting from the bottom edge.
3. Making sure it is in the correct position, insert the memory card into the slot until
it locks into place. When doing this, position the contacts so that they are facing to
the rear and upwards, see the card symbol on the device.
4. Close the hinged cover again (Figure: step 3). Make sure that the cover is com‐
pletely flush with the housing.
5. Tighten the screws on the hinged cover again.
6. Switch on the supply voltage for the device.
PRODUCT DESCRIPTION
3
8022502/15NT/2020-02-11 | SICK O P E R A T I N G I N S T R U C T I O N S | Lector621
21
Subject to change without notice