Installing the Hardware
92
Installation Procedure
1. Make sure that the product package contains all of the follow-
ing items:
– One U
P0/E
PCI card
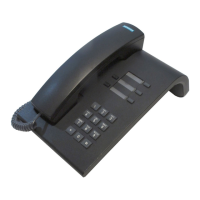
– One handset cradle with line cord to U
P0/E
PCI card
– One handset with line cord to handset cradle
– One driver disk for U
P0/E
PCI card
– Two installation disks for Hicom Attendant P
– Hicom Attendant P User and Installation manual
2. Disconnect the PC from the power supply network and open
the housing (also refer to operating instructions from PC man-
ufacturer).
3. Select a free, long PCI slot and remove its cover from the hous-
ing back panel (also refer to operating instructions from PC
manufacturer).
4. Before installing the card, create a ground connection by
touching the computer housing; this is necessary because the
card is highly sensitive to static electricity.
5. Remove the U
P0/E
PCI card from its antistatic case; plug it into
the selected PCI slot and secure it in place (also refer to oper-
ating instructions from PC manufacturer).
6. Connect the U
P0/E
PCI card to the Hicom 150 E Office system
as described under PIN assignments (
Æ
95).
7. Connect the handset and, if applicable, the headset to the
handset cradle and connect the handset cradle to the U
P0/E
PCI card as described under PIN assignments (
Æ
95).
8. Close the PC and reconnect it to the power supply network.
The yellow LED on the U
P0/E
PCI card must flash for approxi-
mately one second.
 Loading...