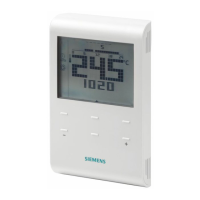
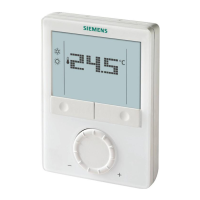
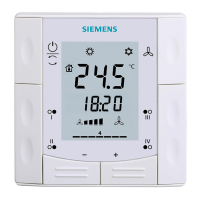
Mounting and installation
3
A6V10877569_en--_e 13 | 59
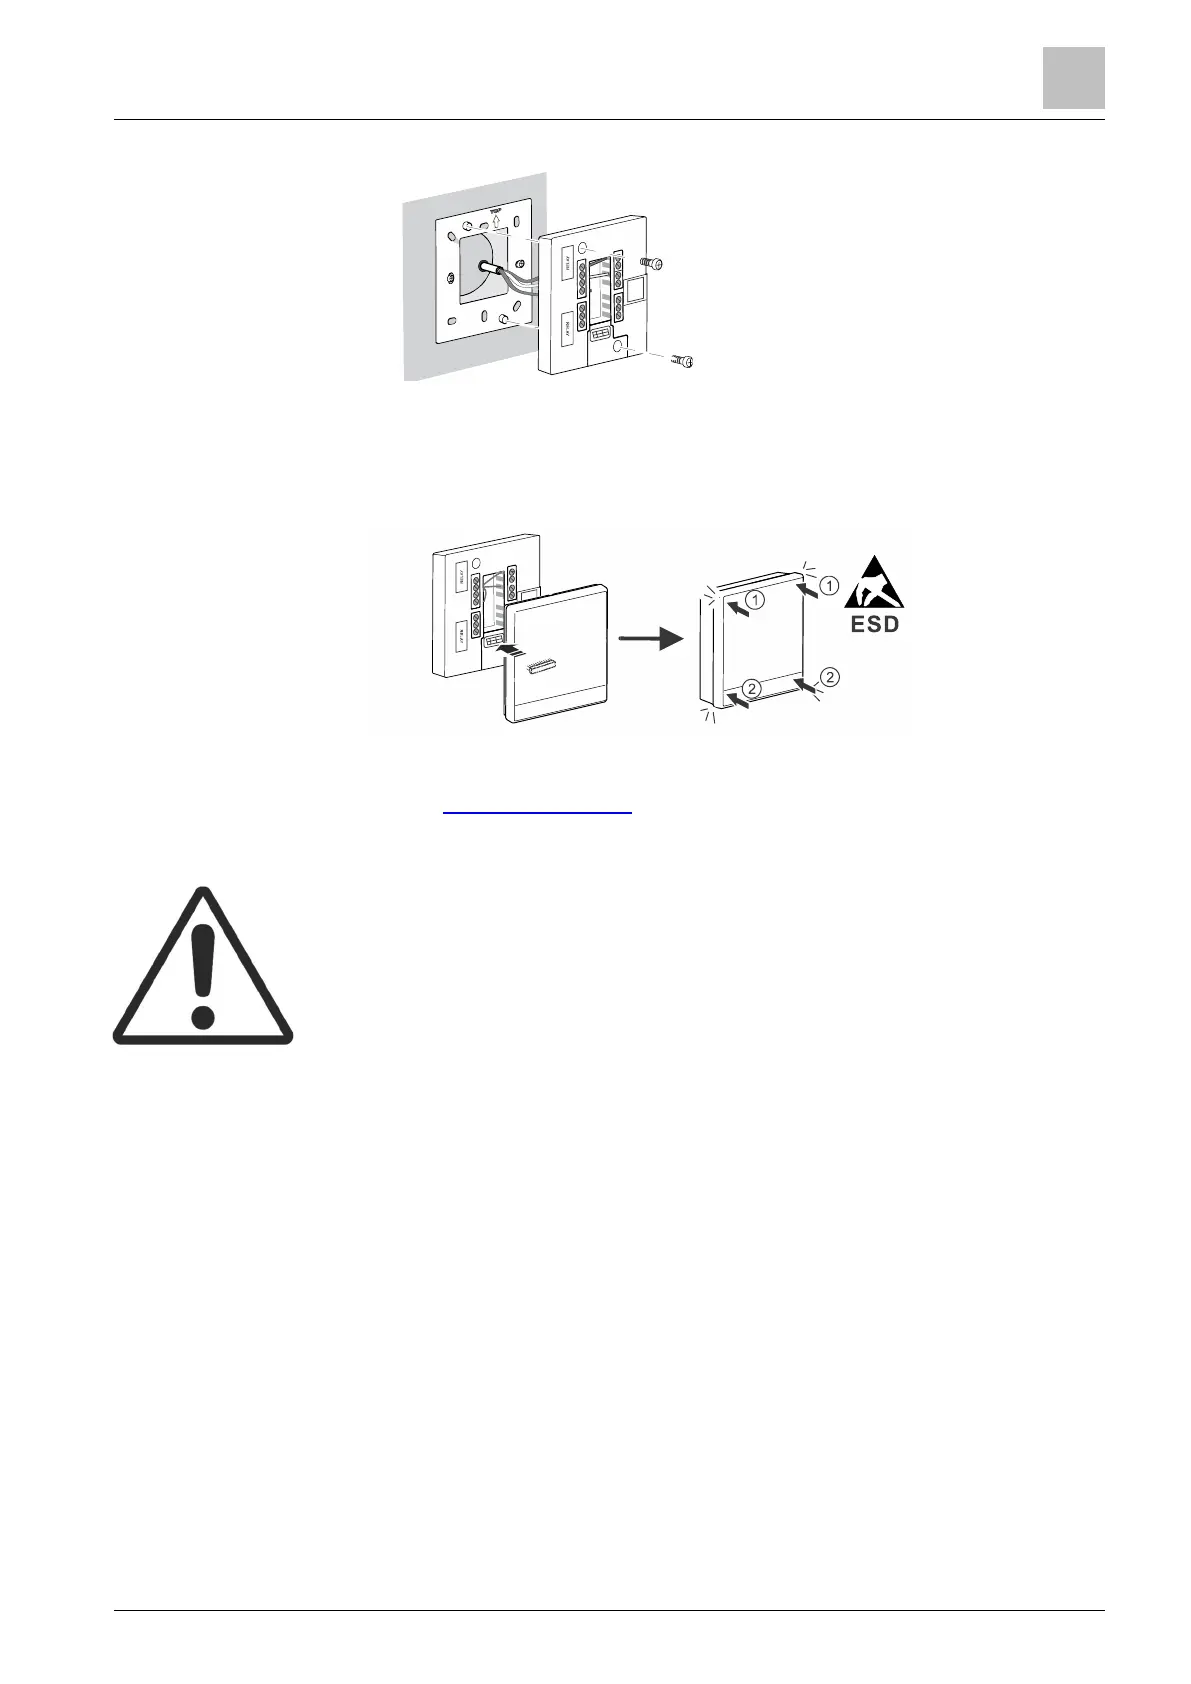
9. Screw the power unit on the mounting plate tightly.
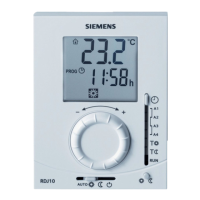
10. Attach the front module horizontally. Ensure that each side of the front module
aligns with the power unit and press the corners in the order illustrated below:
Top (1); bottom (2) until each corner clicks in place. Note: You must discharge
static electricity from your body before mounting the front module. For example,
touching the wall can help discharge static electricity.
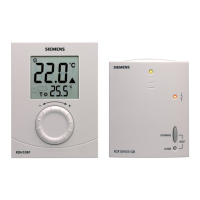
11. Switch on power to your heating system. Your thermostat powers on too.
See the Mounting instructions for more information. Note that a bridge between
one Q11 terminal and terminal L is pre-wired. Do not remove this pre-wired bridge
unless required.
● Comply with local regulations to wire, fuse and earth the thermostat. Connect
the conduit box to earth (safety ground).
● Adapt the line diameters as per local regulations to the rated value of the
installed overcurrent protection device.
● The line voltage cables and signal cables must be arranged separately.
● X1, M and X2 wires operate at SELV (Safety Extra Low Voltage) level. Do not
insert cables with AC 230 V mains voltage into terminals X1, M and X2 and
vice versa.
● Isolate the cables of inputs X1, M and X2 from AC 230 V mains voltage.
● The AC 230 V mains supply line must have an external circuit breaker with a
rated current of no more than 10 A.
● Screw down all terminals regardless of whether cables are connected or not.
● Do not tear off the two insulation tapes on the lower part of the rear of the
power unit, as it may cause electric shock.
● Properly size the cables to the thermostat and valve actuators.
● Screw down the cables tightly and make sure no bare copper is exposed.
● Use valve actuators rated for AC 230 V. If a valve actuator rated for AC 24 V is
used, use a transformer before connecting it to the thermostat.
● Disconnect from power supply before removing the front module and the
mounting plate.
● Use a cable lug to avoid touching of mains and neutral wires, if the power cable
is made of RVS wires.
Wiring