Commissioning
²
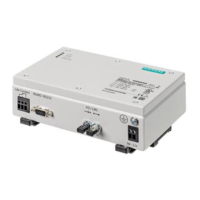
Fasten the device to a symmetric DIN rail as per EN 50022.
²
Check whether the operational data match the values on the name plate.
²
Do not make any changes to the device.
²
Carefully screw the fiber-optic connectors (hand-tight).
²
Insert and screw the RS232 connector in position.
²
Attach the connectors of the auxiliary voltage to the terminal N/- and L/+.
²
Connect the life contact to the terminals.
²
Switch on the auxiliary power supply.
After connecting the auxiliary power supply, the green LED Power On lights up and the device is ready for
operation.
4.3
Assembly and Commissioning
4.3 Commissioning
30 Accessories, RS232 Optical Fiber Converter 7XV5652-0CA00, Manual
C53000-G9050-C606-1, Edition 03.2020
 Loading...