Do you have a question about the Siemens XC1001-A and is the answer not in the manual?
Provides step-by-step instructions for installing the XC1001-A and XC1005-A units.
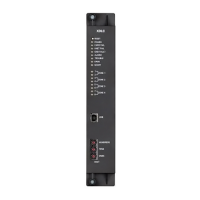
Details the installation and mounting adaptation for the XC1003-A in a 19" housing cabinet.
Explains how to connect two 12V batteries in series with the FCP1004-E power supply.
Provides details on XCA1030 & XCA1031 connection, module descriptions, and their functions.
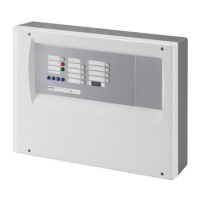
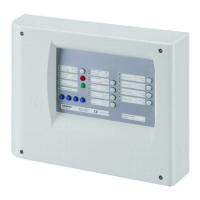
Allows access to controls like silence buzzer, sounders, disable/enable, test, and reset functions.
Configures pre-discharged warning time and activation duration for monitored output 4.
Details selection of operations for monitored outputs 1 through 5, including actuators and fire controls.
Explains the selection of functions for relay contacts 1 to 5, including fire controls and fault indications.
Describes the selection of functions for driver outputs 1 to 8, covering various states and applications.
Details the selection of functions for monitored inputs 1 to 4, including contact types and device states.
Configures alarm verification, automatic release zones, zone disabling, and fire alarm conditions.
Steps for powering up the system, connecting batteries, selecting presets, and calibrating outputs.
Procedure for calibrating monitored control outputs 4 and 5, including success and failure indicators.
Criteria for completing commissioning, ensuring all functions work and system components are correctly set.
Details maintenance tasks performed by the customer (weekly) and by the technician (yearly).
Explains how to access detailed fault information using key combinations and interpreting LED indicators.
Enables sounder outputs for 30 seconds to test their operation.
Enables warning panel outputs for 30 seconds to test their operation.
Tests RT-alarm outputs for 30 seconds and checks the RT-alarm LED status.
Tests RT-fault outputs for 30 seconds and checks the RT-fault LED status.
Checks the entire extinguishing process by enabling outputs and performing manual tests.
Tests each connected detector by simulating an alarm condition and checking LED feedback.
Checks each manual release button's functionality and associated LED feedback.
| Brand | Siemens |
|---|---|
| Model | XC1001-A |
| Category | Control Unit |
| Language | English |