36 of 50
V 11.21_EN
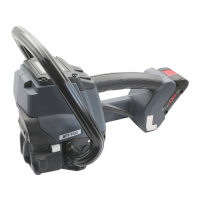
SIGNODE BPT-H32
4 Preparing for operation and settings
4.1 Battery
For detailed information, see the separately enclosed operating instructions for the battery and the
charger.
WARNING
Exclusively use Bosch-ProCORE batteries and chargers as described in this manual
(Section 3.3).Useofotherbatteries/chargerscanresultininjuryorre.Toavoidtheriskof
personalinjuryorre,readthebatterychargeroperatinginstructionspriorusingthecharger
and battery.
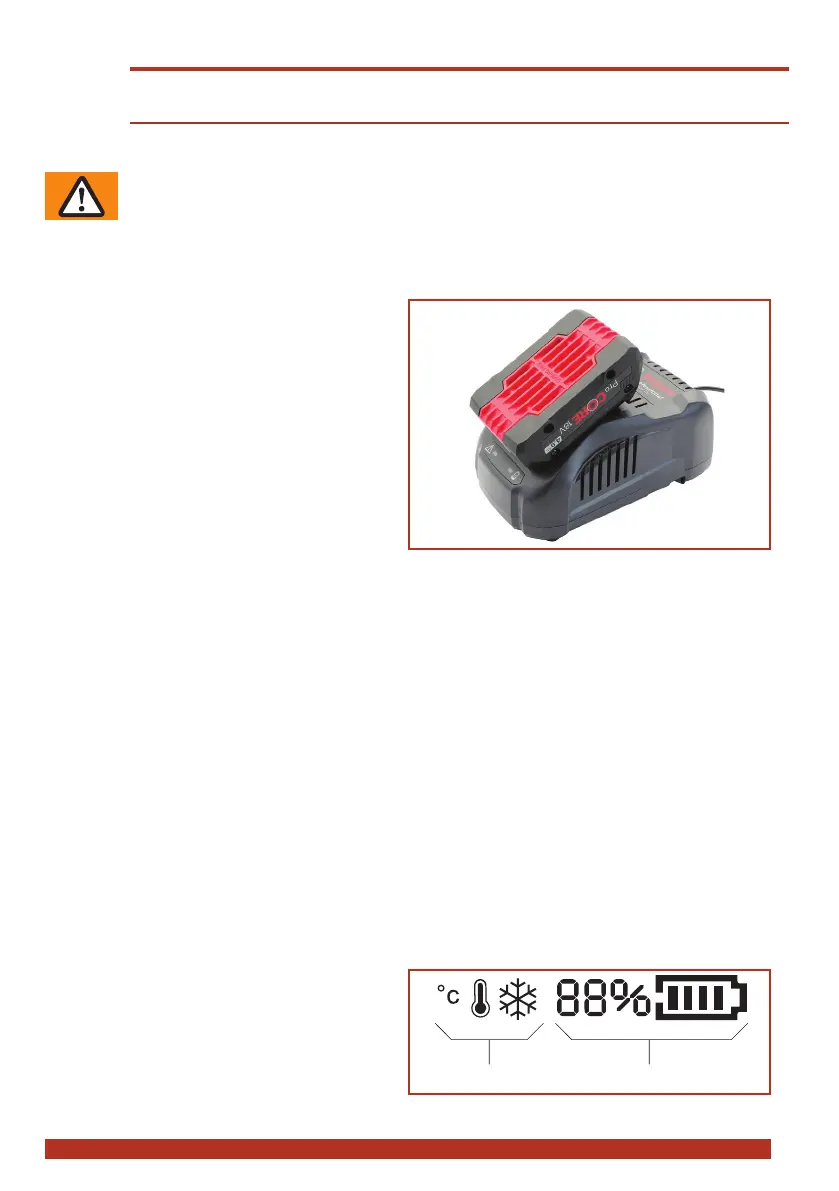
4.1.1 Charging the battery
► Connect charger to mains.
– Green LED illuminates (charger ready for
use).
► Insert battery in charger.
– GreenLEDashes:Batteryisbeing
charged.
– Green LED illuminates continuously:
Battery is fully charged.
– Red LED illuminates continuously: Battery
temperature outside charge-temperature
range.
– RedLEDashes:seeoperatinginstruc-
tions of charger.
● Charging time: Charging of empty battery: 4 Ah: 30 min. = approx. 80%, 50 min. = approx. 100%
charging capacity, 8 Ah: 70 min. = approx. 80%, 80 min. = approx. 100% charging capacity.
● Ideal battery temperature during charging process: 15–40 °C (59–104 °F)
● Avoid battery temperatures below 0 °C (32 °F) and over +45 °C (113 °F) during the charging process.
● The battery can be charged at any time, regardless of the charge status.
4.1.2 Inserting/removing battery in/from tool
► Inserting the battery: Insert the charged battery into the tool. The unlock button must engage in the
secondstep(intherststepthebatteryisheldinplaceinthetool,butwithoutelectricalcontact).
– The display on the operating panel illuminates.
● If the tool is not used for approx. two minutes the display changes into sleep mode. Cancelling sleep
mode: Lift operating lever.
● If the tool is not used for a long period (days) the battery must be removed from the tool and charged/
stored in the battery charger.
► Removing the battery: Press the unlock button and remove the battery at the same time.
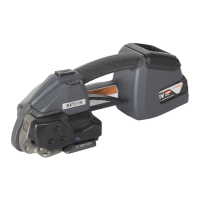
4.1.3 Checking the charge status
► LED display "Battery charge status" on oper-
ating panel, with battery inserted:
– The charge status is shown in % and by a
progress bar (1)
– Below 10% minimum charge (battery must
soon be charged)
– The information symbols (2) only appear if
a corresponding situation is occuring (Section 6.7).