18
Press the “SETUP” button once to exit from the
“SCREEN SAVER” menu and return to the main
“SETUP” menu. Press the “SETUP” button again to exit
from the “SETUP” menu.
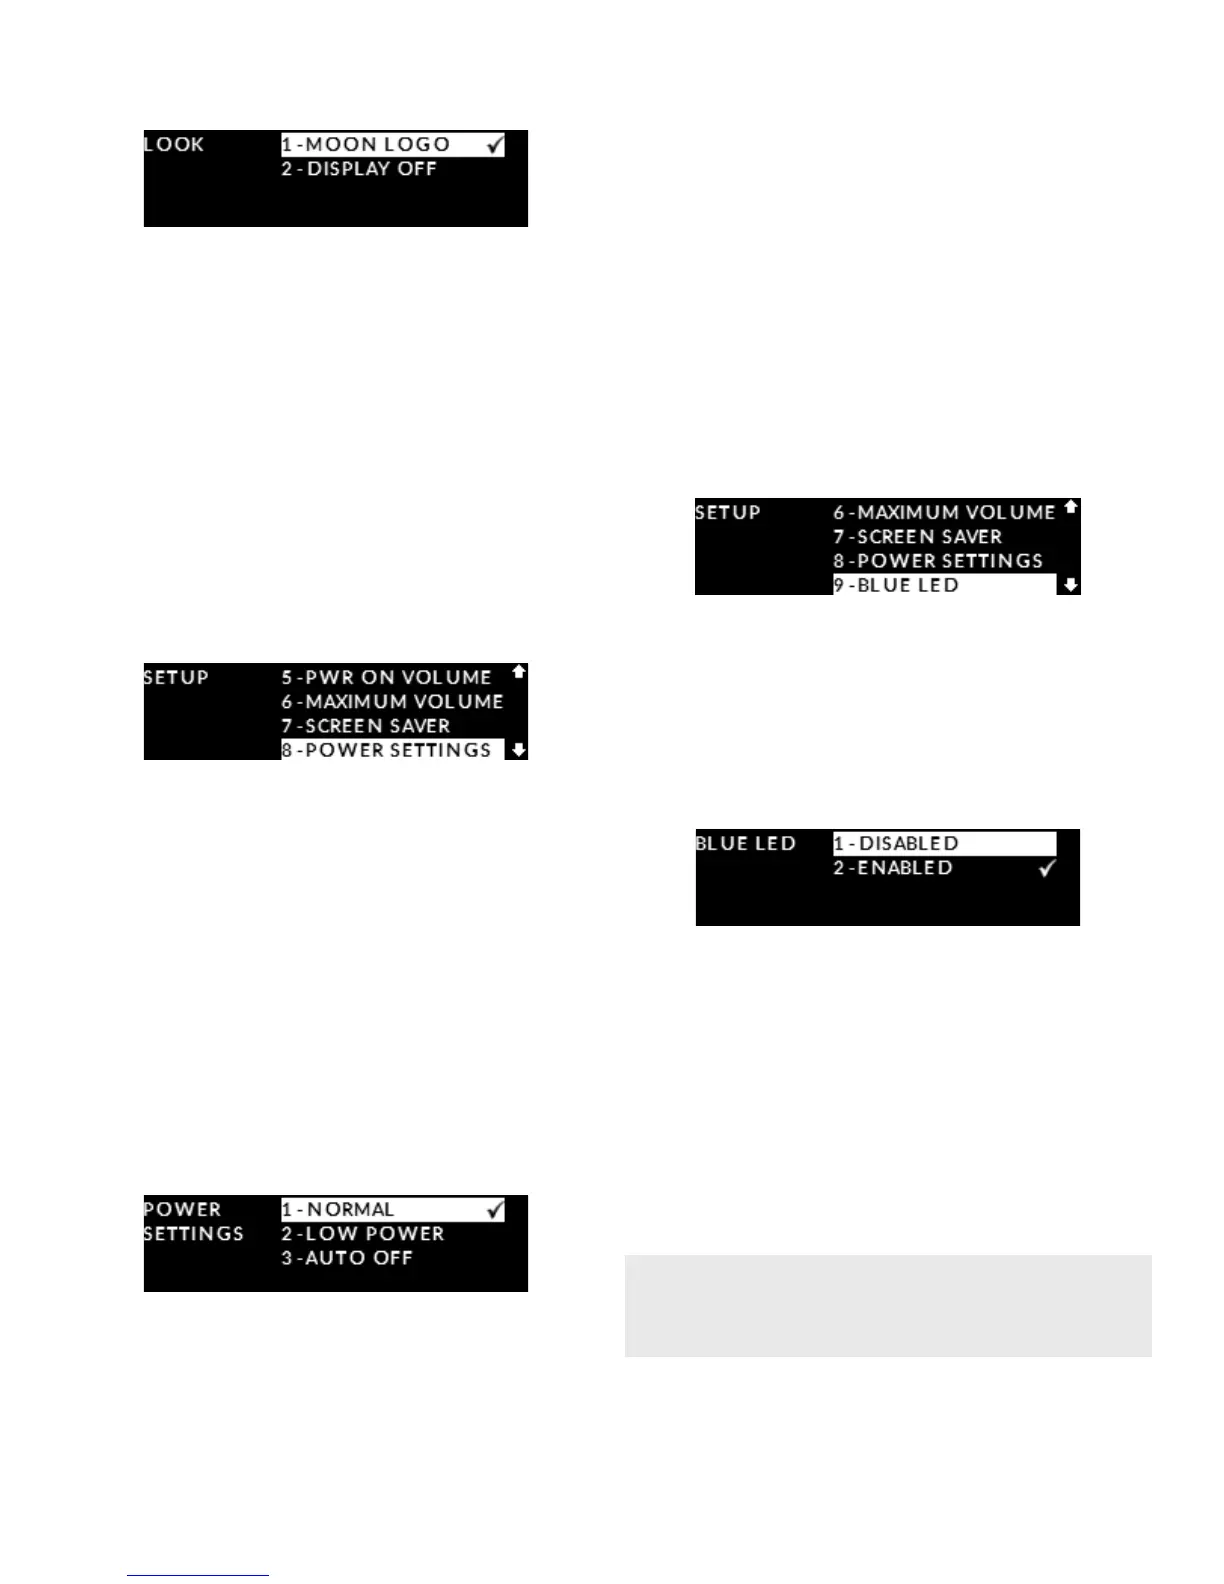
Power settings
This set of options allows you to control how much AC
power the 240i consumes under certain situations.
Enter the Setup mode by pressing the “Setup” button.
Rotate the volume control until “POWER SETTINGS” is
highlighted on the display and then press “OK”:
There are three (3) available options: “NORMAL”
(default setting) whereby the 240i’s amplier section
is always powered on, even when in “Standby”;
“LOW POWER” whereby the amplier section
is powered o when the 240i is in “Standby”;
and “AUTO OFF” whereby after thirty (30) minutes
of no user interaction and no music being played,
the 240i automatically goes into “Standby” with
the amplier section powered o. Use the volume
control to highlight your desired “POWER SETTING”
and then press “OK”. The check-mark symbol will
appear to the right of the option you selected and
ash briey.
Press the “SETUP” button once to exit from the
“POWER SETTINGS” menu and return to the main
“SETUP” menu. Press the “SETUP” button again to exit
from the “SETUP” menu.
Blue LED settings
This “SETUP” feature allows you to turn o the front
panel blue LED located directly above the display
window. The reason for this feature is simple;
In a darkened room the 240i’s blue LED might appear
bright.
Enter the Setup mode by pressing the “Setup” button.
Rotate the volume control until “BLUE LED” is
highlighted on the display and then press “OK”.
There are two (2) settings: The default “ENABLED”
whereby the blue LED is on and “DISABLED”
to turn o the blue LED; Use the volume control to
highlight your desired setting and then press “OK”.
The check-mark symbol will appear to the right
of the option you selected and ash briey.
Press the “SETUP” button once to exit from the
“BLUE LED” menu and return to the main “SETUP”
menu. Press the “SETUP” button again to exit from
the “SETUP” menu.
Displaying rmware version
This option is for informational purposes ONLY
and displays the rmware version for the 240i.
Begin by pressing the “Setup” button and then
rotating the volume control until “FIRMWARE” is
This can be a major convenience in situations
where troubleshooting a problem may arise.