Applications with
straight stitching
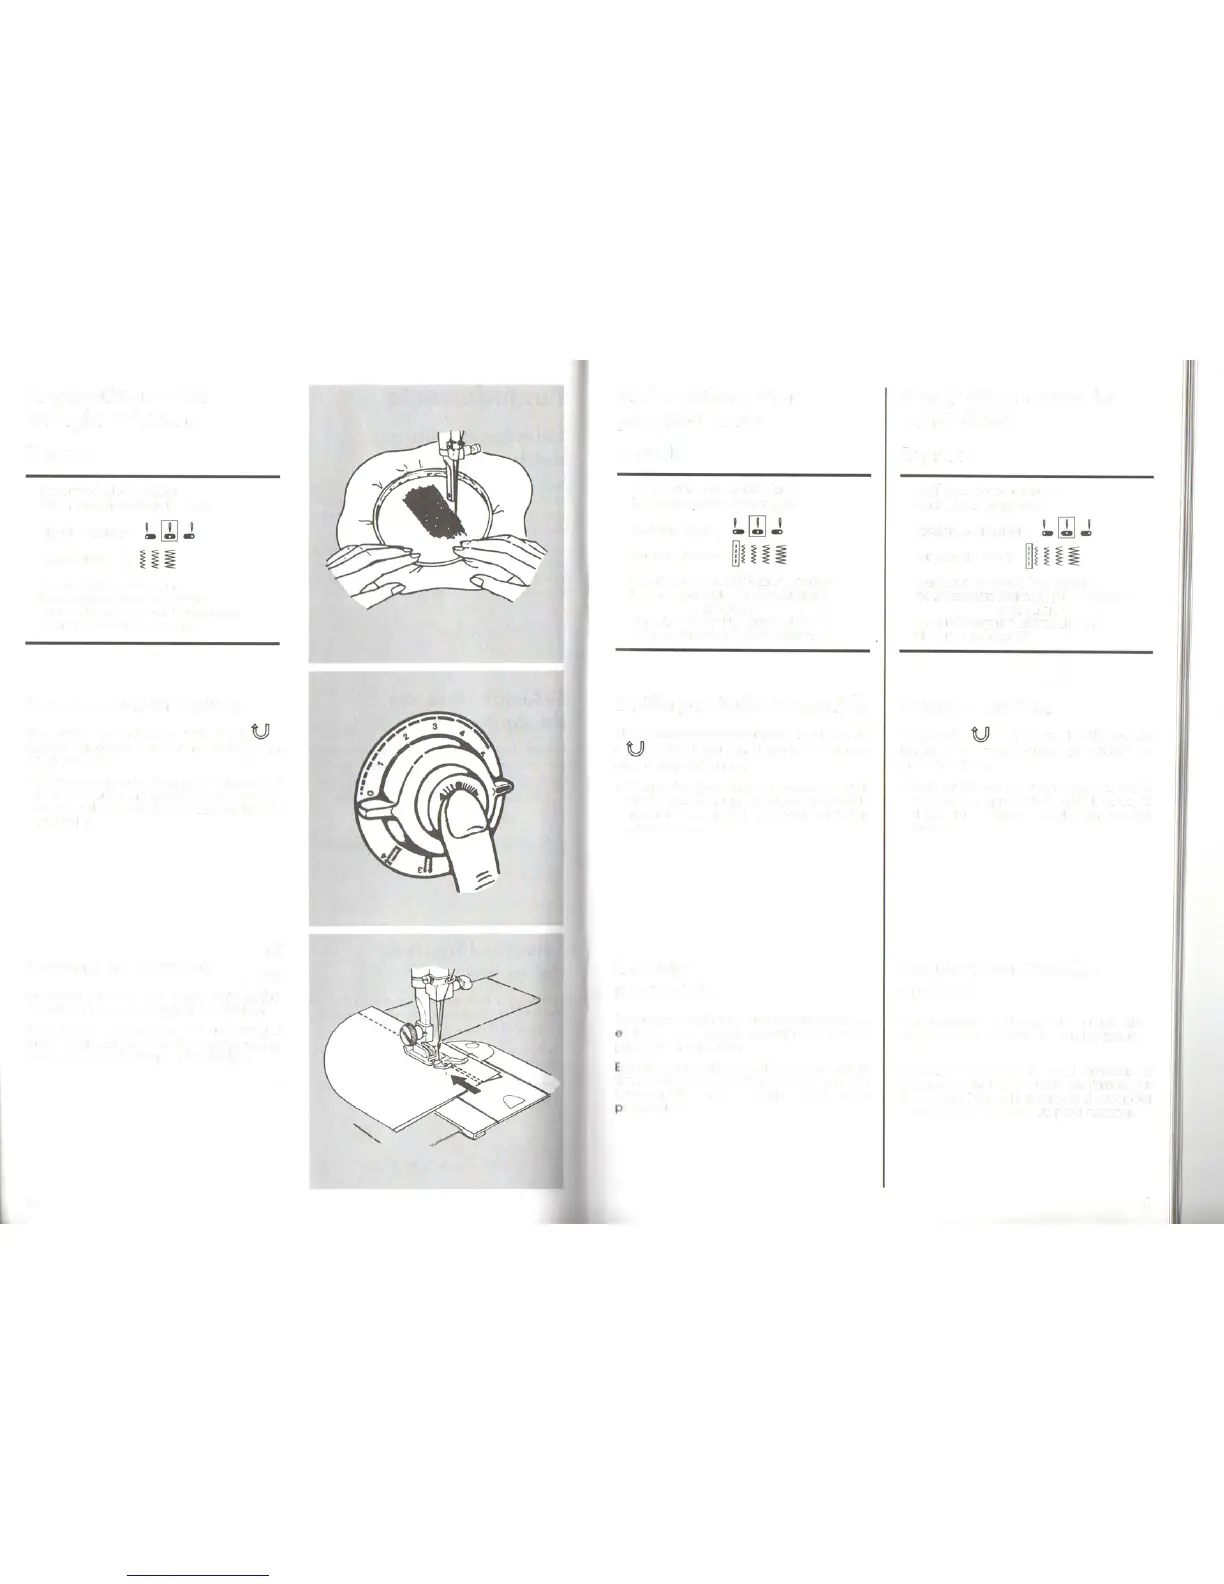
Darning
Recommended settings
Stitch Selection: Straight Stitch
Needle Position:
Stitch Width:
ml
Stitch Length: Anv setting
Foot:Removefoot and shank
Needle Plate: General Purpose (A)
Attach feed cover plate (F)
Reverse stitch button
The reverse stitch button, with the ( )
symbol, is located in the centre of the stitch
length selector.
• Forreversestitching, push in the button and
hold in place. The machine will stitch in
reverseonlv as long as vou keep the button
pushed in.
Sewing in reverse
To neaten the end of a seam, push in the
reversebutton and backstitch 3-4stitches.
Raise needle and presser foot and remove
fabric bVdrawing it to the back and left. Cut
thread on thread cutter on presser bar.
34
•
Aplicaciones con
puntada recta
Zurcido
BotOnpuntada reversible
Elboton de puntada reversible,con el simbolo
( ),estâ situado en el centro dei selector
de longitud dei punto.
• Porapuntodas reversibles,presione el bot6n
Vreténgalo Lamaquina cosera en reversible
unicamente mientras se tenga el bot6n
presionado.
Costura
reversible
Parareforzarel final de una costura, presione
1 bot6n de costura reversible V de 3-4
puntadas hacia atrâs.
levela aguja Vel prensatelasVquite el tejido
IIrando de este hacia atras V a la izquierda.
Corte el hilo en el cortahilos de la barra
rensatelas.
Applications avec le
point droit
Repriser
Marche arrière
La
touche ( ) au centre du sélecteur de
longueur de point permet de coudre en
marche arrière.
• Pour arrêter les coutures, appuvez sur le
bouton. Tant que vous le maintiendrez en
place, la machine coudre en marche
arriêre.
Couture en marche
arrière
Pour renforcer la fin de la couture, faites
quelques points d'arrêt en marche arrière.
Relevez l'aiguille et le pied presseur et
dégagez le tissuen le tirant vers l'arrière sur
la gauche. Coupez le fil
à
l'aide du coupe-fil
encastré dans la barre du pied presseur.
35
Posiciones recomendadas
Selecci6n punto: Punto recto
Posici6n aguja:
Anchura punto:
Longitud punto: Cualquier posici6n
Prensatelas:Quite el prensatelas V
el tronco
Plancha aguja: Usogeneral (A)
Adaptar plancha cubre arrastre (F)
Réglages recommandés
Point utilisé: point droit
Positionde l'aiguille:
Largeur de point:
Longueur de point: Toutréglage
Pied presseur:Retirezle pied presseur
et le talon
Plaque
à
aiguille universelle (A)
Plaque
à
repriser (F)