Twin needle sewing
Caution:
Make sure not to use a stitch width
greater than what is recommended
when twin needle stitching.
Procedure
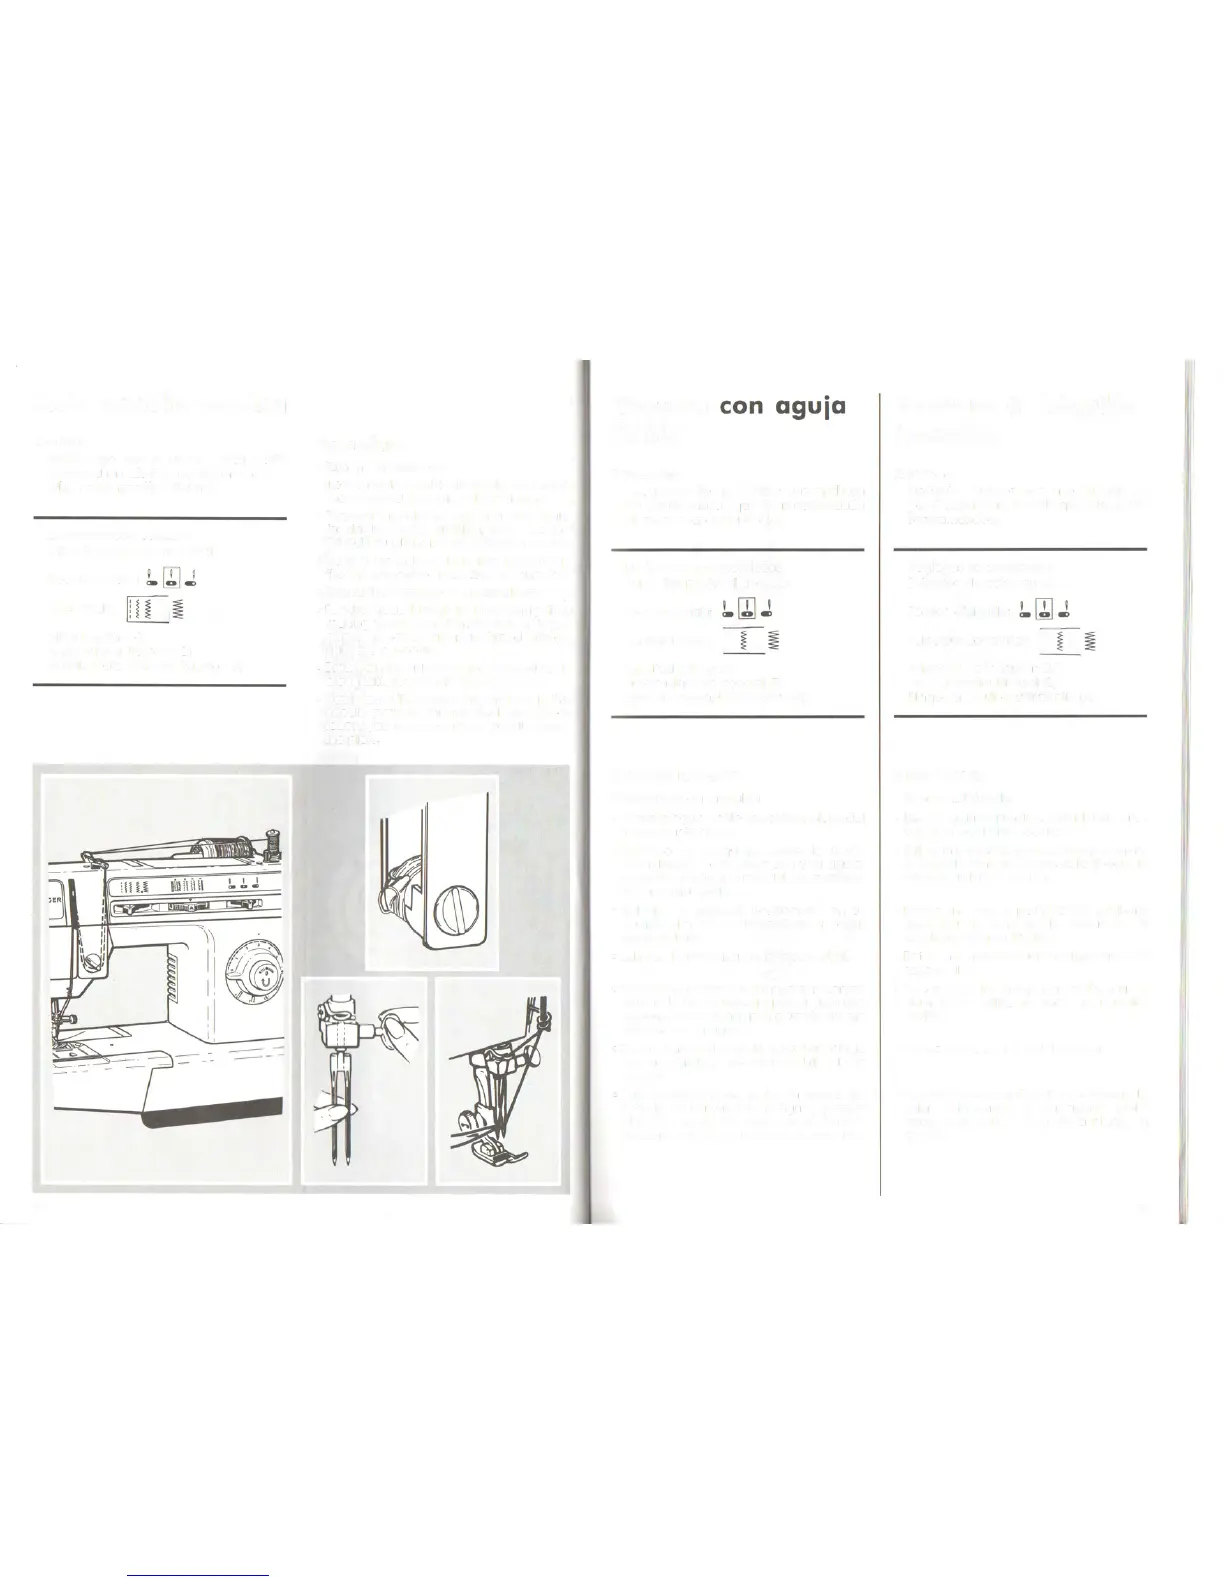
• Turnthe machine off.
• Insertthe twin needle with the fiat side ofthe
shank toward the rear of the machine.
• Threadthe machine as Vounormallv would
for single needle stitching, and pass the
thread through the lefteveofthe twin needle.
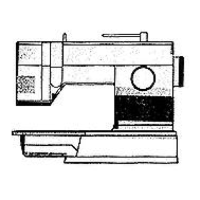
• Insert a second spool pin into the hole on
the top cover of the machine, as illustrated.
• Thread the machine in the usual wav.
• Possthe thread throùgh the remaining points,
making certain to omit the thread guide just
above the needle and passthread through
right eve of needle.
• Draw both threads under the foot and back
along with the bobbin thread.
• SlowlVlower the needle into the hole in the
needle plate bV turning the hand wheel
toward vou to make surethe needle clears
the plate.
Recommended settings
Stitch Selection: Desired stitch
Needle Position:
Stitch Width:
1.1
Stitch Length: 2-5
Foot:General Purpose (B)
Needle Plate: General Purpose (A)
58
Costura
doble
Precaucion:
Asegurese de no utilizar una anchura
de punto mayor que la recomendada
al coser con aguja doble.
Posiciones recomendadas
Seleccion punto: el deseado
Posicion aguja:
Anchura punto:
li
l
1.1
Longitud punto: 2-5
Prensatelas:Usogeneral (B)
Plancha aguja: Usogeneral (A)
Procedimiento
• Desconecte la maquina.
• Insertela aguja doble con ellado piano dei
tronco hacia atrâs.
• Enhebre la maquina como 10 haria
normalmente para coser con una aguja,
pasando el hilo a través dei ojo izquierdo
de la aguja doble.
• Coloque el segundo portacarrete en su
agujero situado en la cubierta superior,
como se ilustra.
• Enhebre la mâquina en la forma usual.
• Poseel hilo a través de los puntos restantes,
cuidando de no hacerlo por el guia hilo
existente sobre la aguja V,a través dei ojo
derecho de la aguja.
• Tirede ambos hilos hacia atras, por debojo
dei prensatelas, junto con el hilo de la
bobina.
• Baje despacio la aguja hacia dentro dei
agujero de la plancha de aguja, girando
el volante hacia Vd., para asegurarse que
la aguja salva el agujero de la plancha.
Couture
à
l'aiguille
iumelée
Attention:
Surtout, n'utilisez pas une largeur de
point supérieure
à
celle qui vous a été
recommandée.
Réglages recommandés
Sélection de point: au choix
Positiond'aiguille:
Sélecteur de largeur:
li
l
1.1
Sélecteur de longueur: 2-5
Pied presseur universel (B)
Plaque
à
aiguille: universelle (A)
Procédure
• Remontezl'aiguille.
• Insérezl'aiguille jumelée, côté plat du talon
vers l'arrière de la machine.
• Enfilezla machine, comme pour la couture
à
l'aiguille normale et passez le fil dans le
chas de l'aiguille gauche.
• Mettez en place le porte-bobine auxiliaire
dans l'orifice situé sur le dessus de la
machine, comme illustré.
• Enfilez normalement la machine avec le
second fil.
• Passezdans les autres guides-fils, sauf le
dernier, et enfilez le chas de l'aiguille
droite.
• Placez les fils sous le pied presseur.
• Baissezdoucement l'aiguille en tournant le
volant
à
la main pour vous assurerqu'elle
passe bien dans le trou de la plaque
à
aiguille.
59