the following secons assume that you are using one. If you are not, you
can sll follow the procedures, but by making the indicated adjustments
with your lt/pan head or ball mount. We also highly recommend the Fine-
Tuning Mounng Assembly as it enables you to perform the advanced polar
alignment procedures with your photographic payload already aached to
SAM and without the need to remove the polar scope once the procedure
is done.
Advanced Polar Alignment for the Northern Hemisphere
Start by Achieving a Coarse Polar Alignment
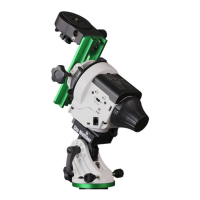
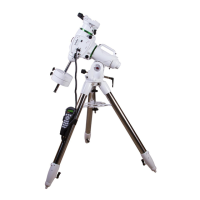
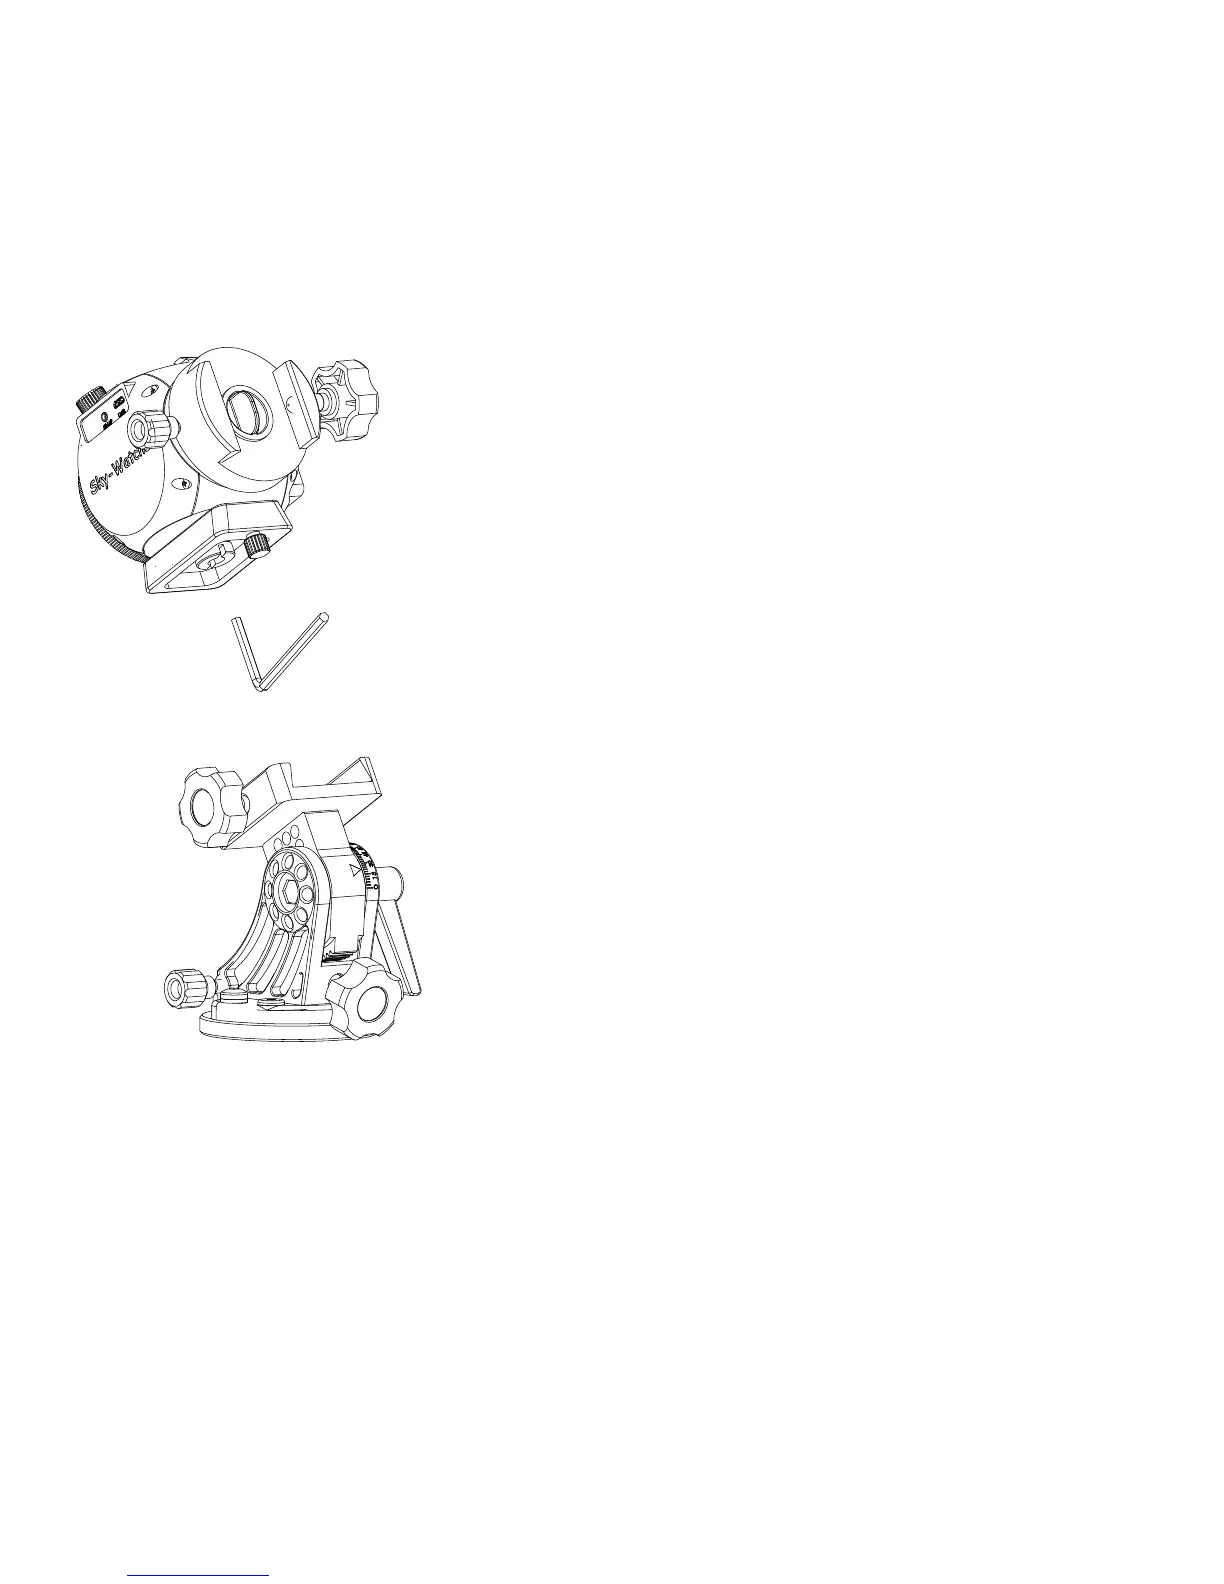
1. Aach the Equatorial Wedge (wedge) to your tripod via the 3/8 inch
mounng bolt (or using the 1/4 inch thread adapter if required).
2. Aach SAM to the Equatorial Wedge.
3. Level the tripod so that the bubble level on the wedge is centred. A
level tripod is not a strict requirement, but it does make subsequent
adjustments easier.
4. Turn the Latude Adjuster to match the latude of your locaon.
This will angle SAM to the correct level to obtain your coarse polar
alignment. You can use the Star Adventurer mini Console to get your
latude if the GPS funcon of your phone is enabled.
5. Look through the Polar View Finder and adjust your Altude and
Azimuth Knobs unl you can see Polaris inside the boundaries of the
view port. Note that if SAM is powered up you can illuminate the Polar
View Finder LED by turning it on in the Star Adventurer mini Console,
or quickly pressing and releasing the power buon.
Once you can see Polaris in the view nder you are ready to install the Polar
Scope and ne-tune your polar alignment with the Polar Clock funcon.
31
 Loading...