Defective batteries can leak and spill battery liquid onto
close-by objects.
Check the objects affected.
Clean or, if necessary, replace the objects affected.
4 Initial Start-Up
4.1 Charging the Battery
for the first time.
The battery can be charged regardless of
• whether the meter is switched on or off or
• whether the battery-switch on the underside of the
meter is set to
On
or
Off
.
Charge the battery as follows:
1. Plug the power plug into a 230-V socket.
2. Connect the low-voltage plug of the power plug to the low-voltage
socket on the bottom of the meter.
The battery starts charging as soon as you connect the smartmeter T20 to
the power plug.
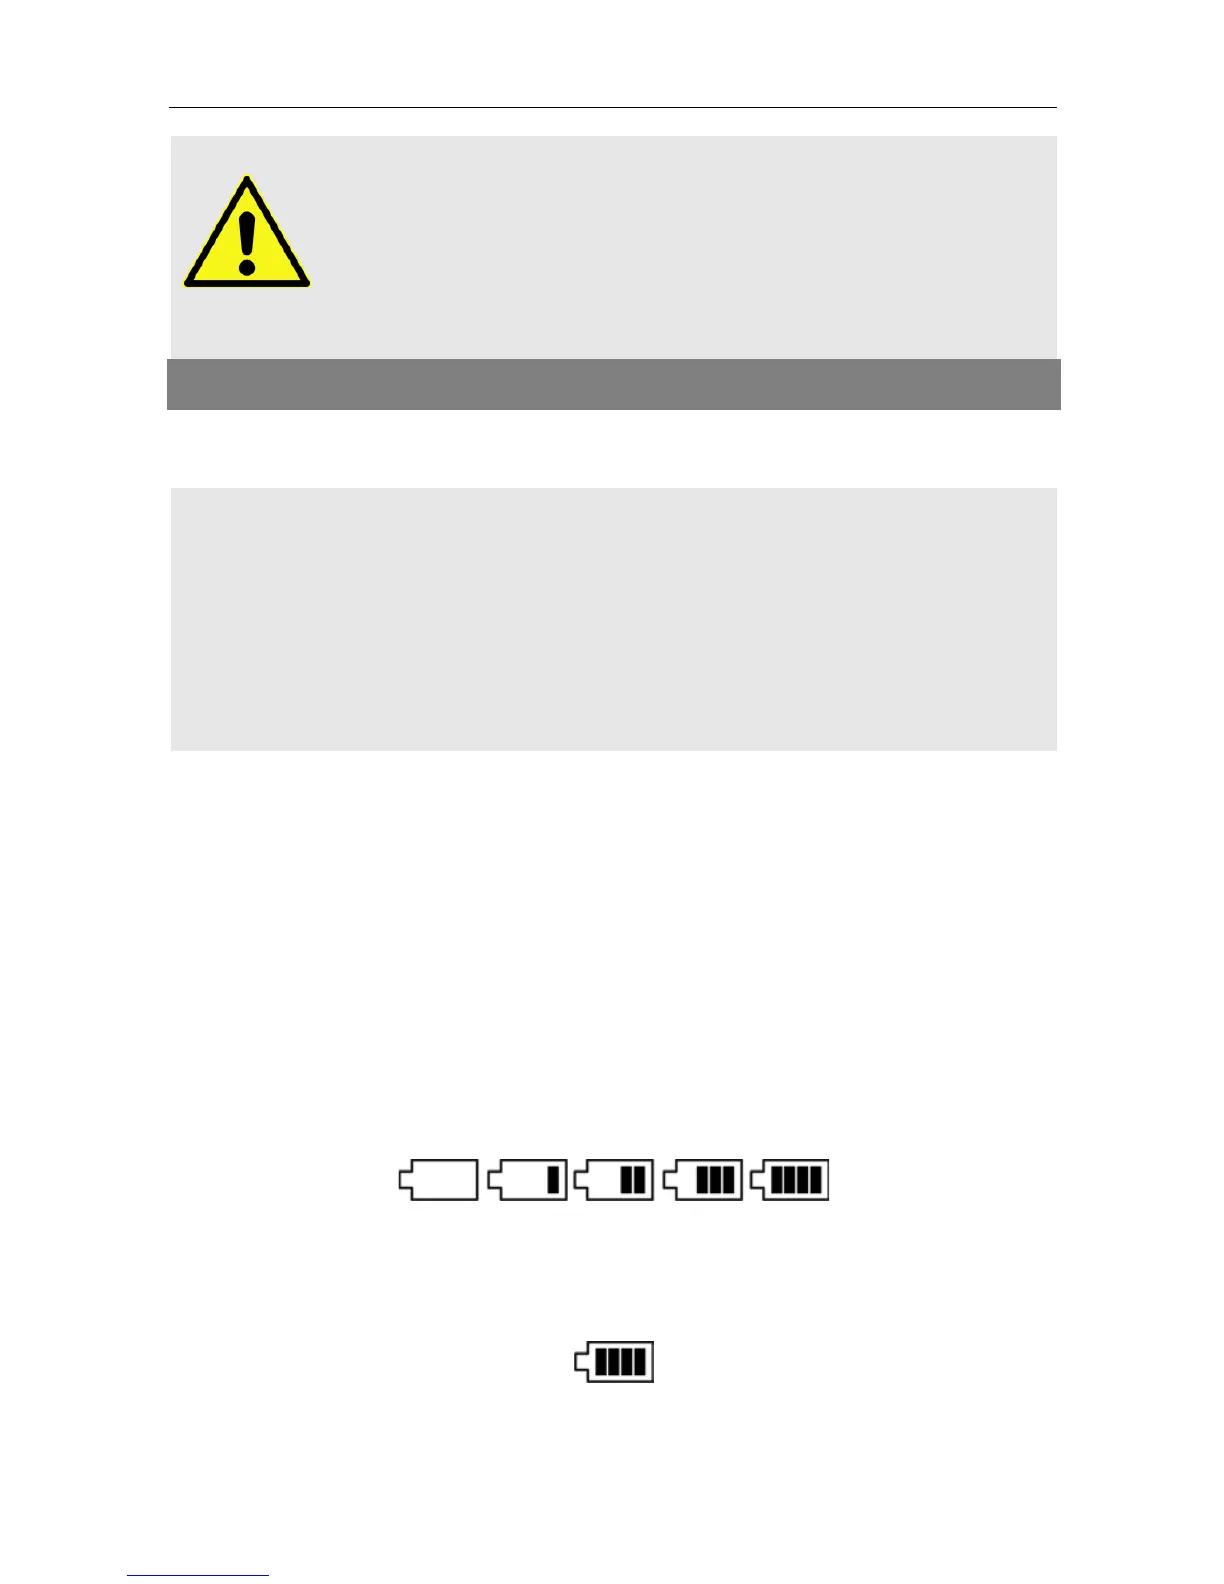
When the meter is switched off, charging is indicated by a yellow Power
LED. When the meter is switched on, charging is indicated by a continu-
ously moving battery symbol in the display:
Completed charging is indicated by a steady battery symbol filled with
four bars:
An integrated automatic charging system ensures optimum charging of
the battery. Please keep the meter switched off during charging.