Initial Adjustment
1. Pay attention to your surroundings when performing the initial adjustment because it
causes the positioner to automatically move the actuator.
2. The positioner stroke reaches both ends during initial adjustment, so it cannot be used with
an actuator that can be damaged by strokes to both ends.
■Change of Parameters for Initial Operation
When an input current of 4 to 20mADC is initially applied after purchasing
*1
, the LCD shows “Not
calibrated” (not CAL) because no adjustment is performed after mounting and transferring to auto
mode is unavailable (Fig. 19)
*2
. Perform the initial adjustment according to the following procedure.
The initial adjustment is performed by applying an optional input current of 4 to 20mADC
*3
. During
adjustment, errors may occur. In such cases, hold down the set button ( ) for 1sec. or longer
to return to the previous calibration mode, and then continue the adjustment referring to the “■Error
Code List”.
1: For the electric wiring, refer to “■Electrical Wiring”.
2: Until the initial adjustment is complete, the positioner can have each parameter setting, but cannot be
operated.
3: Do not change the input current during the parameter adjustment.
■Initial Adjustment
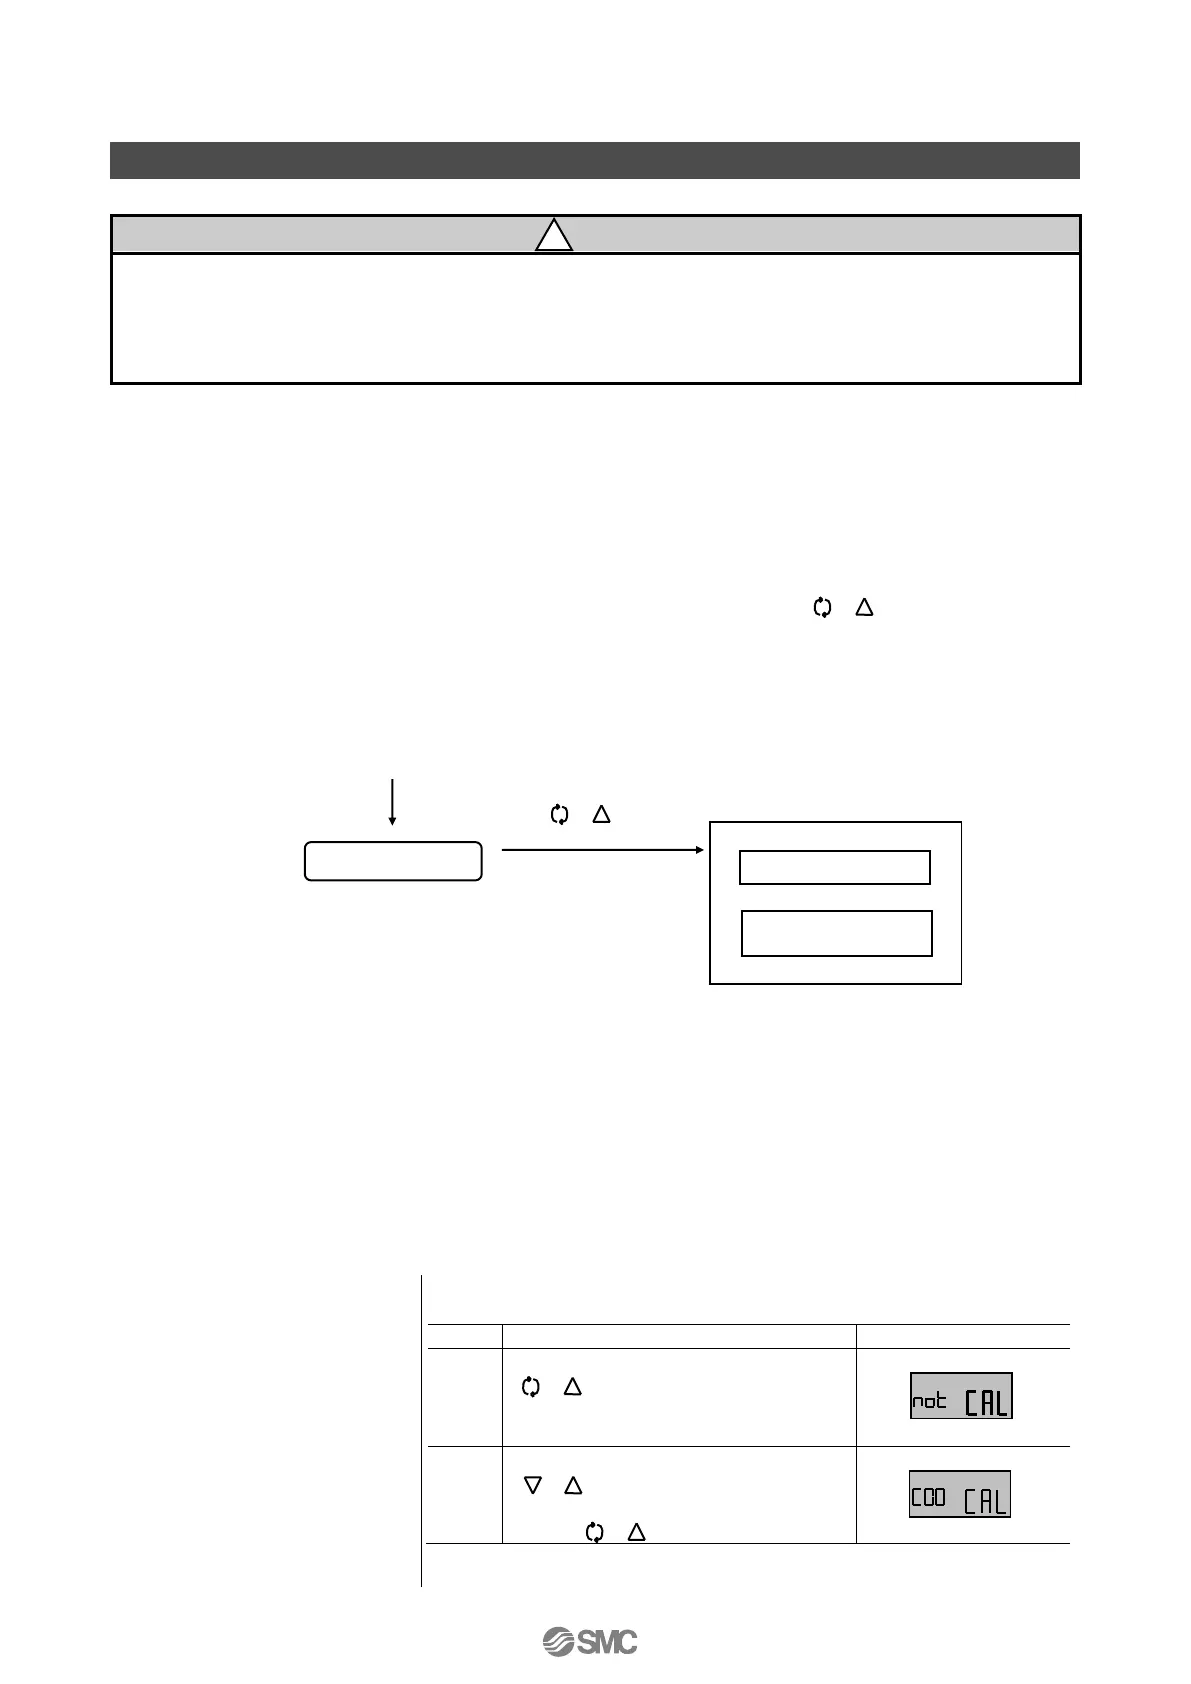
1. Selection of calibration mode
Press and hold down the set button
( ) for 1sec. or longer to enter
parameter mode from the
uncalibrated state (not CAL).
Press the DOWN or UP button
( ) to select calibration (CAL)
and continue to hold down the set
button ( ).
 Loading...