B-31
Center Attachment
45-195 GRADER BLADE PARTS LIST
REF# PART# DESCRIPTION QTY
1 42-207 Grader Blade 1
2 HHP-18 Bridge Pin,
1
/
8
2
3 HB-38-16-125 Hex Bolt,
3
/
8
- 16 x 1
1
/
4
4
HW-38 Flat Washer,
3
/
8
4
4 45-190 Blade Mount 1
5 HB-716-14-150 Hex Bolt,
7
/
16
- 14 x 1
1
/
2
4
HNTL-716-14 Nylon Lock Nut,
7
/
16
- 14 4
HW-716 Flat Washer,
7
/
16
4
6 45-191 LH Carrier Bracket 1
7 45-192 RH Carrier Bracket 1
45-195 GRADER BLADE INSTALLATION INSTRUCTIONS
1� Lower center attachment to the ground and remove the 3 Clevis Pins(Ref� B)�
2� Remove the (4) hex bolts holding each of Blades(Ref A) to the right and left of the center blade� Set the
Blades and (4) Lock Nuts aside�
3� Place the Blade Mount(Ref� 4) on top of the attachment frame, lining up the slots where the bolts were
removed� Replace the removed bolts with the included
3
/
8
-16 x 1
1
/
4
Hex Bolts and
3
/
8
Flat Washers(Ref
3)� Reinstall the Blades(Ref� A) and secure using the
3
/
8
-16 Lock Nuts that were set aside�
4� Check all hardware for tightness�
5� Reinstall center attachment� Slide the Grader Blade(Ref� 1) onto the pins, as illustrated, and secure
using the Bridge Pins(Ref 2)�
6a� To install the Carrier Brackets on a machine without a roll bar:
Mount the RH Carrier Bracket(Ref� 7) and LH Carrier Bracket(Ref� 6) to the to the ROPS towers using
the inside set of holes� Secure each Bracket using the
7
/
16
-14 x 1
1
/
2
Hex Bolts,
7
/
16
Flat Washers and
7
/
16
-14 Lock Nuts�
6b� To install the Carrier Brackets on a machine with a roll bar:
Remove the (4) inside bolts, position each Carrier Bracket(Refs� 6 & 7) over the holes and use the
7
/
16
-14 x 1
1
/
2
Hex Bolts,
7
/
16
Flat Washers and
7
/
16
-14 Lock Nuts to secure�
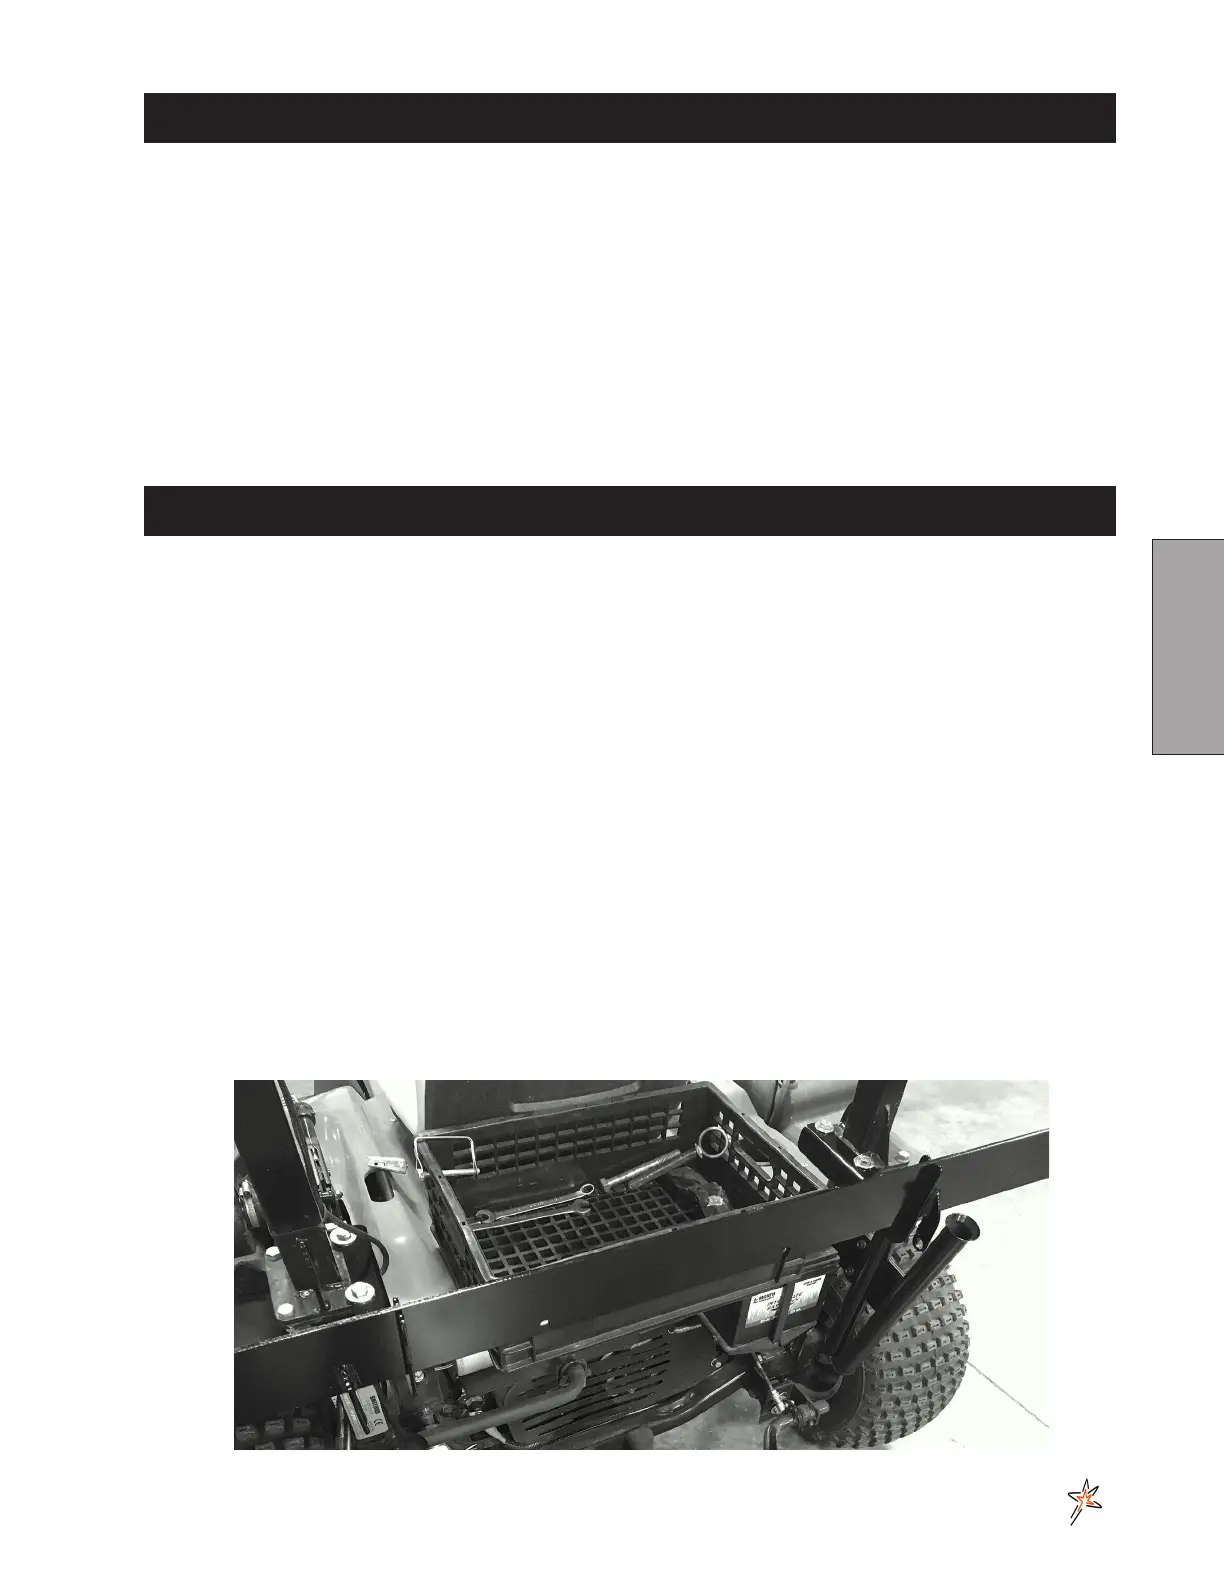
7� When placing the Grader Blade in the Carriers point the mounting tabs downward as shown in the pho-
to below�