17
snom 720 User Manual Setting up the Phone
time shown on your display.
◦ Press the function key underneath
Jump
to move to the beginning of the next time zone.
◦ Press
to move up or down the list one item at a time.
◦ Press the function key underneath
Reduc
to show only those time zones where the selected
phone language is spoken.
◦ Press the function key underneath
More
to show all time zones.
◦ Press
to save the time zone preceded by .
3. Next, you will be prompted to select the tone scheme of a country. This affects the dial tone you
hear when you pick up the receiver. Different countries use different dial tones.
◦ Press
to move up or down the list one item at a time.
◦ Press
to save the tone scheme of the country preceded by .
4. The display shows the "Welcome" screen. Press any key to log on.
5. Enter the account number. Save with
.
Note: See "Entering numerals, letters, special characters, and symbols" on page 24 on
how to enter numbers and letters.
6. Enter the registrar. Press
.
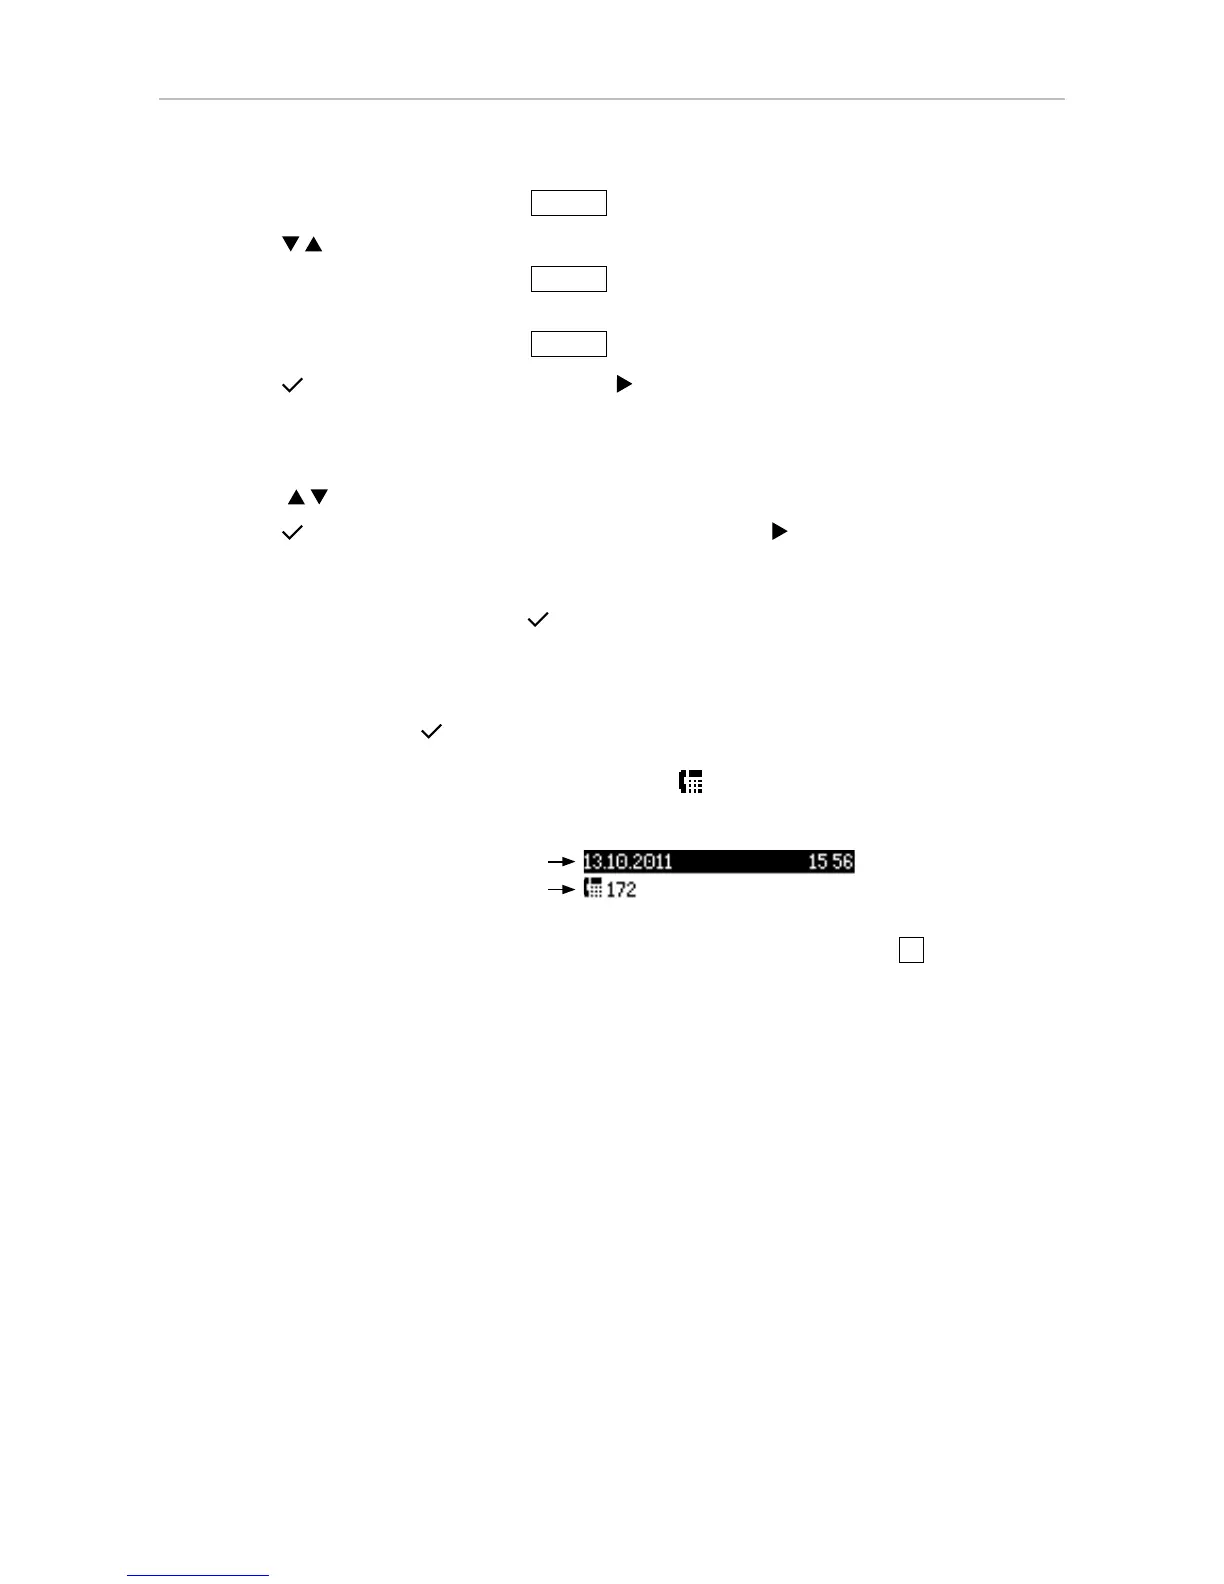
After successful registration you will see the phone symbol
and the registered account (identity) in
the identity line underneath the date/time bar:
Infobar with date & time
Identity line
Note: If you see the account on the display preceded by an empty square and the
phone does not work, the server may be down, either for servicing or due to a malfunction.
The registration and initialization should be completed as soon as the server is up and
running again. You may want to check with your administrator or your provider if nothing
happens within a reasonable amount of time.
What to do if initialization and registration are unsuccessful
Your network or your VoIP provider may require more login data than requested by the snom phone
during the initialization and registration process. This data is entered on the web interface of the
phone. Contact your network system administrator or your VoIP provider for more information.
1. When you have received all necessary data, open the phone’s web interface.
2. Open Configuration Identity 1 and enter any additional login information you have received from
your provider.
Note: A number of IP telephony service providers and a number of SIP PBXs require
settings that are different from snom’s standard factory settings. snom’s web page lists
numerous providers and PBXs that have been tested for interoperability with our phones
and specific settings that may be required. Do not change the standard configuration
unless you know what you are doing. Expert help may be required.