70
Installation
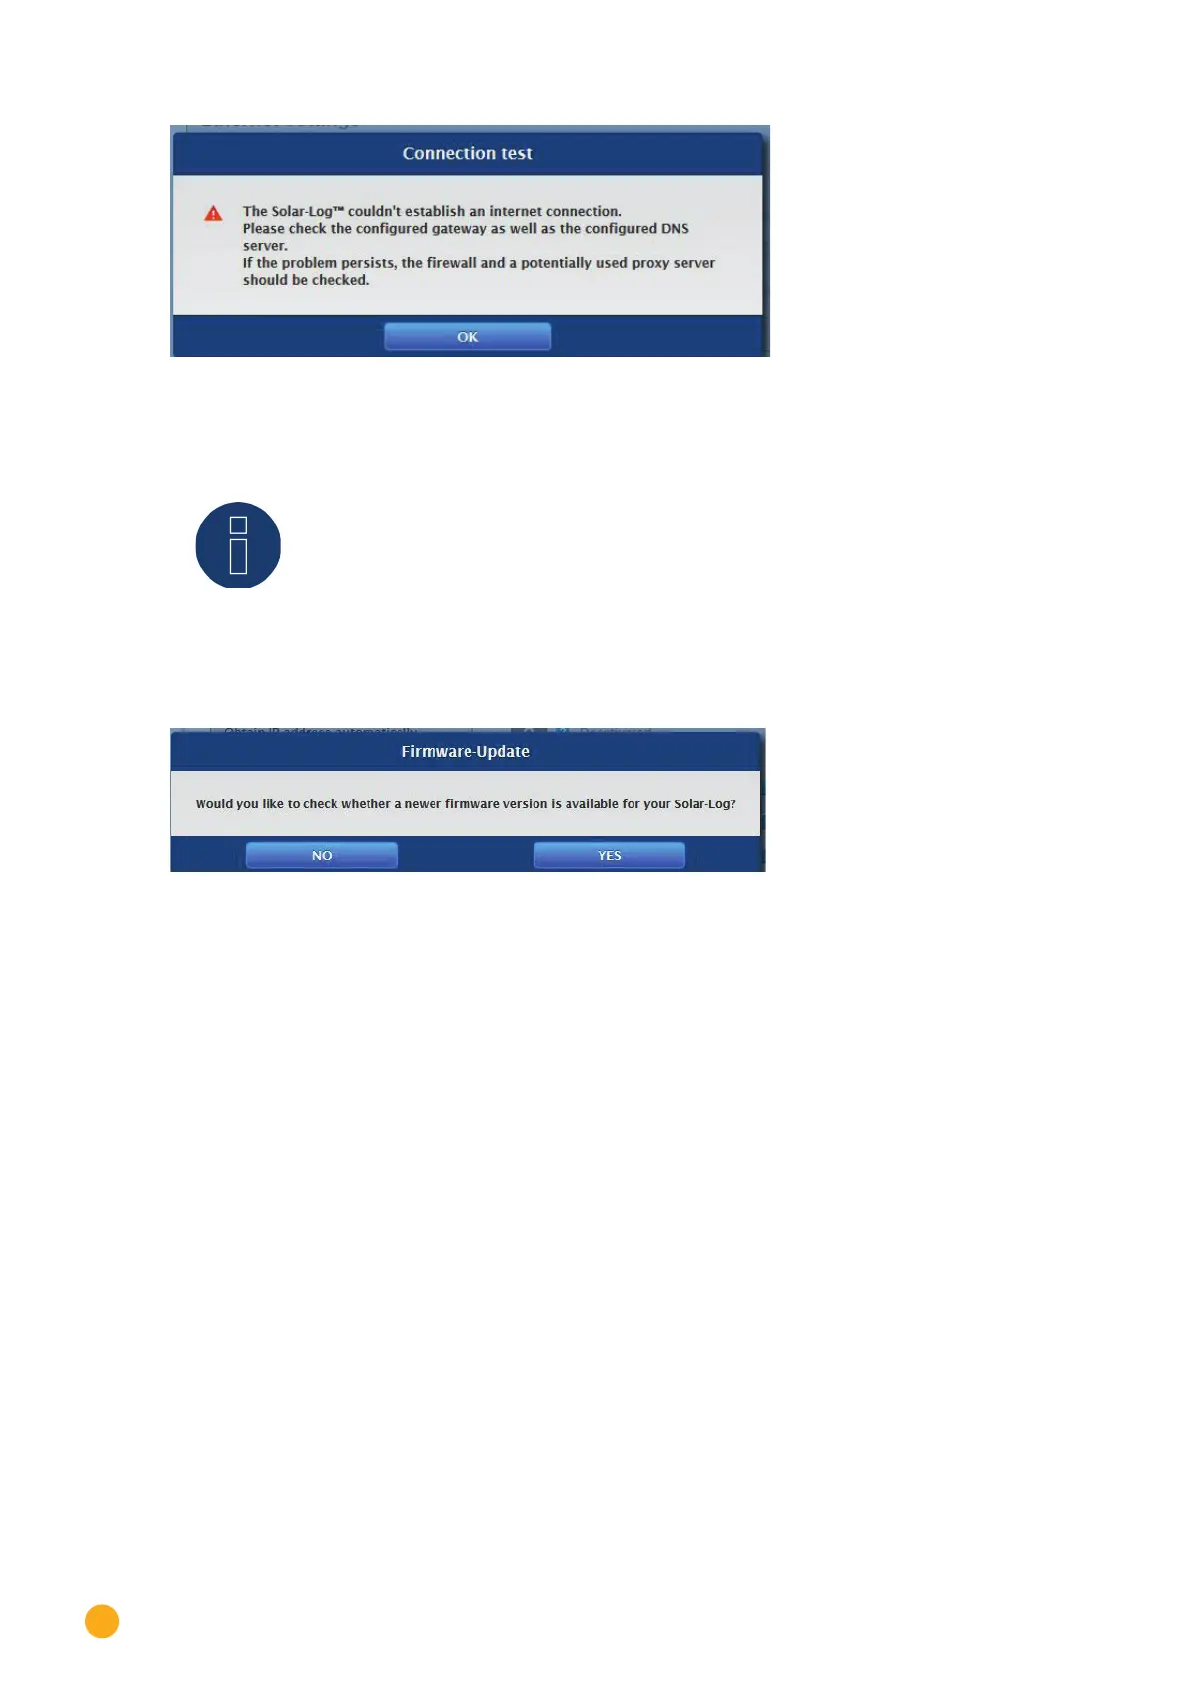
Fig.: Example of an unsuccessful connection test
Note
All settings are automatically saved using the „Next“ button. With the „Back“ button it is
possible to change the settings at any time.
If the test is successful, click on the „Next“ button to go to the next section. A dialog window appears.
From this window, you can check if a new Solar-Log™ firmware version is available (see image „Displayed
Firmware Update Window“).
Fig.: Displayed Firmware Update Window
By clicking on „Yes,“ the configuration wizard checks for a new firmware version and can install it after
that. At the end, the device detection is performed. Otherwise, the device detection menu appears by
clicking on „
No“ for the firmware update check.