61
05/08
62
en
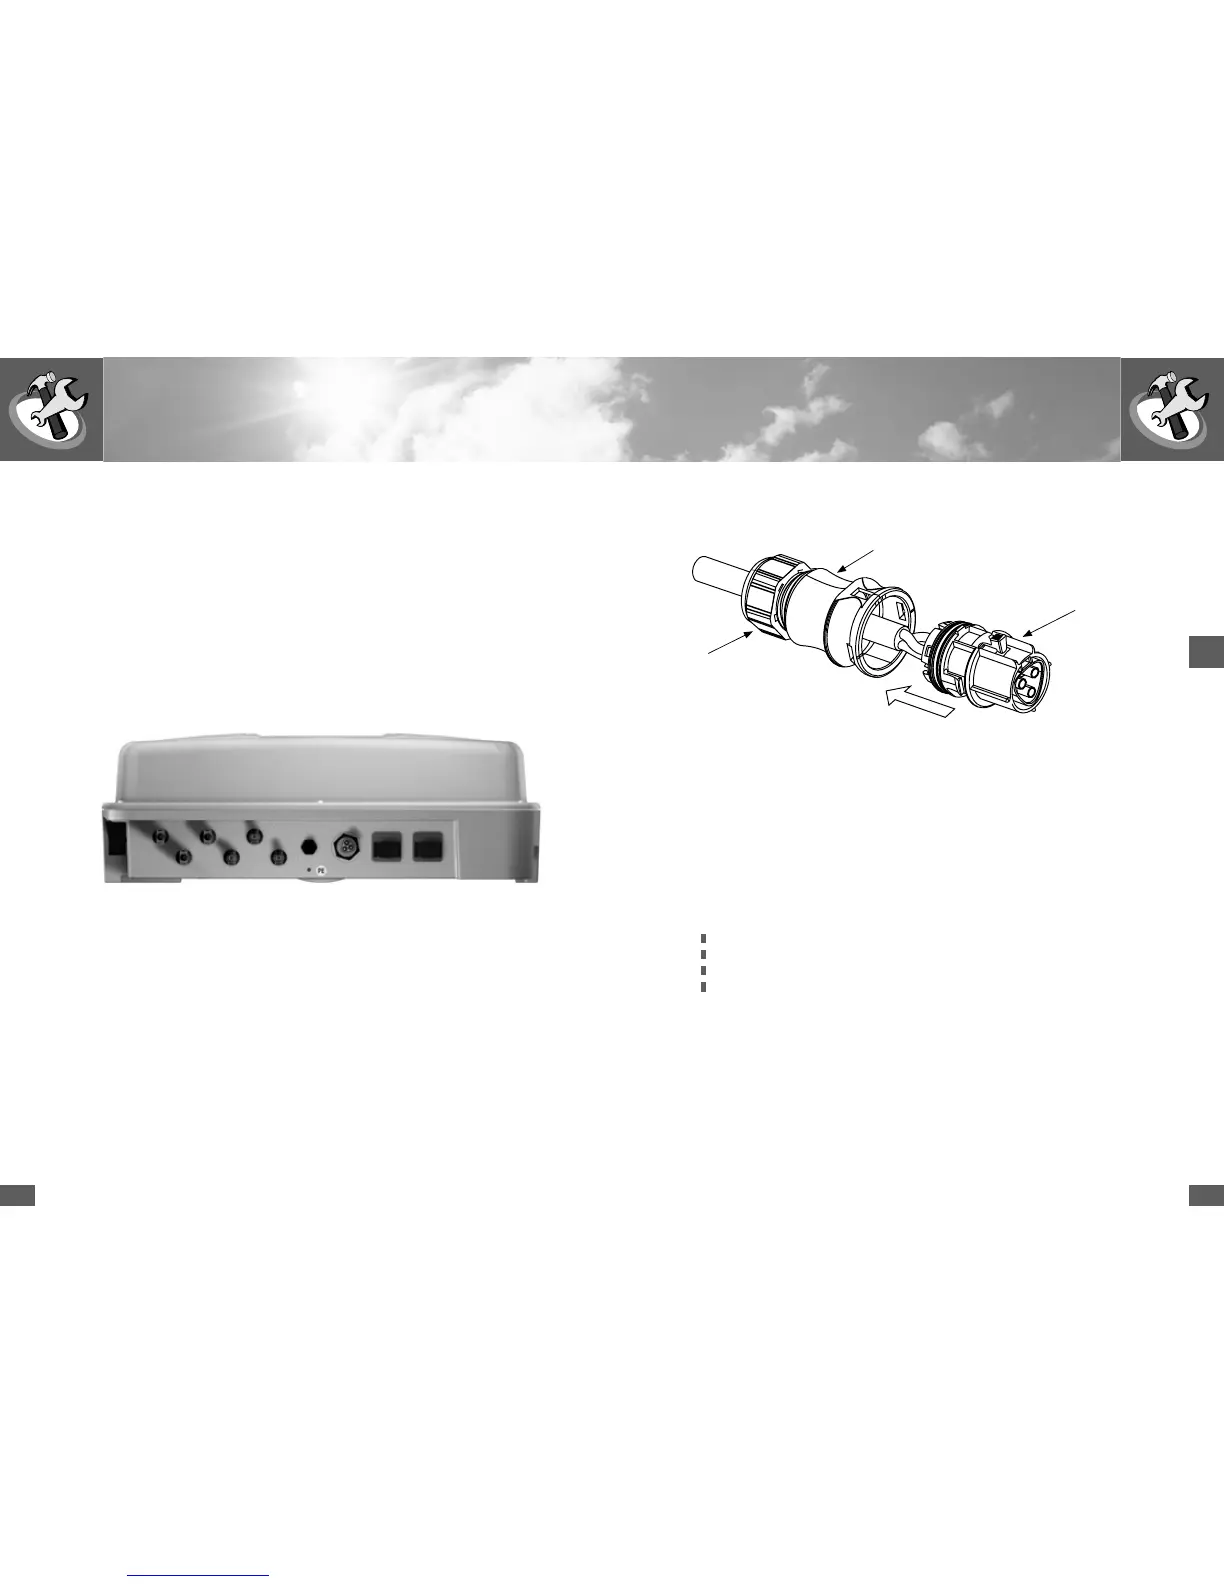
Assembly of the AC cable socket
SM2000S/3000S/4200S/6000S:
Ensure that the cable is de-energised.
n Connect the AC cable socket with a flexible cable according to EN60309-2 /
VDE 0623. Strands with a max. cross-section of 4 mm
2
can be connected.
n Push the rear part of the socket over the cable.
n Press wire end sleeves onto the stripped strands.
n Connect the individual wires with the insert in turn as follows
(Strand cross-section: see table on page 63)
Protective earth conductor PE with the screw terminal with earthing symbol
Neutral conductor N on screw terminal with the label N
Phase L on screw terminal with the label L
Tightening torque 0.8 – 1.0 Nm
n Ensure that the wires are connected properly.
n Snap the rear part of the socket onto the socket insert.
n Tighten the screwed cable gland.
Rear part of socket
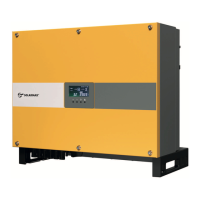
2.2 Electrical connection
Sputnik Engineering supplies the SolarMax inverters prewired and ready for con-
nection. All connections are pluggable. The device therefore does not have to be
opened.
The following connections are available:
n DC: 3 x 2 MC4 sockets (3 strings with MC4 connectors)
n AC: Wieland flange connector
n Communication: 2 x RJ45 (sealed with protective caps)
n Status signalling contact M12 connector
Wieland flange connector
AC feed line
3 x 2 pairs of MC4 connectors
DC feed line
2 x RJ45 sockets
Data communication
Status signalling contact
SM2000S/3000S/4200S/6000S
Socket insert
Screwed cable gland
If the RJ45 sockets are used and the inverter is exposed to the weather, please
use products from the VARIOSUB-RJ45 range with IP67 protection from Phoenix
Contact. This ensures that the installation meets the requirements of IP54.
n RJ45 connector, 8-pin, quick connector system (art. no. 1658493)
n Pre-assembled Ethernet cable, 8-pin RJ45/IP67 on RJ45/IP67 (art. no.
1658480-)
Available from www.phoenixcontact.com.