5.7 DataHub Setting
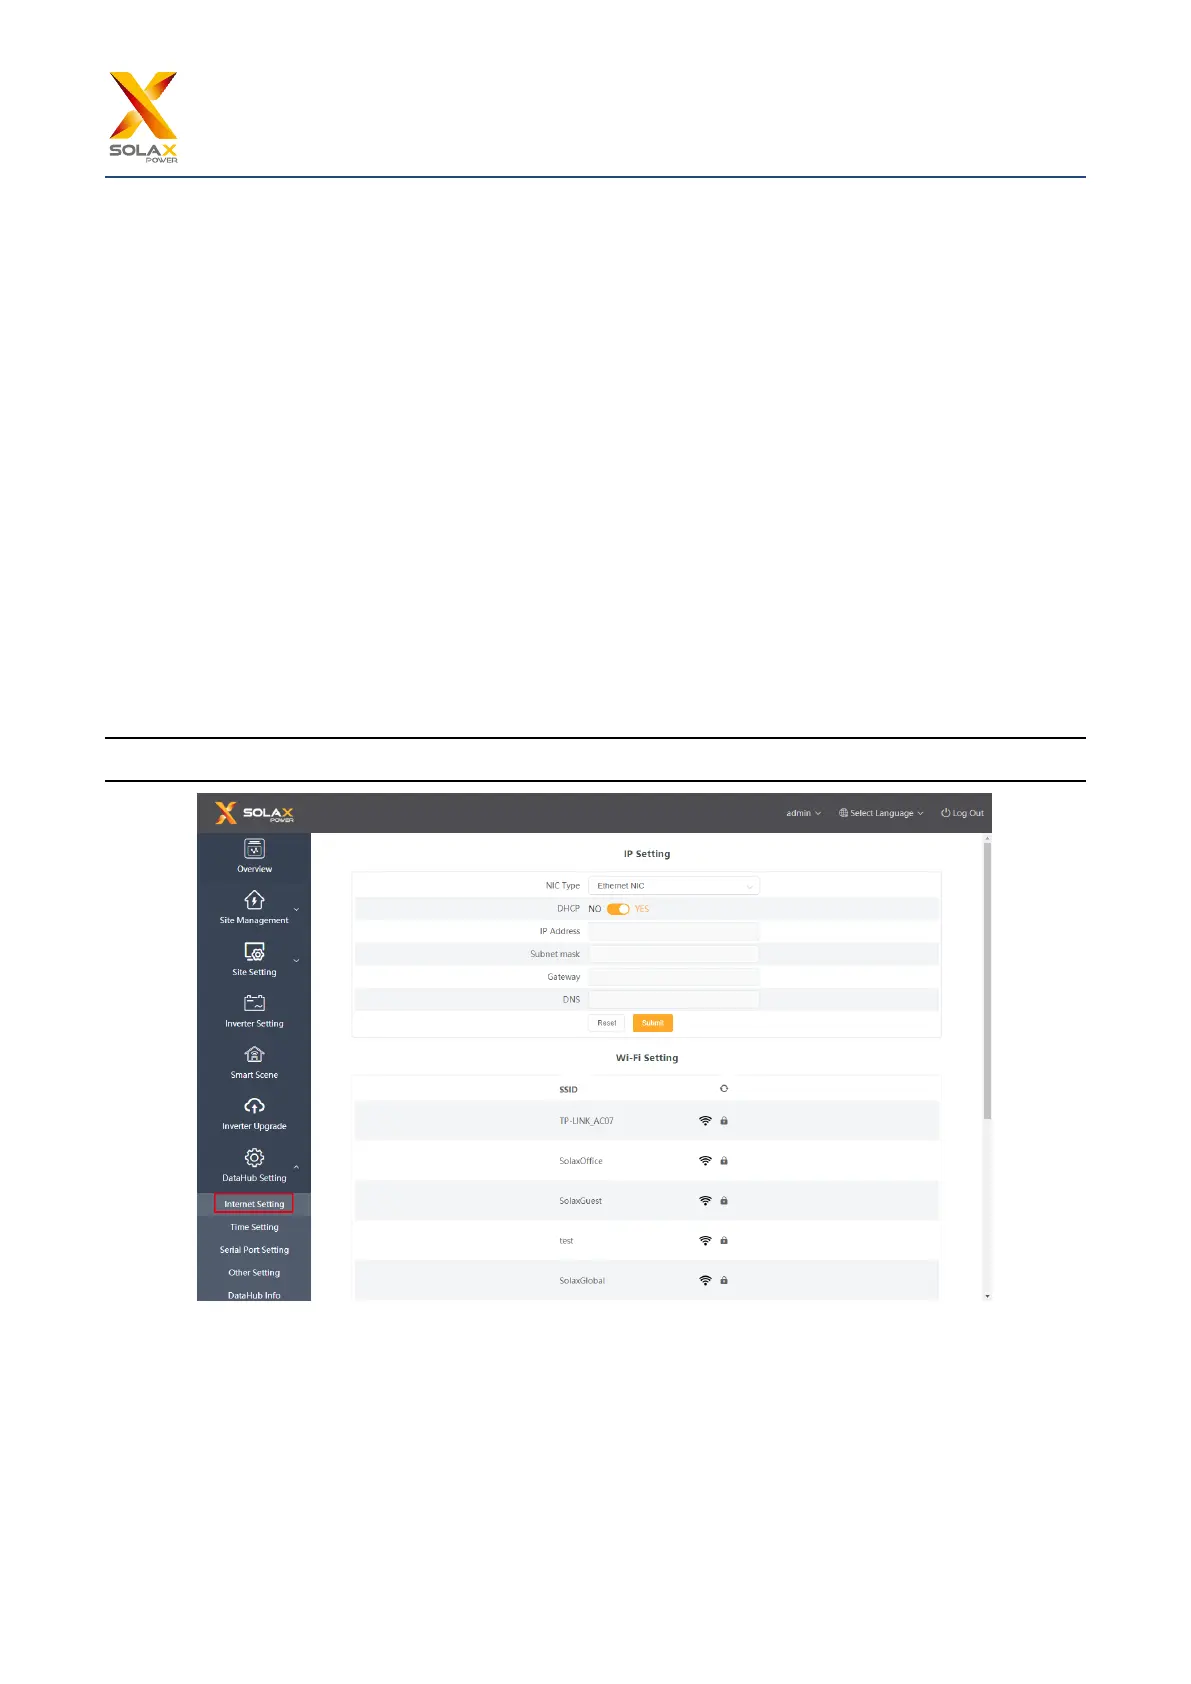
5.7.1 Internet Setting
Wired connection: connect the Datahub and router via network cable.
Wireless connection: After local login, please enter “System Setting”-“Internet Setting”-“WiFi Setting” to select the
WiFi and enter the password.
Connect the computer and DataHub to the same WiFi, and then visit http://datahub.local/ to log in. If the user cannot
access, please install the Bonjour SDK, or log in through the DataHub LAN IP address. For the current IP address,
please refer to “System Setting”-“System Information”.
If there is no feedback of wireless connection within 30 seconds, please disconnect and reconnect the Datahub hotspot
(WiFi_XXXXXX). If the current connection is via WiFi and WiFi address already appears in the system information,
it means the WiFi is successfully connected and you can login via LAN. Otherwise, try wireless connection again.
Fixed IP: If the user needs to fix the IP after completing wired or wireless connection via DHCP, select the correct
network card type, turn off the automatic acquisition of IP address, and set the “IP Address”, “Subnet Mask”,
“Gateway” and “DNS”.
*Note: Ordinary users do not need to perform any operations if they do not need a fixed IP.
5.7.2 Time Setting
The time setting is to set the DataHub system time,including “Time Synchronization”, ”SolaXCloud Synchronization”
and “Other Server Synchronization”.
“Time Synchronization”: The system corrects the time automatically.
“SolaXCloud Synchronization”: The platform of SolaX sends a synchronization command to change the time of
system.
 Loading...


