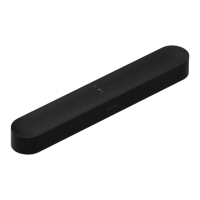
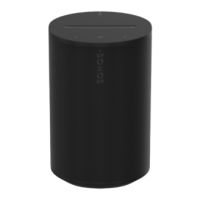
Sonos S14
19
• If you’re using a Mac, select Sonos > Preferences.
2. Choose a room (on a Mac or PC, select the room from the Room Settings for drop-down list).
3. Tur n off Speaker Touch Controls.
Change room names
If you’re using a mobile device
1. Go to More > Settings > Room Settings.
2. Select a room.
3. Tap Room Name.
4. Select a name from the list, or enter a new name, and tap Done.
If you’re using a computer
1. Select Manage > Settings (PC) or Sonos > Preferences (Mac).
2. Select Room Settings if it is not already highlighted on the left.
3. Choose the room you wish to change from the Room Settings for drop-down list.
4. From the Basic tab, enter a new name or choose one from the Room Name list.
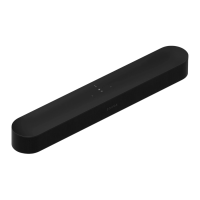
Mount the S14 on a wall
Use the S14 Wall Mount Kit (sold separately) to mount the S14 on a wall above or below a wall-mounted TV.
Make sure the connector panel faces away from the TV when mounted—the Sonos logo should be farther
from your TV.
Note: Before mounting the S14 on the wall, connect the power and audio cables.
S14 wall mount kit contents
image of contents with call outs.
• Wall mount
• Template
• 4 wall anchors
• 4 wall screws
• 2 screws (optional)
Tools needed
•Level
• Tape measure
• Pencil
• 5/16” bit power drill
• Phillips head screw driver
1. Hold the template against the wall where you’d like to mount the TV.
2. Use a level to make sure the template is level.