Product Guide
6
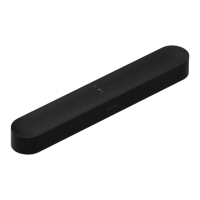
• Do not place the S14 in a cabinet or on a walled shelf. Make sure both ends of the S14 are at least 1 ft.
(30cm) from a wall or other obstruction.
Set it up
S14 is compatible with Sonos software versions 7.2 and later. If you are adding the S14 to an existing Sonos
system, check for software updates first.
1. Carefully unpack the box.
2. Choose a location for the S14 (see Select a location).
3. Connect the HDMI cable (supplied) from your TV’s HDMI ARC connector to the S14’s HDMI connector.
Note: If you TV does not have
an HDMI ARC connector, you need an optical adapter
Connect using a optical adapter
If your TV doesn’t have an HDMI ARC connector, you need to purchase an optical adapter and connect it to
the HDMI cable.
1. Remove the protective cap from the optical adapter.
2. Attach the optical adapter to the HDMI cable.