Do you have a question about the Sony DCR-TRV145E and is the answer not in the manual?
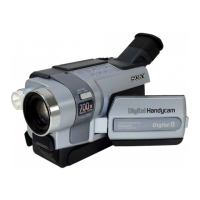
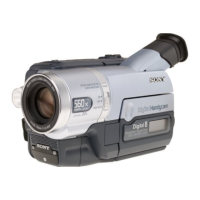
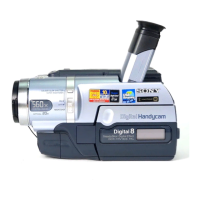
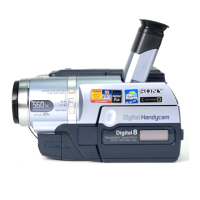
Provides instructions for operating the digital video camera recorder.
Fournit des instructions pour faire fonctionner le cam ounscope.
Safety warnings to prevent fire or shock hazards.
Note on electromagnetic field influence on the camcorder.
Information regarding the AC power adaptor plug and fuse replacement.
Product compliance statement for European customers regarding EMC Directive.
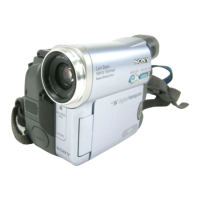
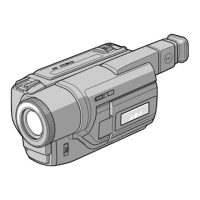
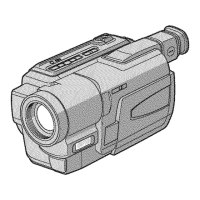
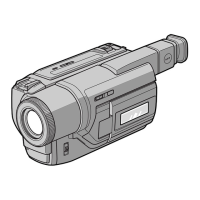
Explanation of camcorder-shape icons used to indicate model names.
Guide to recording and playback of images on tape and Memory Stick.
Instructions for transferring images to a computer.
Details on various functions for adjusting exposure and image impact.
Features for enhancing the natural look of recordings.
Operations available for recorded tapes.
Basic features for recording on a tape.
Basic features for recording on a Memory Stick.
Instructions on how to use the manual and understand its content.
Comparison of features across different camcorder models.
Guidelines for maintaining the camcorder and its components.
Instructions for connecting the camcorder to a computer via USB.
Procedure for installing the battery pack.
Instructions on how to charge the battery pack.
Approximate charging times for various battery packs.
Approximate playing times for different cassette types.
Instructions for powering the camcorder via a wall socket.
Procedure for setting the camcorder's date and time.
Automatically records date/time for 10 seconds after recording starts.
Procedure for safely ejecting a cassette.
How to prevent accidental erasure of tape contents.
Basic steps for recording a picture with the camcorder.
Instructions for adjusting the angle and position of the LCD screen.
How to adjust the brightness of the LCD screen.
Guide to using the camcorder's zoom functionality.
How to adjust the viewfinder lens for clear viewing.
Using the mirror mode to check self-image during shooting.
Explanation of indicators shown on the screen during recording.
Using the backlight function for subjects with light behind them.
Using NightShot for shooting in dark environments.
Instructions for using the self-timer function for automatic recording.
How to superimpose date and time onto recorded pictures.
Functions for checking recorded footage for smooth transitions.
Basic steps for playing back recorded tapes.
How to show or hide screen indicators during playback.
Information recorded with images (date/time, settings).
Description of different playback modes like pause, search, slow speed.
Recording still images on Memory Stick during tape recording.
Recording still images as photographs onto a tape.
Recording in 16:9 wide or CINEMA mode for widescreen TVs.
Creating professional fade-in and fade-out effects.
Applying digital picture effects like sepia, B&W, and solarize.
Adding digital effects like STILL, FLASH, LUMI, and TRAIL.
Selecting automatic exposure modes for specific shooting situations.
Manually adjusting exposure for backlit or dark subjects.
Manually adjusting focus for precise focusing in specific conditions.
Making time-lapse recordings by setting automatic record and standby intervals.
Creating stop-motion animated effects using frame recording.
Selecting preset or custom titles to superimpose on images.
Creating and storing up to two custom titles.
Viewing recorded scenes with picture effects like NEG.ART, SEPIA.
Viewing recorded scenes with digital effects like STILL, FLASH, LUMI.
Enlarging recorded images from tape using PB ZOOM.
Searching for scenes using the tape counter zero point.
Searching for recordings based on the date they were recorded.
Searching and scanning for still images on tape.
Copying or editing recordings using a VCR.
Easy control of VCR dubbing operations using the camcorder.
Duplicating selected scenes for editing onto tape without VCR operation.
Recording tapes from other VCRs or TV programs.
Inserting new scenes into recorded tapes by setting start/end points.
Instructions for recording images onto a Memory Stick.
Recording still images on Memory Stick in CAMERA mode.
Recording moving picture data from tapes as still images.
Superimposing still images from Memory Stick onto moving pictures.
Recording moving pictures with sound onto a Memory Stick.
Recording moving picture data from tapes onto a Memory Stick.
Duplicating selected scenes for editing onto Memory Stick.
Taking photos successively at regular intervals.
Playing back still images recorded on a Memory Stick.
Playing back moving pictures recorded on a Memory Stick.
Selecting a folder to view images stored on the Memory Stick.
Copying still images from Memory Stick to a tape.
Enlarging still images from Memory Stick and copying to tape.
Playing back images in sequence automatically.
Protecting selected images to prevent accidental erasure.
Deleting all images or only selected images from Memory Stick.
Ways to connect camcorder to computer for viewing images.
Connecting via USB for viewing images from tape or camcorder.
Using ImageMixer to capture images from tape or camcorder.
Viewing images from Memory Stick on computer via USB.
System requirements and installation for USB connection.
System requirements and installation for USB connection on Macintosh.
Capturing analogue video via camcorder using i.LINK.
Guide to navigating and changing camcorder menu settings.
Explanation of menu items and their settings based on POWER switch.
Compatibility notes for FLASH MODE with external flash.
Explanation of the Auto Shutter function.
Information on SteadyShot function limitations.
Recommendations and potential issues when using LP mode.
Limitations on adjusting audio balance in 16-bit mode.
Restrictions on AUDIO MODE selection for Digital8 tapes.
Information regarding ORC setting cancellation and limitations.
Conditions and limitations for using DEMO MODE.
Important notes regarding the formatting process.
Guide to diagnosing and resolving common camcorder issues.
Information on the camcorder's self-diagnosis function and error codes.
Explanation of warning indicators and on-screen messages.
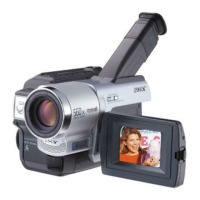
| Optical Zoom | 20x |
|---|---|
| Digital Zoom | 800x |
| LCD Screen Size | 2.5 inches |
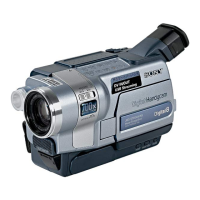
| Image Sensor | CCD |
| CCD sensor size | 1/6 inch |
| Microphone | Stereo |
| Type | Camcorder |
| Recording Media | MiniDV |
| Video Resolution | 720 x 576 pixels |
| Effective Pixels | 0.8 Megapixels |
| LCD Screen | 2.5" LCD screen |
| Viewfinder | Electronic |
| Weight (without battery) | 450 grams |