, '
, .
, .
I
, I
, l
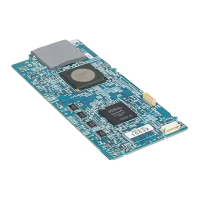
Constructing a
projection
wall
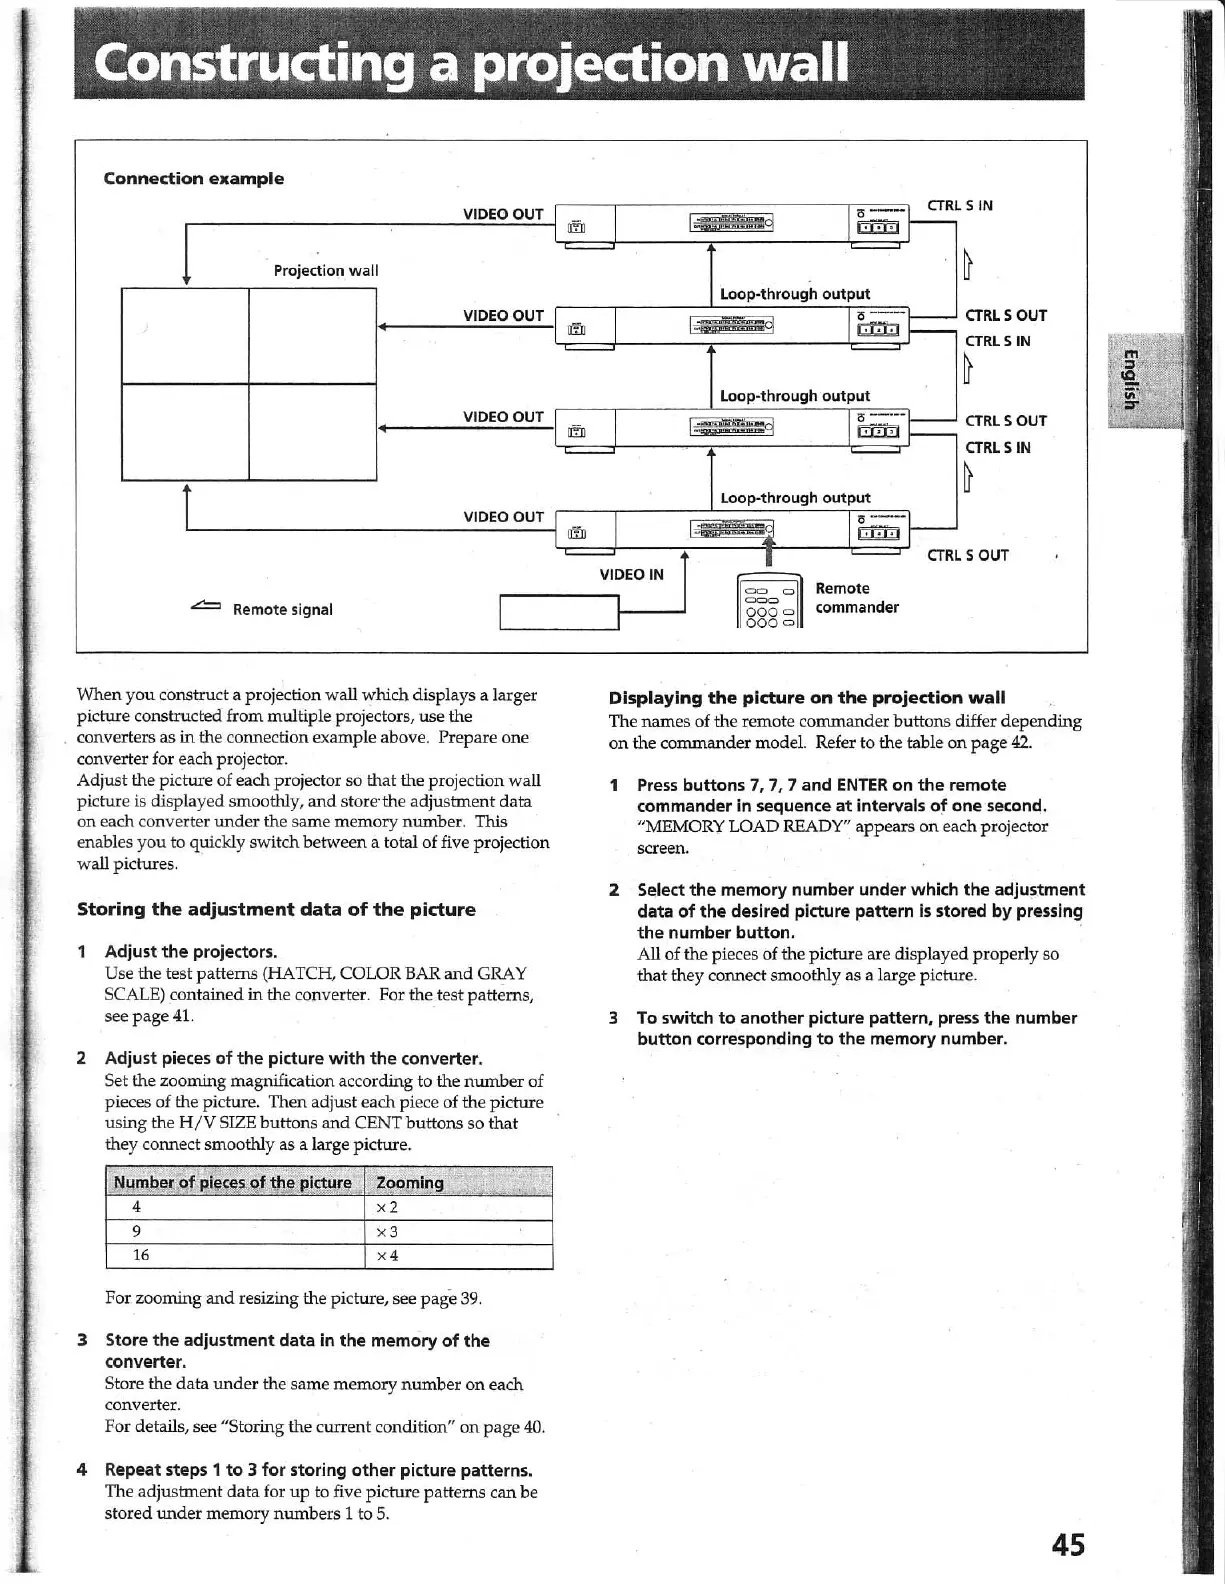
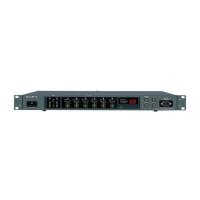
Connedion
example
VIDEO
OUT
Projection
wall
VIDEO
OUT
VIDEO
OUT
•
VIDEO
OUT
~
Remote signal
When
you
construct a projection wall
which
displays a larger
picture constructed from multiple projectors,
use
the
converters
as
in
the connection example above. Prepare one
converter
for
each projector.
Adjust the picture of each projector so that the projection wall
picture
is displayed smoothly,
and
store" the adjustment data
on
each converter under the same
mem
ory nwnber. This
enables
you
to quickly switch between a total of five projection
wall pictures.
Storing
the
adjustment
data
of
the
picture
Adjust
the
projectors.
Use the test patterns (HATCH, COLOR
BAR
and
GRAY
SCALE) contained in the converter. For the test patterns,
see page
41.
2 Adjust pieces
of
the
picture
with
the
converter.
Set the zooming magnification according to the
number
of
pieces of the picture. Then adjust each piece of the picture
using the
H/V
SIZE buttons
and
CENT buttons so that
they connect smoothly as a large picture.
Number
of
pieces
of
the p'icture
.
Zooming
4
x2
9
x3
16
x4
For zooming and resizing the picture, see
pag
"e
39
.
3 Store
the
adjustment data in
the
memory
of
the
converter.
Store the data under the same memory
number
on
each
converter.
For details, see
"Storing the curre
nt
condition"
on
page
40
.
4 Repeat steps 1
to
3
for
storing
other
picture patterns.
The adjusbnent data for
up
to
five picture patterns can be
stored
under
memory numbers 1 to
5.
m
m
m
m
I
I,
1
1,;--4
1
I-
I
-
VIDEO
IN
J
....
4::::f.i
T"
~L
!!fli!I
.
Loop-through
output
k-v§9
T" -
!!fli!I
Loop-through
output
i] I"
--
~
Loop-through
output
I~l-
I
~
118886
11
Remote
commander
CTRL
SIN
CTRL
S OUT
CTRl
SIN
~
CTRL
S OUT
CTRL
S
IN
S OUT
Displaying
the
picture
on
the
projection
wall
The names of the remote commander buttons differ depending
on
the commander model. Refer to the table
on
page
42.
1
Press
buttons
7. 7,
7 and
ENTER
on
the
remote
commander in sequence
at
intervals
of
one
secon~
.
"MEMORY LOAD READY" appears
on
each projector
screen.
2 Select
the
memory number under which
the
adjustment
data
of
the
desired picture pattern
is
stored by pressing
the
number
button.
'
All of the pieces of the picture are displayed properly so
that they connect smoothly as a large picture.
3
To
switch
to
another picture pattern. press
the
number
button
corresponding
to
the
memory number.
45