To unmark the print mark
Press 0 again in step 4. & mark
disappears.
1
W
3-57
276
1
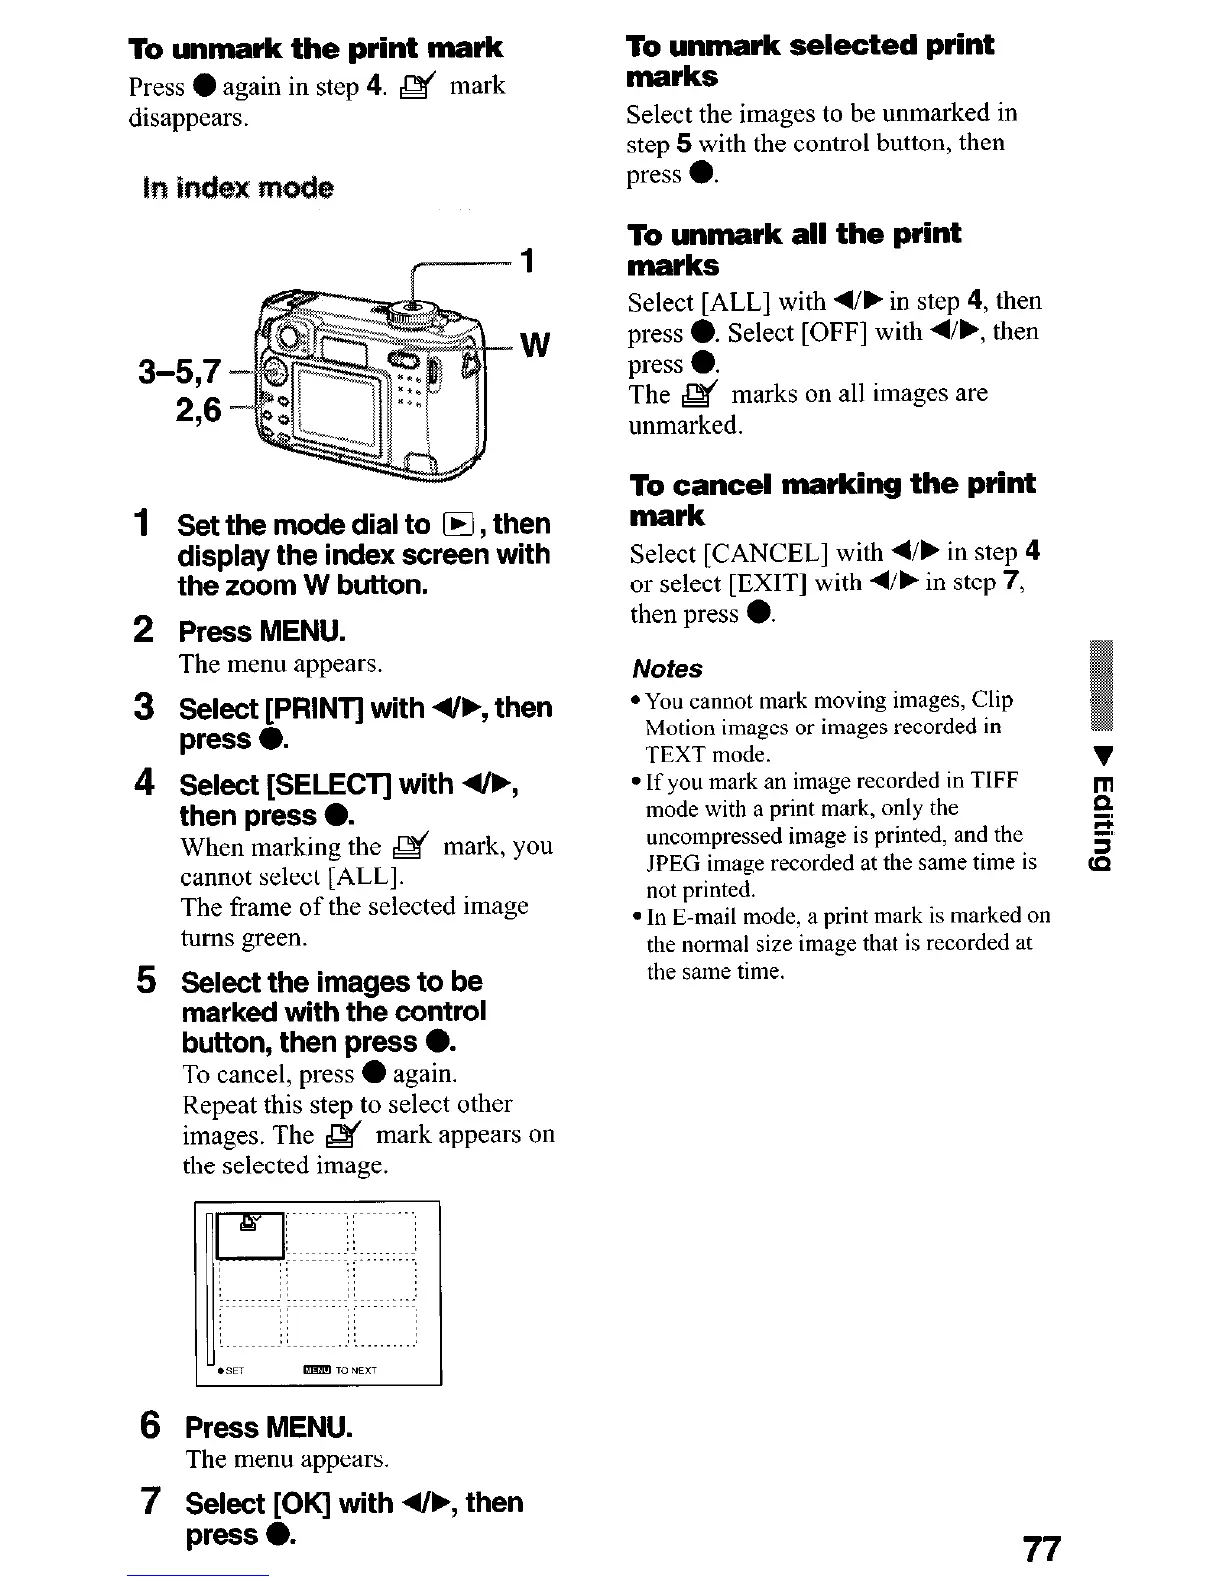
Set the mode dial to H , then
display the index screen with
the zoom W button.
2 Press MENU.
The menu appears.
3 !3AztpNT] with 4&, then
4 Select [SELECT] with 4/F,
then press 0.
When marking the & mark, you
cannot select [ALL].
The frame of the selected image
turns green.
5 Select the images to be
marked with the control
button, then press 0.
To cancel, press
l
again.
Repeat this step to select other
images. The & mark appears on
the selected image.
6
Press MENU.
The menu appears.
To unmark selected print
marks
Select the images to be unmarked in
step 5 with the control button, then
press 0.
To unmark all the print
marks
Select [ALL] with w/, in step 4, then
press 0. Select [OFF] with 4/b, then
press 0.
The & marks on all images are
unmarked.
To cancel marking the print
mark
Select [CANCEL] with N/b in step 4
or select [EXIT] with d/b in step 7,
then press 0.
Notes
l You cannot mark moving images, Clip
Motion images or images recorded in
TEXT mode.
l If you mark an image recorded in TIFF
mode with a print mark, only the
uncompressed image is printed, and the
JPEG image recorded at the same time is
not printed.
l In E-mail mode, a print mark is marked on
the normal size image that is recorded at
the same time.
7 !%&t~K] with 4/F, then
77