6
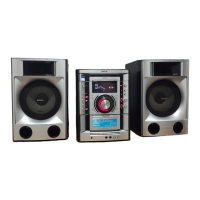
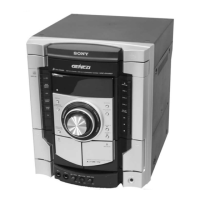
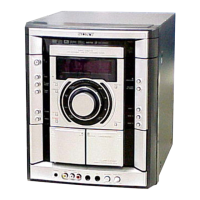
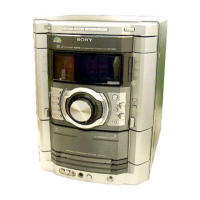
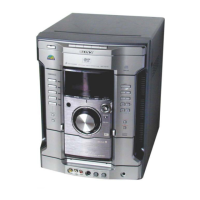
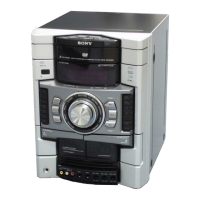
HCD-GNX780/GNX880
This section is extracted
from instruction manual.
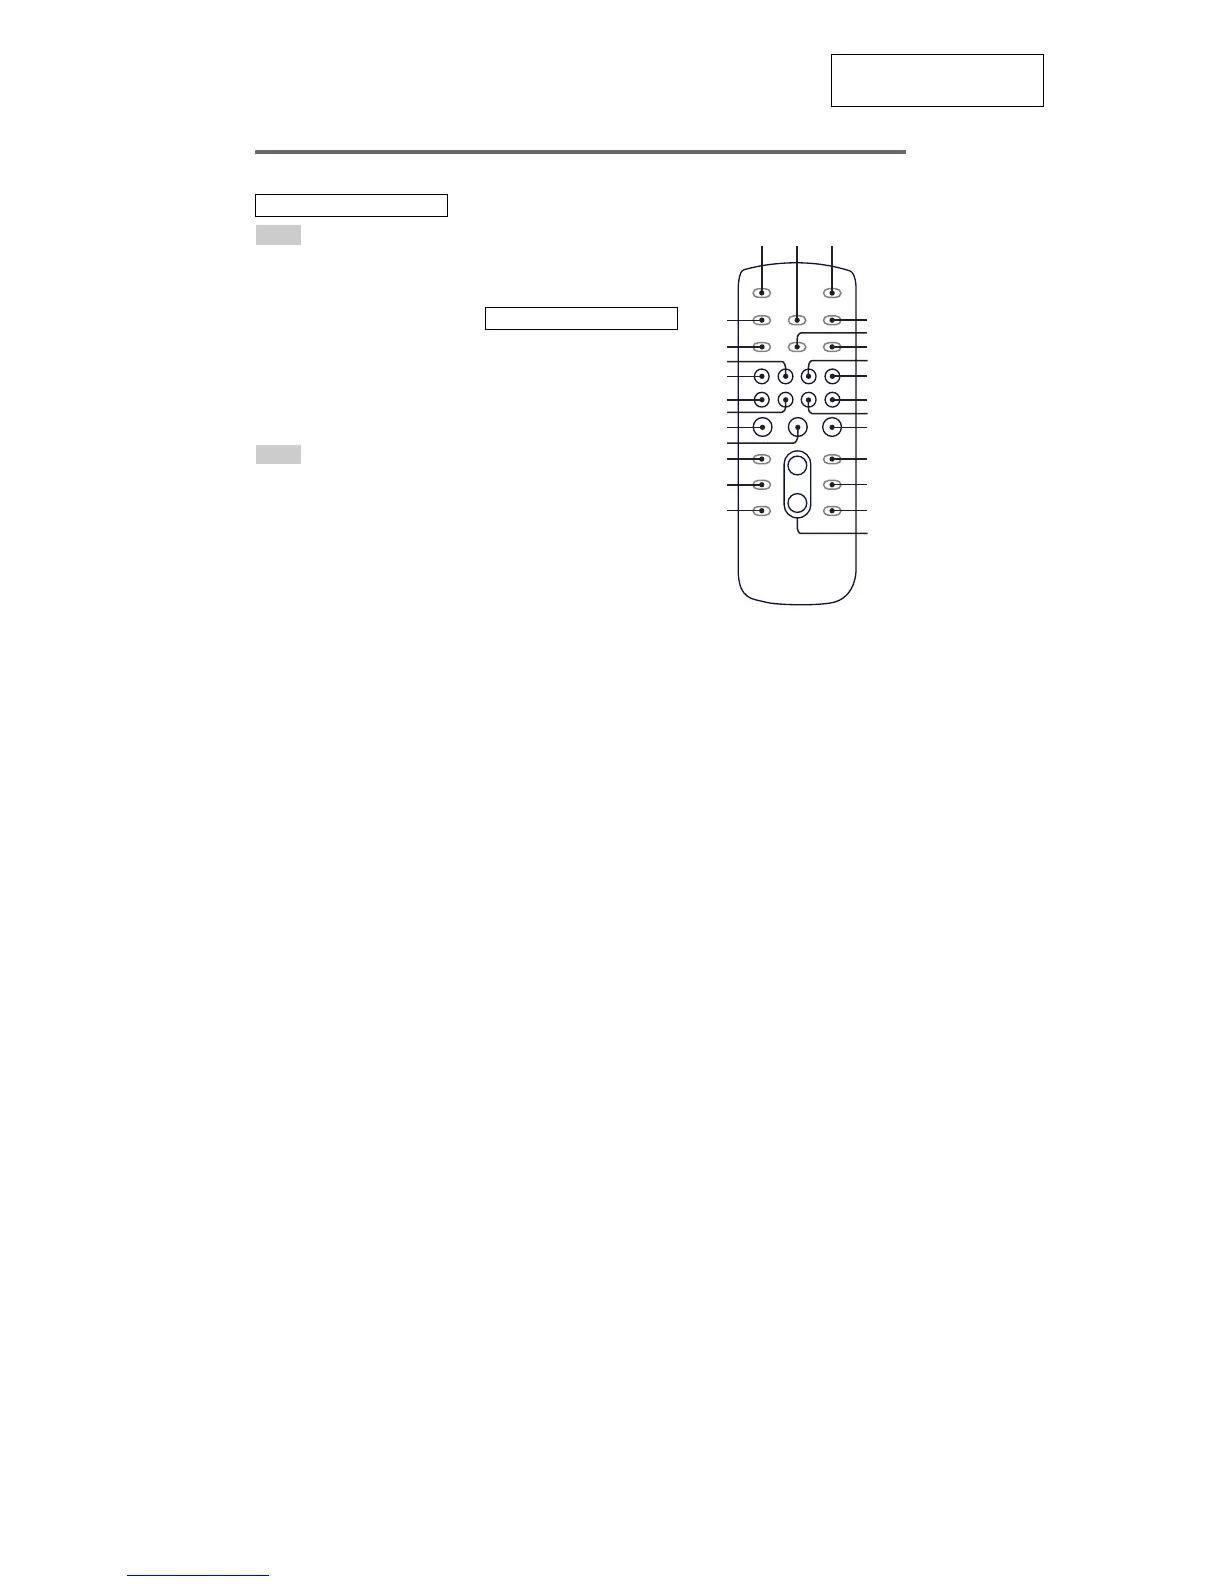
Remote control
ALBUM + qf
ALBUM – qh
CD wf
CLEAR qk
CLOCK/TIMER SELECT 2
CLOCK/TIMER SET 4
DISC SKIP qd
DISPLAY wh
ENTER qs
EQ qj
FM MODE 6
FUNCTION 8
PLAY MODE 5
REPEAT 6
SLEEP 1
TAPE wd
TUNER/BAND 7
TUNER MEMORY wg
TUNING MODE 5
VOLUME +/– qg
The + button has a tactile dot.*
?/1 (power) 3
x (stop) qa
X (pause) ql
N (play) w;
–. (go backward) ws
>+ (go forward) wa
m (rewind) q;
M (fast forward) 9
*Use the tactile dot as a reference
when operating the system.
ALPHABETICAL ORDER
A – E
F – Z
SYMBOLS
7
5
q;
qg
qh
qj
qk
w;
ws
wd
wg
wh
qf
qd
qs
qa
9
8
6
4
3
12
ql
wa
wf
Use buttons on the remote for the operation.
1
Press ?/1 to turn on the system.
2
Press CLOCK/TIMER SET.
“CLOCK” appears in the display. Then, the
hour indication flashes in the display.
3
Press –. or >+ repeatedly to set
the hour.
4
Press ENTER.
The minute indication flashes in the
display.
5
Press –. or >+ repeatedly to set
the minute.
6
Press ENTER.
The clock starts functioning.
To adj ust the c lock
1
Press CLOCK/TIMER SET.
“SET” appears in the display, then “PLAY
SET?” flashes in the display.
2
Press –. or >+ repeatedly to select
“CLOCK SET?”, then press ENTER.
The hour indication flashes in the display.
3
Do the same procedures as step 3 to 6
above.
Not es
The clock settings are canceled when you disconnect
the power cord or if a power failure occurs.
You cannot set the clock in Power Saving Mode
.
Setting the clock