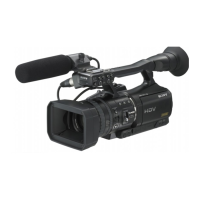
20
HVR-V1E/V1P
2-887-521-12(1)
L:\SONY\PV\CX91030\1130insatuPDF\2887521121_GB\2887521111HVRV1UVIN\01GB03GET.
fm
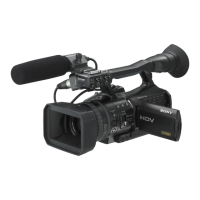
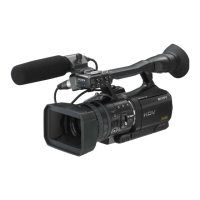
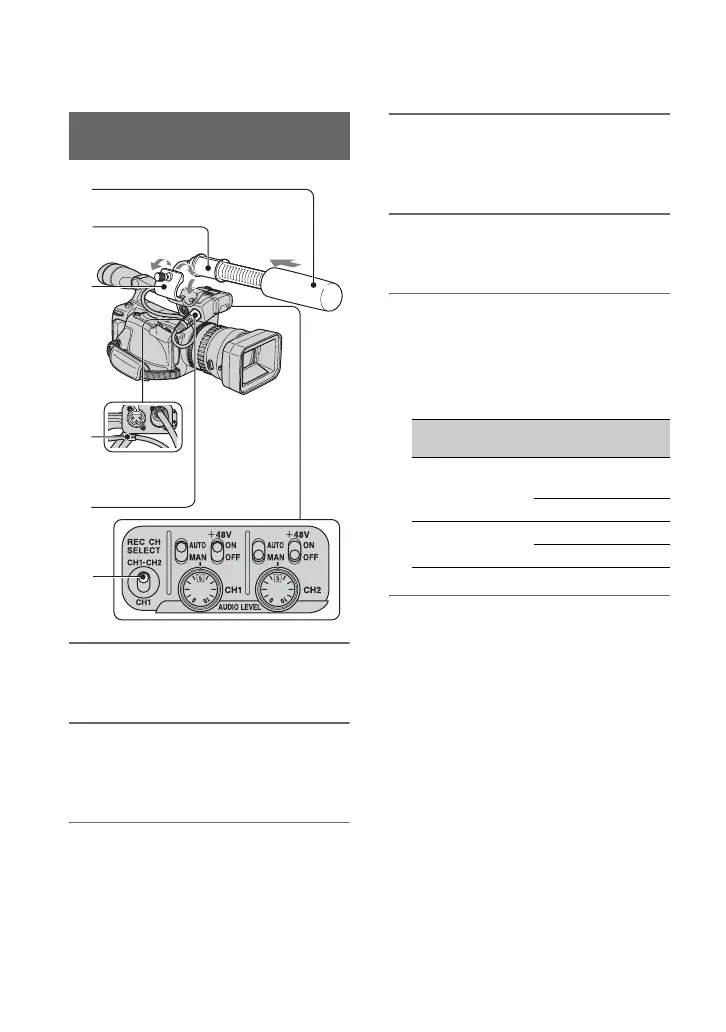
Step 2: Attaching the supplied microphone and
the lens hood with lens cover
1 Attach the wind screen 1 to the
microphone 2.
2 Loosen the screw of the
microphone holder 3 and open
the cover.
3 Place the microphone into the
holder with the model name
facing upward, close the cover,
and tighten the screw.
4 Connect the plug of the
microphone to the INPUT1 jack
5.
5 Put the microphone cable into the
cable holder 4.
6 Select the channel with the REC
CH SELECT switch 6.
The REC CH SELECT switch positions
and the channels to be used at the switch
positions are shown in the table below.
z Tips
• See page 48 for adjusting the volume.
• Set the +48V switch to ON when you use the
supplied microphone.
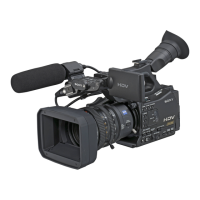
Attaching the supplied
microphone
2
3
5
4
6
REC CH SELECT
switch position
Input jack
Channel to
be used
CH1, CH2 INPUT1 Channel1
Channel2
INPUT2 -
CH1 INPUT1 Channel1
INPUT2 Channel2
 Loading...