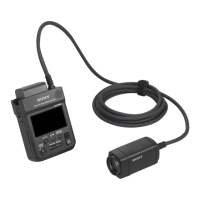
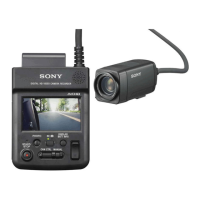
Connection between the Camera Head and CCU
17
Preparations
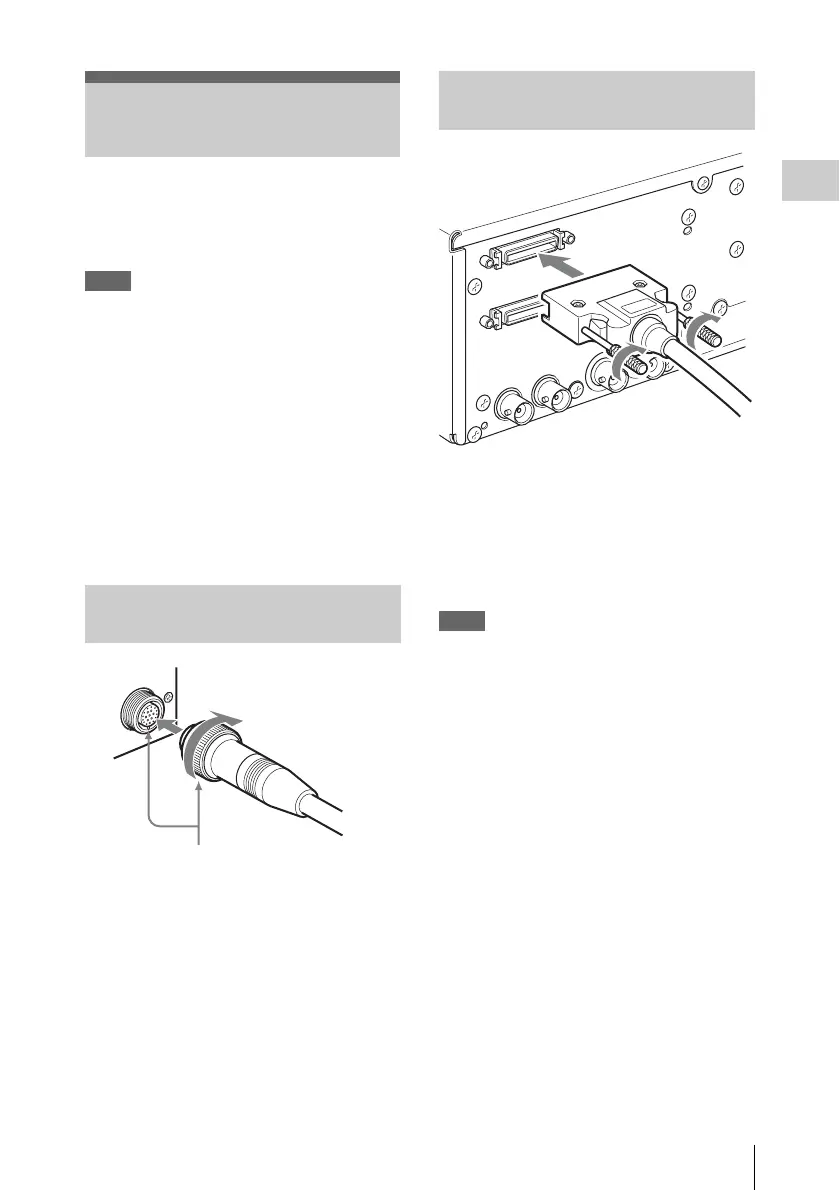
Connect the camera cable connector on the
camera head with the CAMERA A/B connector
on the CCU using the optional CCMC-T05/T10/
T20 Camera Cable.
Notes
• Be sure to turn off the power supply for all
equipment when you connect or disconnect the
camera cable. Connecting/disconnecting a
cable while the power is on may result in
malfunctions.
• Be sure to connect the camera head and CCU
with the camera cable before you start the unit.
• Insert the connector by pushing it straight in,
being careful not to bend the pins.
• Insert the connectors of the cables properly.
Loose connection often generates noise. When
pulling out a cable, be sure to pull it out by the
connector, not the cable itself.
1 Align the positioning marks on the
camera cable connector and on the
camera cable round plug, and then push
the plug in.
2 Turn the connector ring to tighten.
1 Connect the camera cable square plug
to the CAMERA A connector.
2 Tighten the two screws on the square
plug.
Connect the camera cable to the CAMERA B
connector in the same way.
Notes
• Excessive tightening the screws may make
them difficult to loosen and result in damage.
• Turning the screws with your hands until the
screws do not move is sufficient. Do not use
tools or excessive force when tightening the
screws.
Connection between the
Camera Head and CCU
Connecting the camera cable to
the camera head
Connector ring
Positioning marks
Connecting the camera cable to
the CAMERA A/B connector